Luthierlyn LLC
Restoration and Repair of Fretted Instruments
Below you will find some before and after photos of the work I have done over the years.
Contra-Bass Balalaika
I just got three basses to fix. This is about the balalaika contra bass.
It was in sad shape. It was collapsing at the tail end from using piano strings! It needed a neck reset. and all new inlays on the fingerboard. most of the bottom panels were coming loose, various back and top cracks, the lower bass side corner was worn off and the binding on the bottom was trashed.

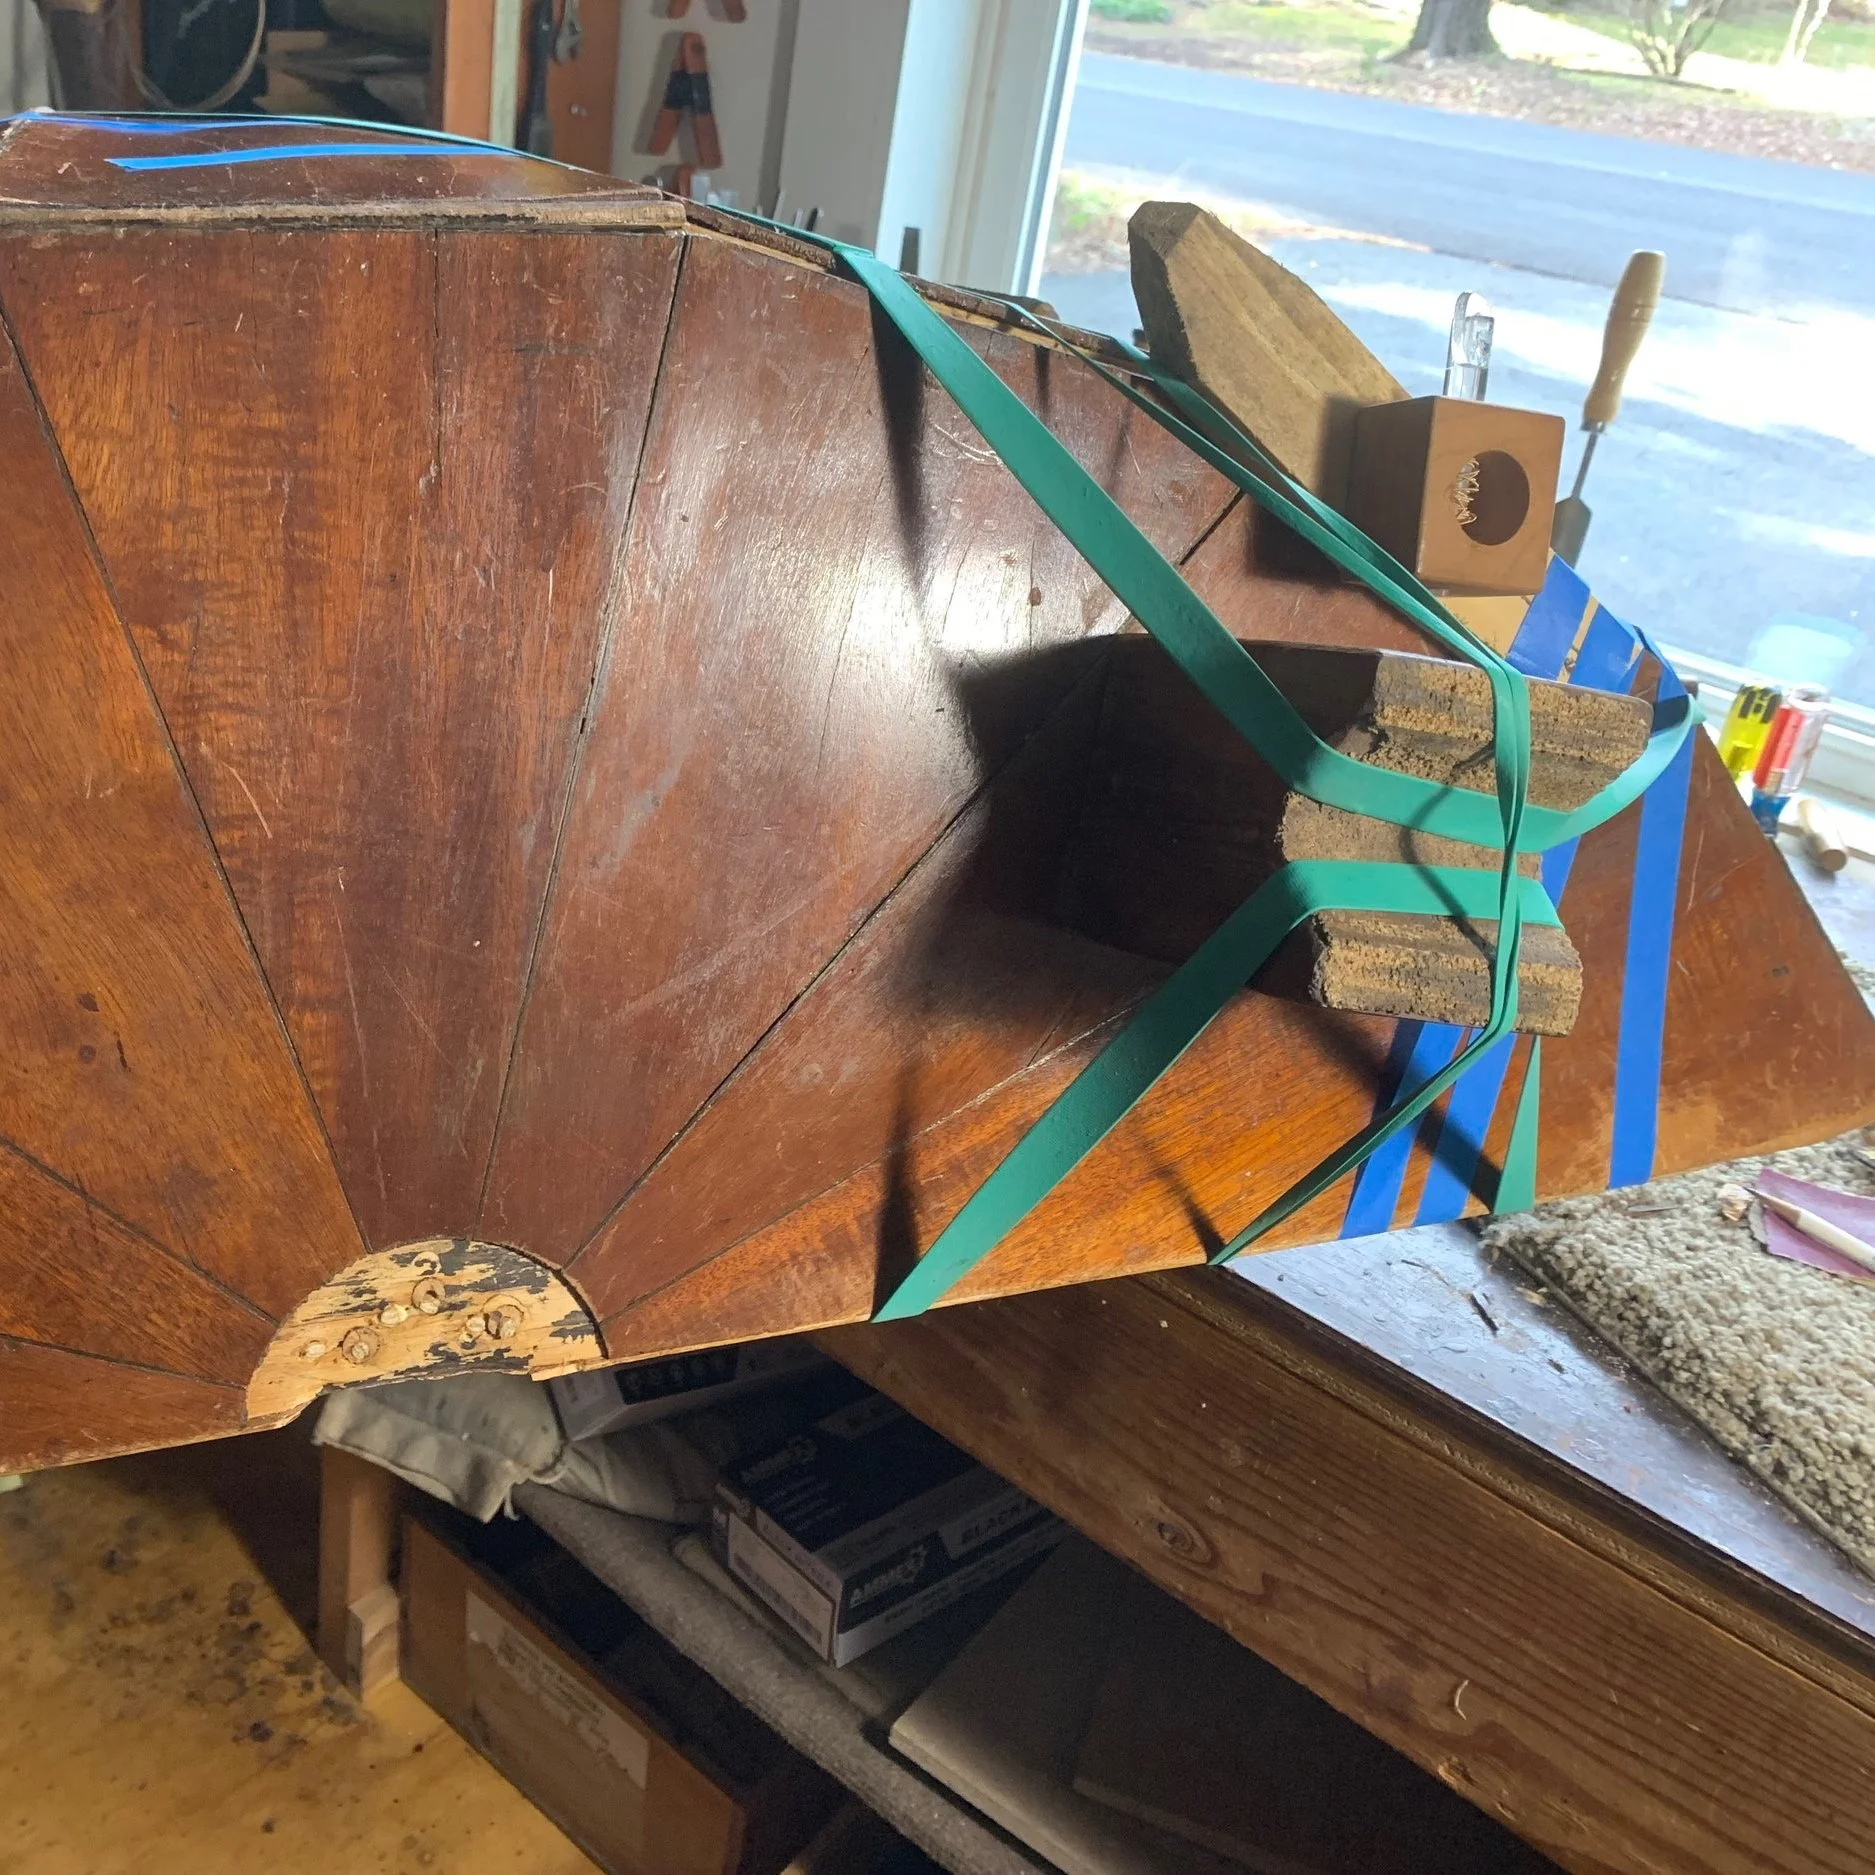
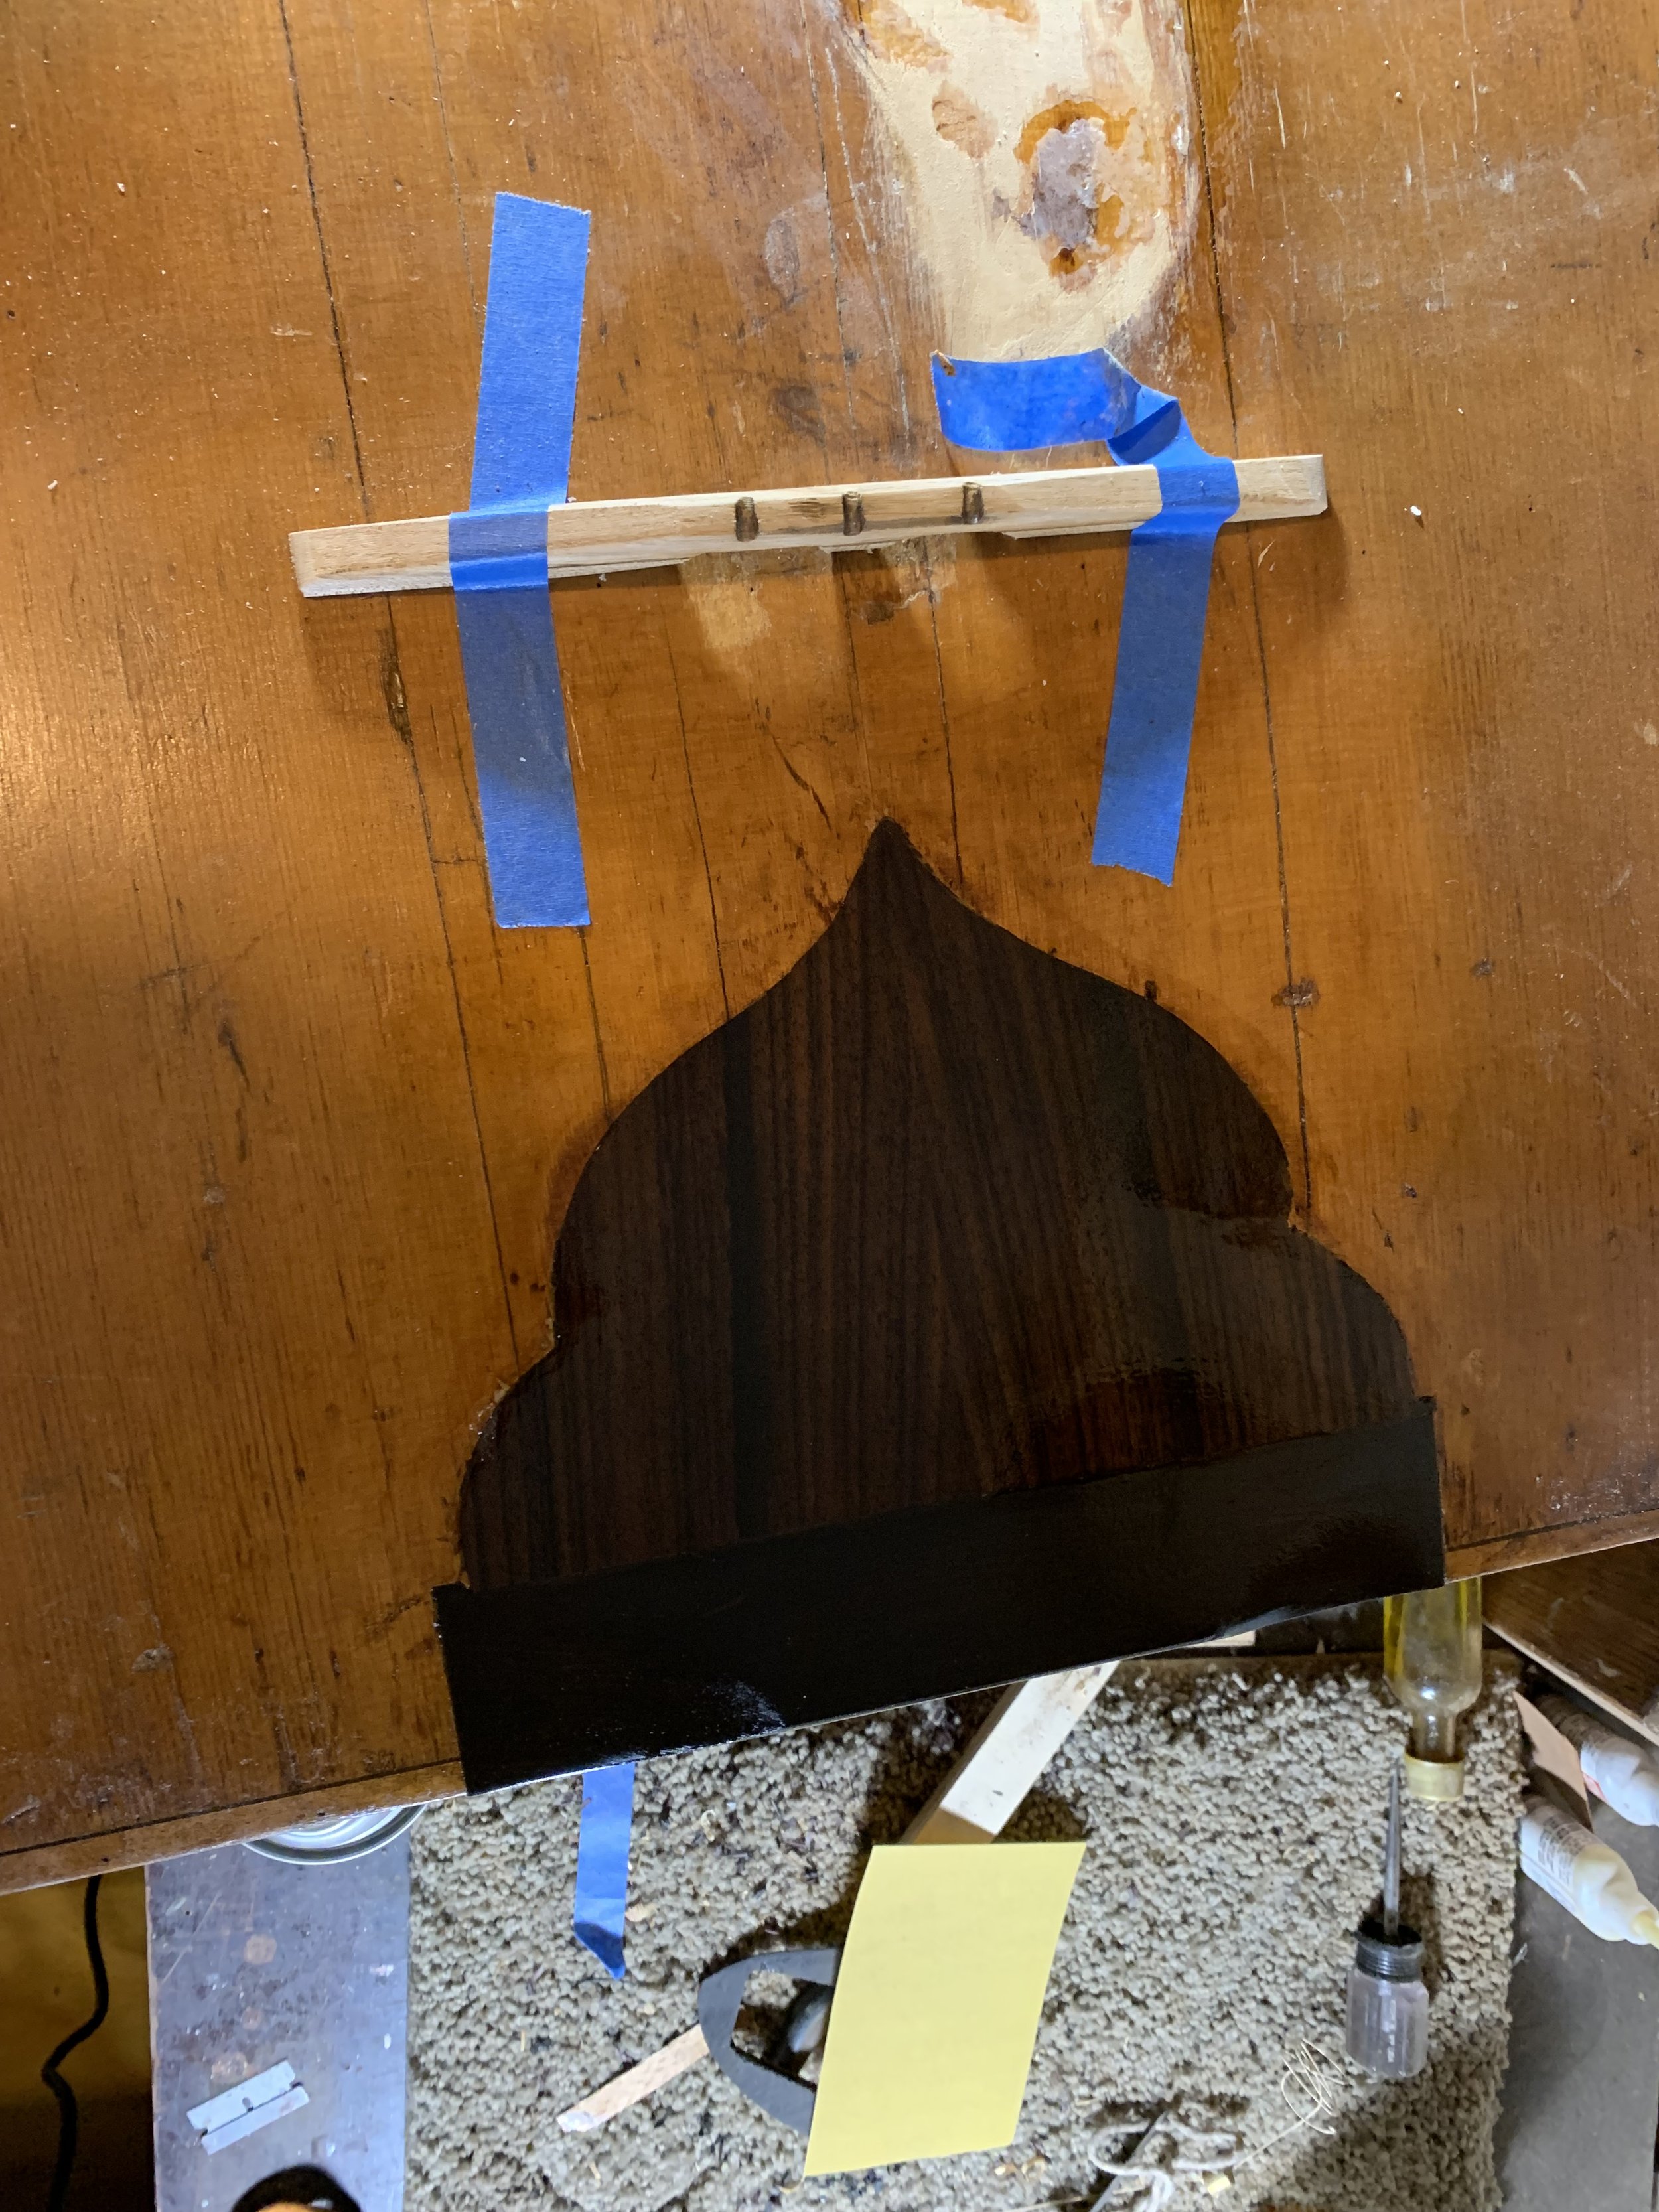
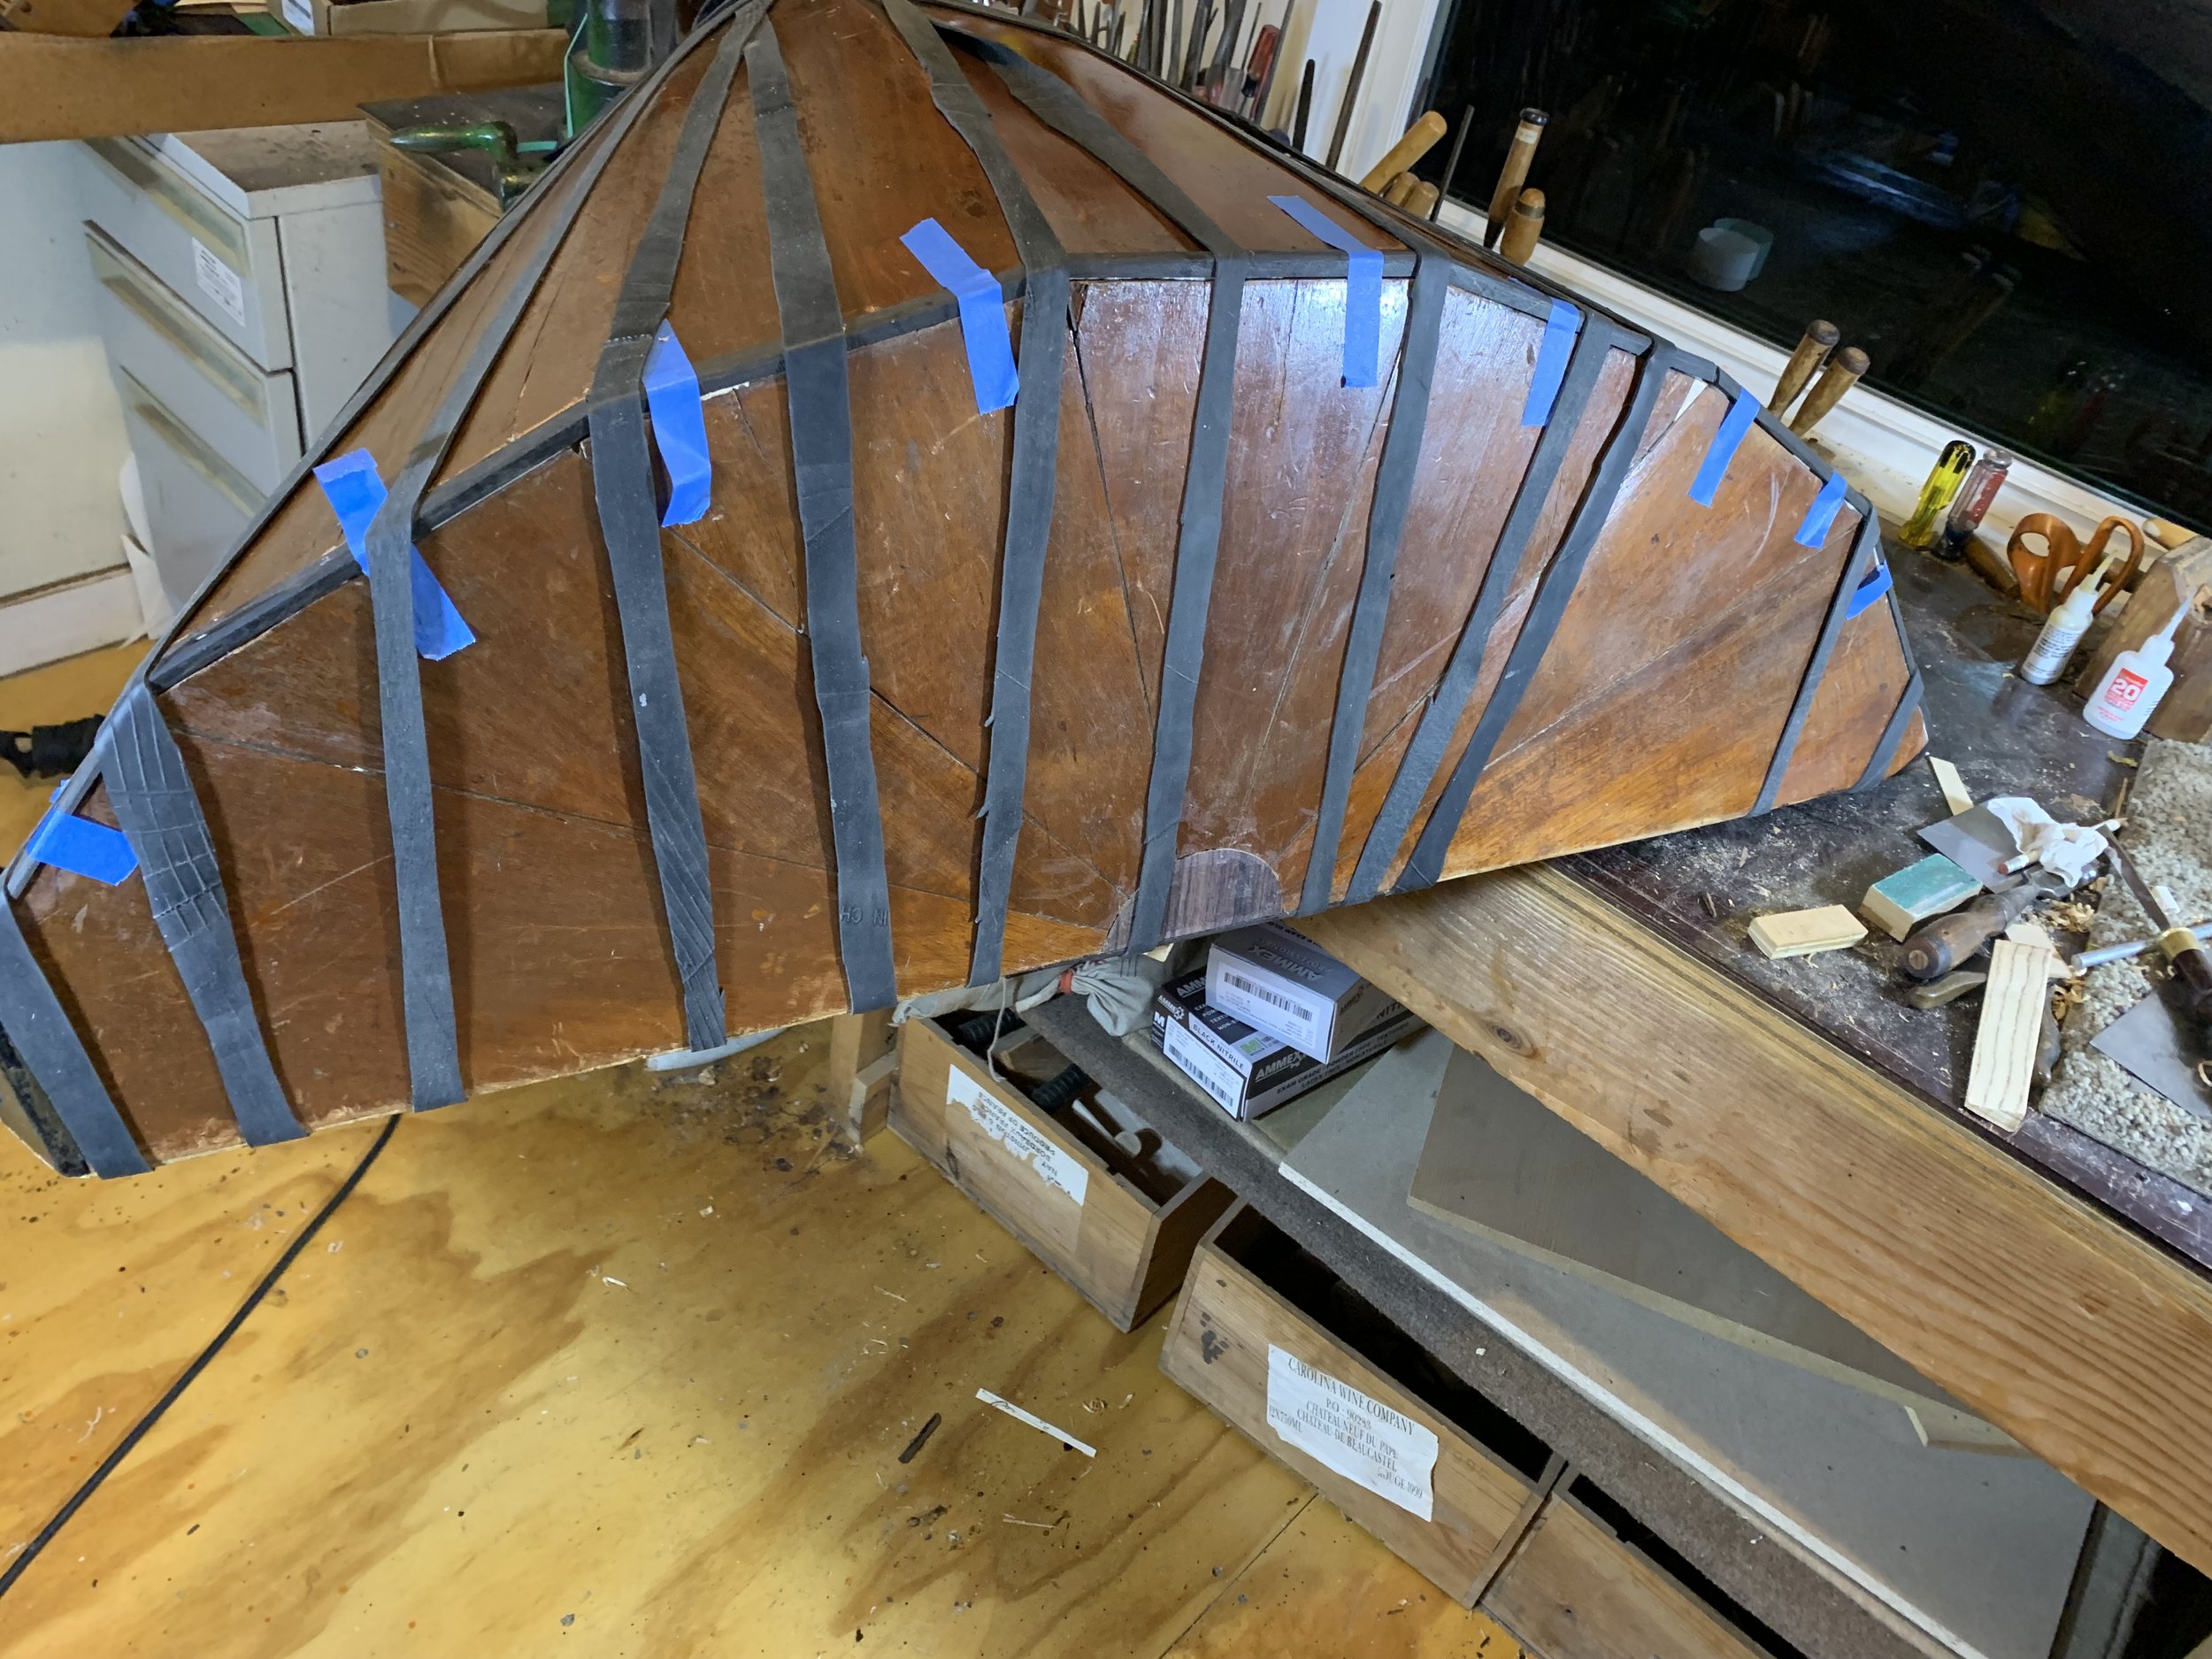
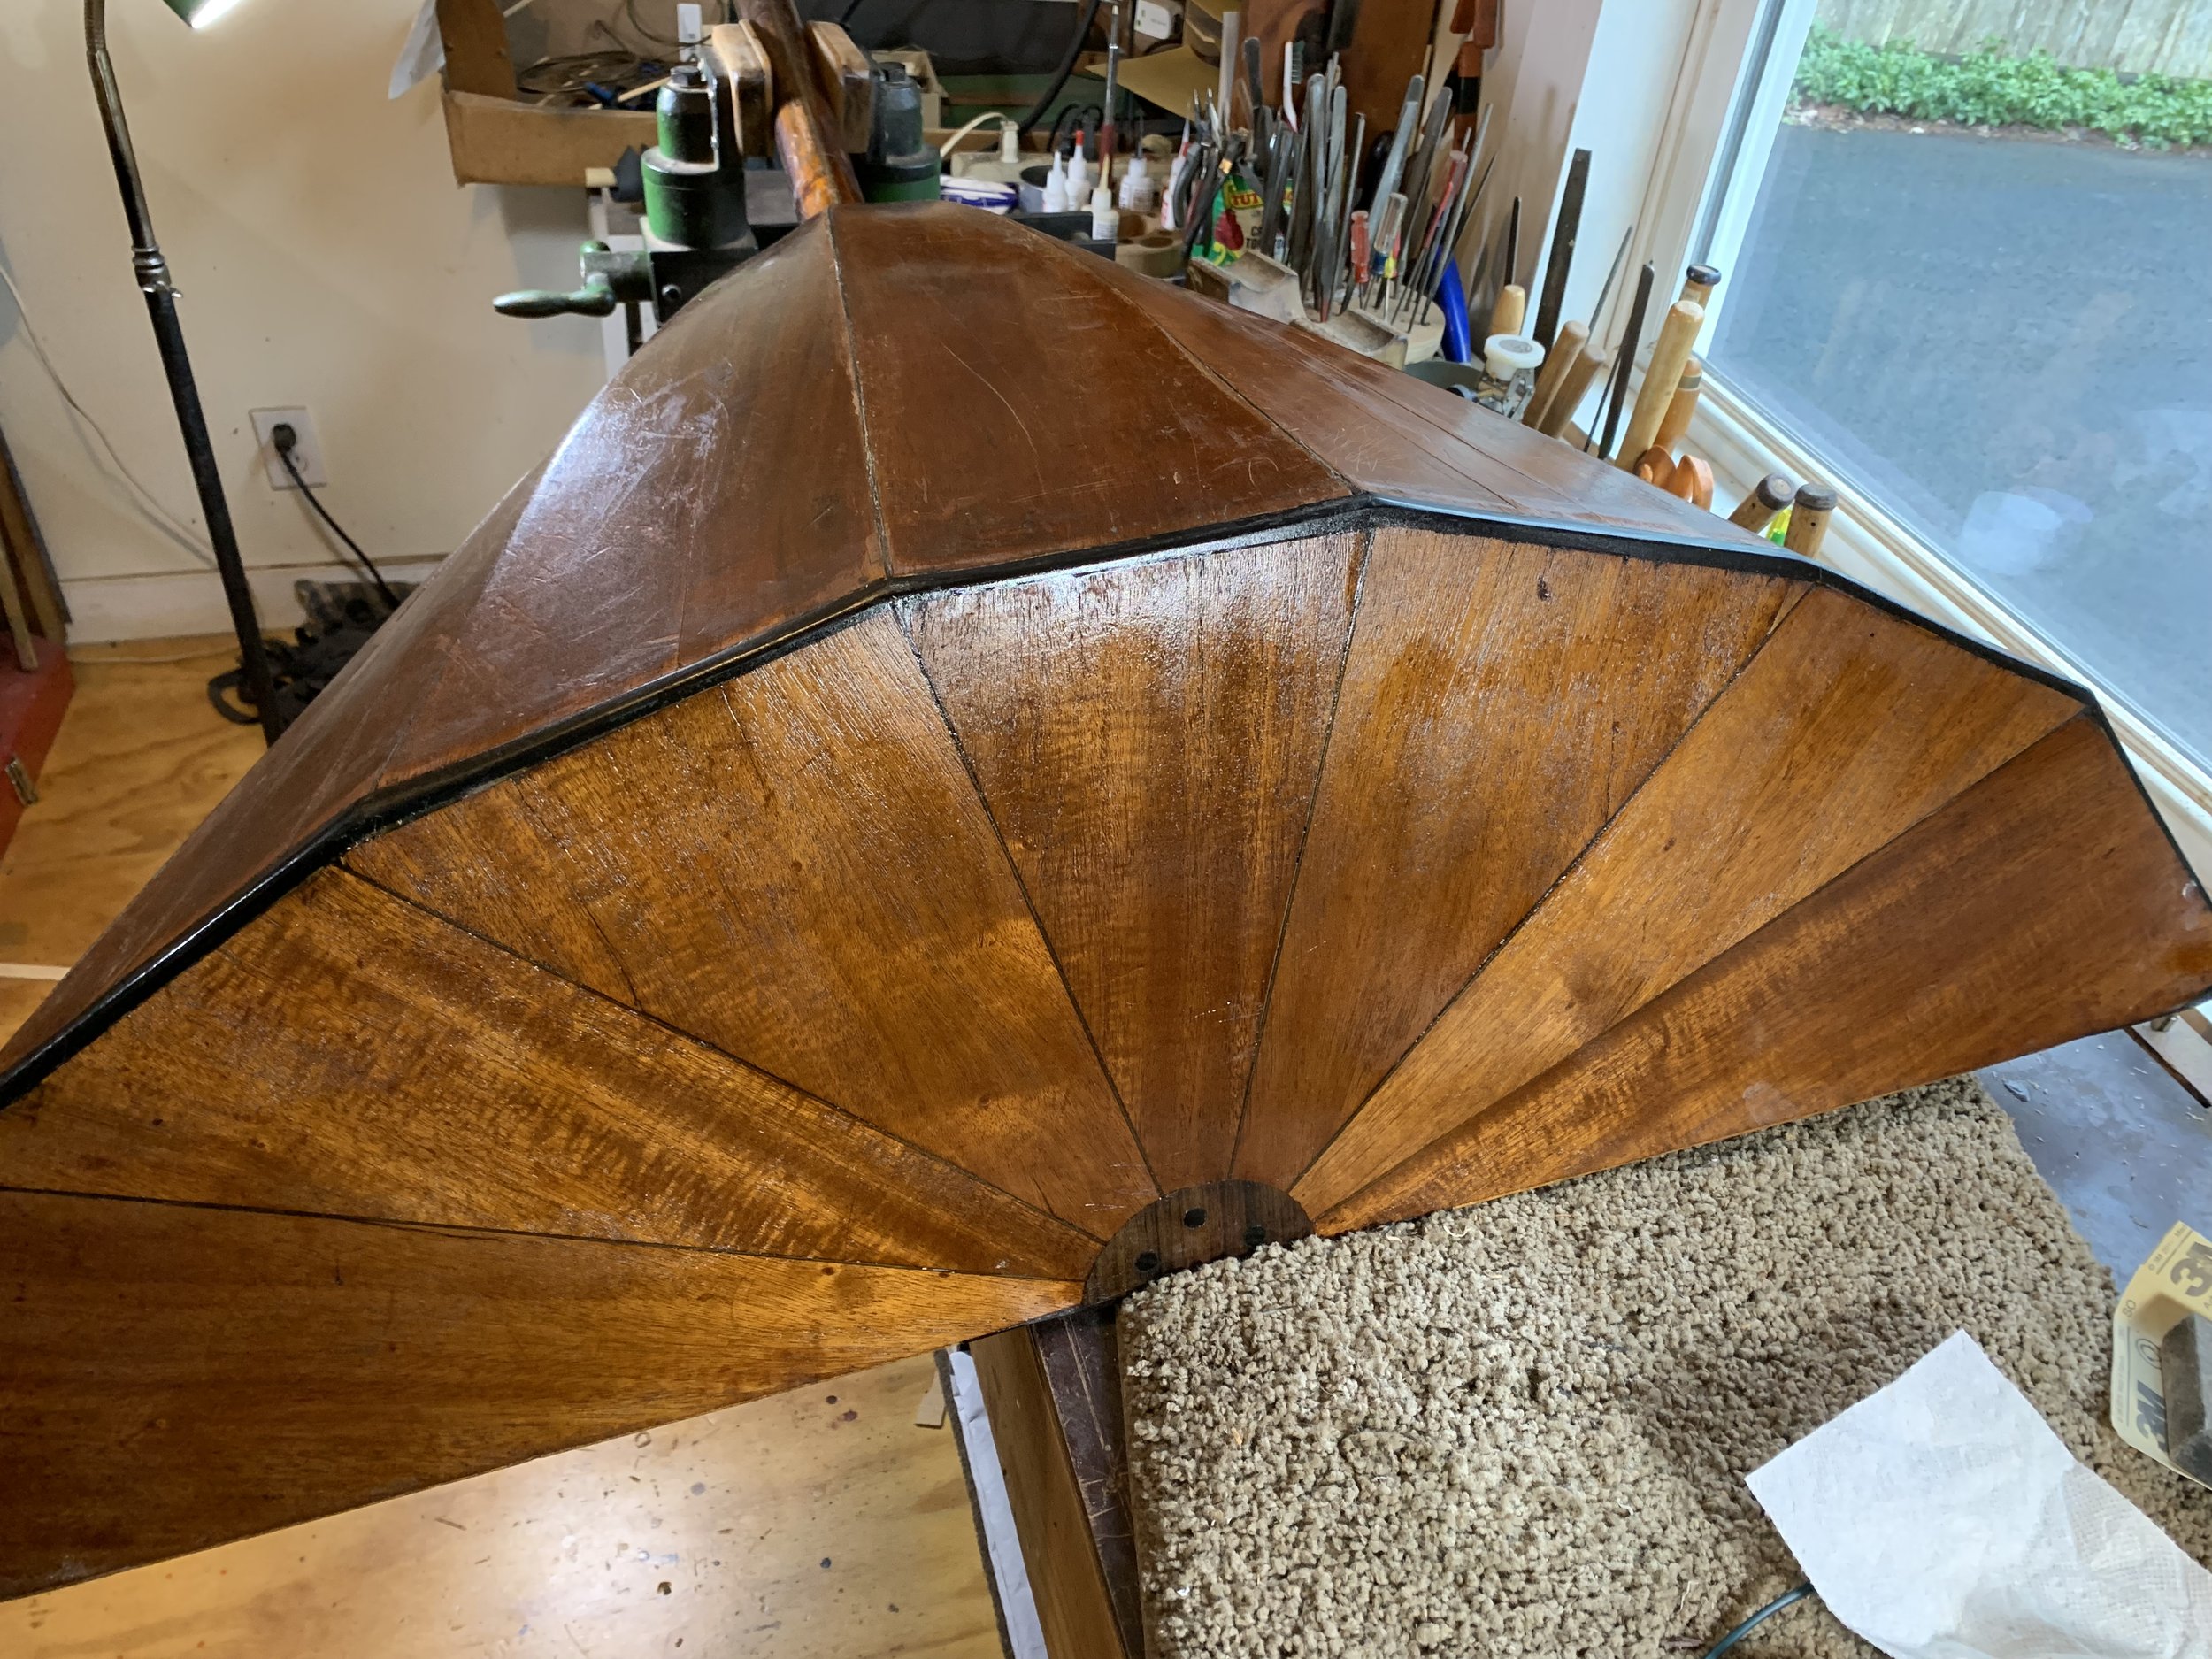
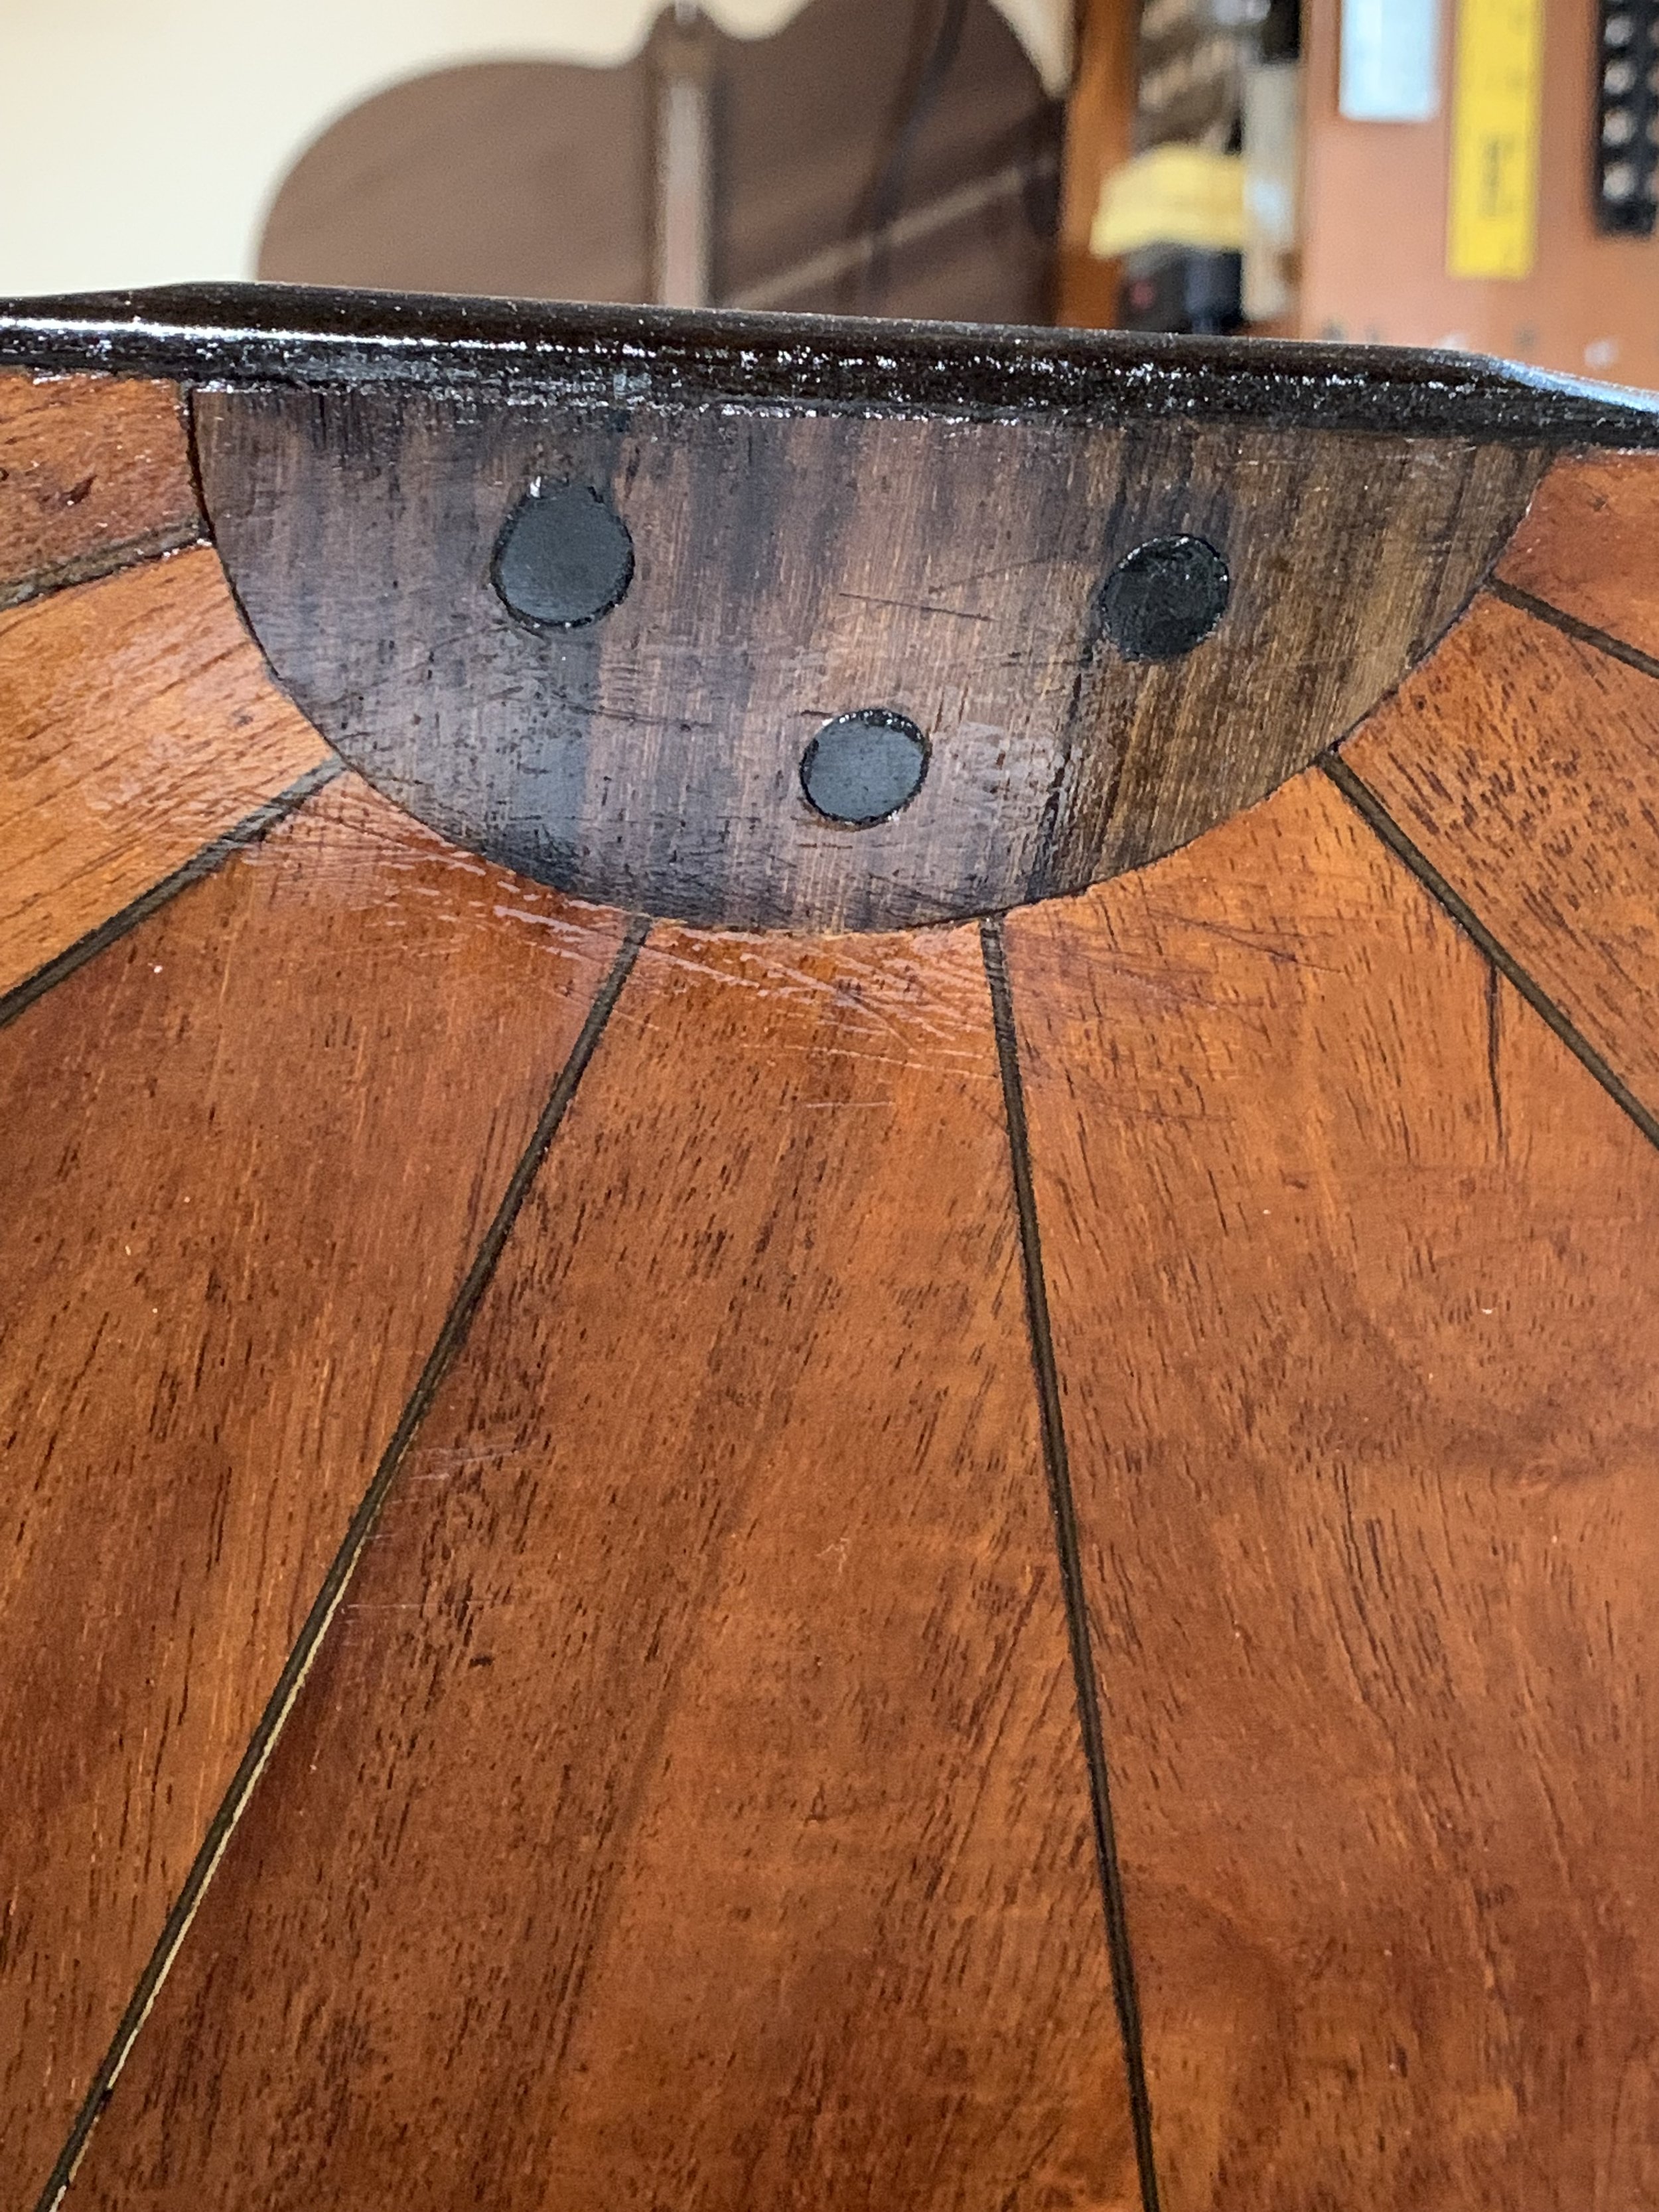
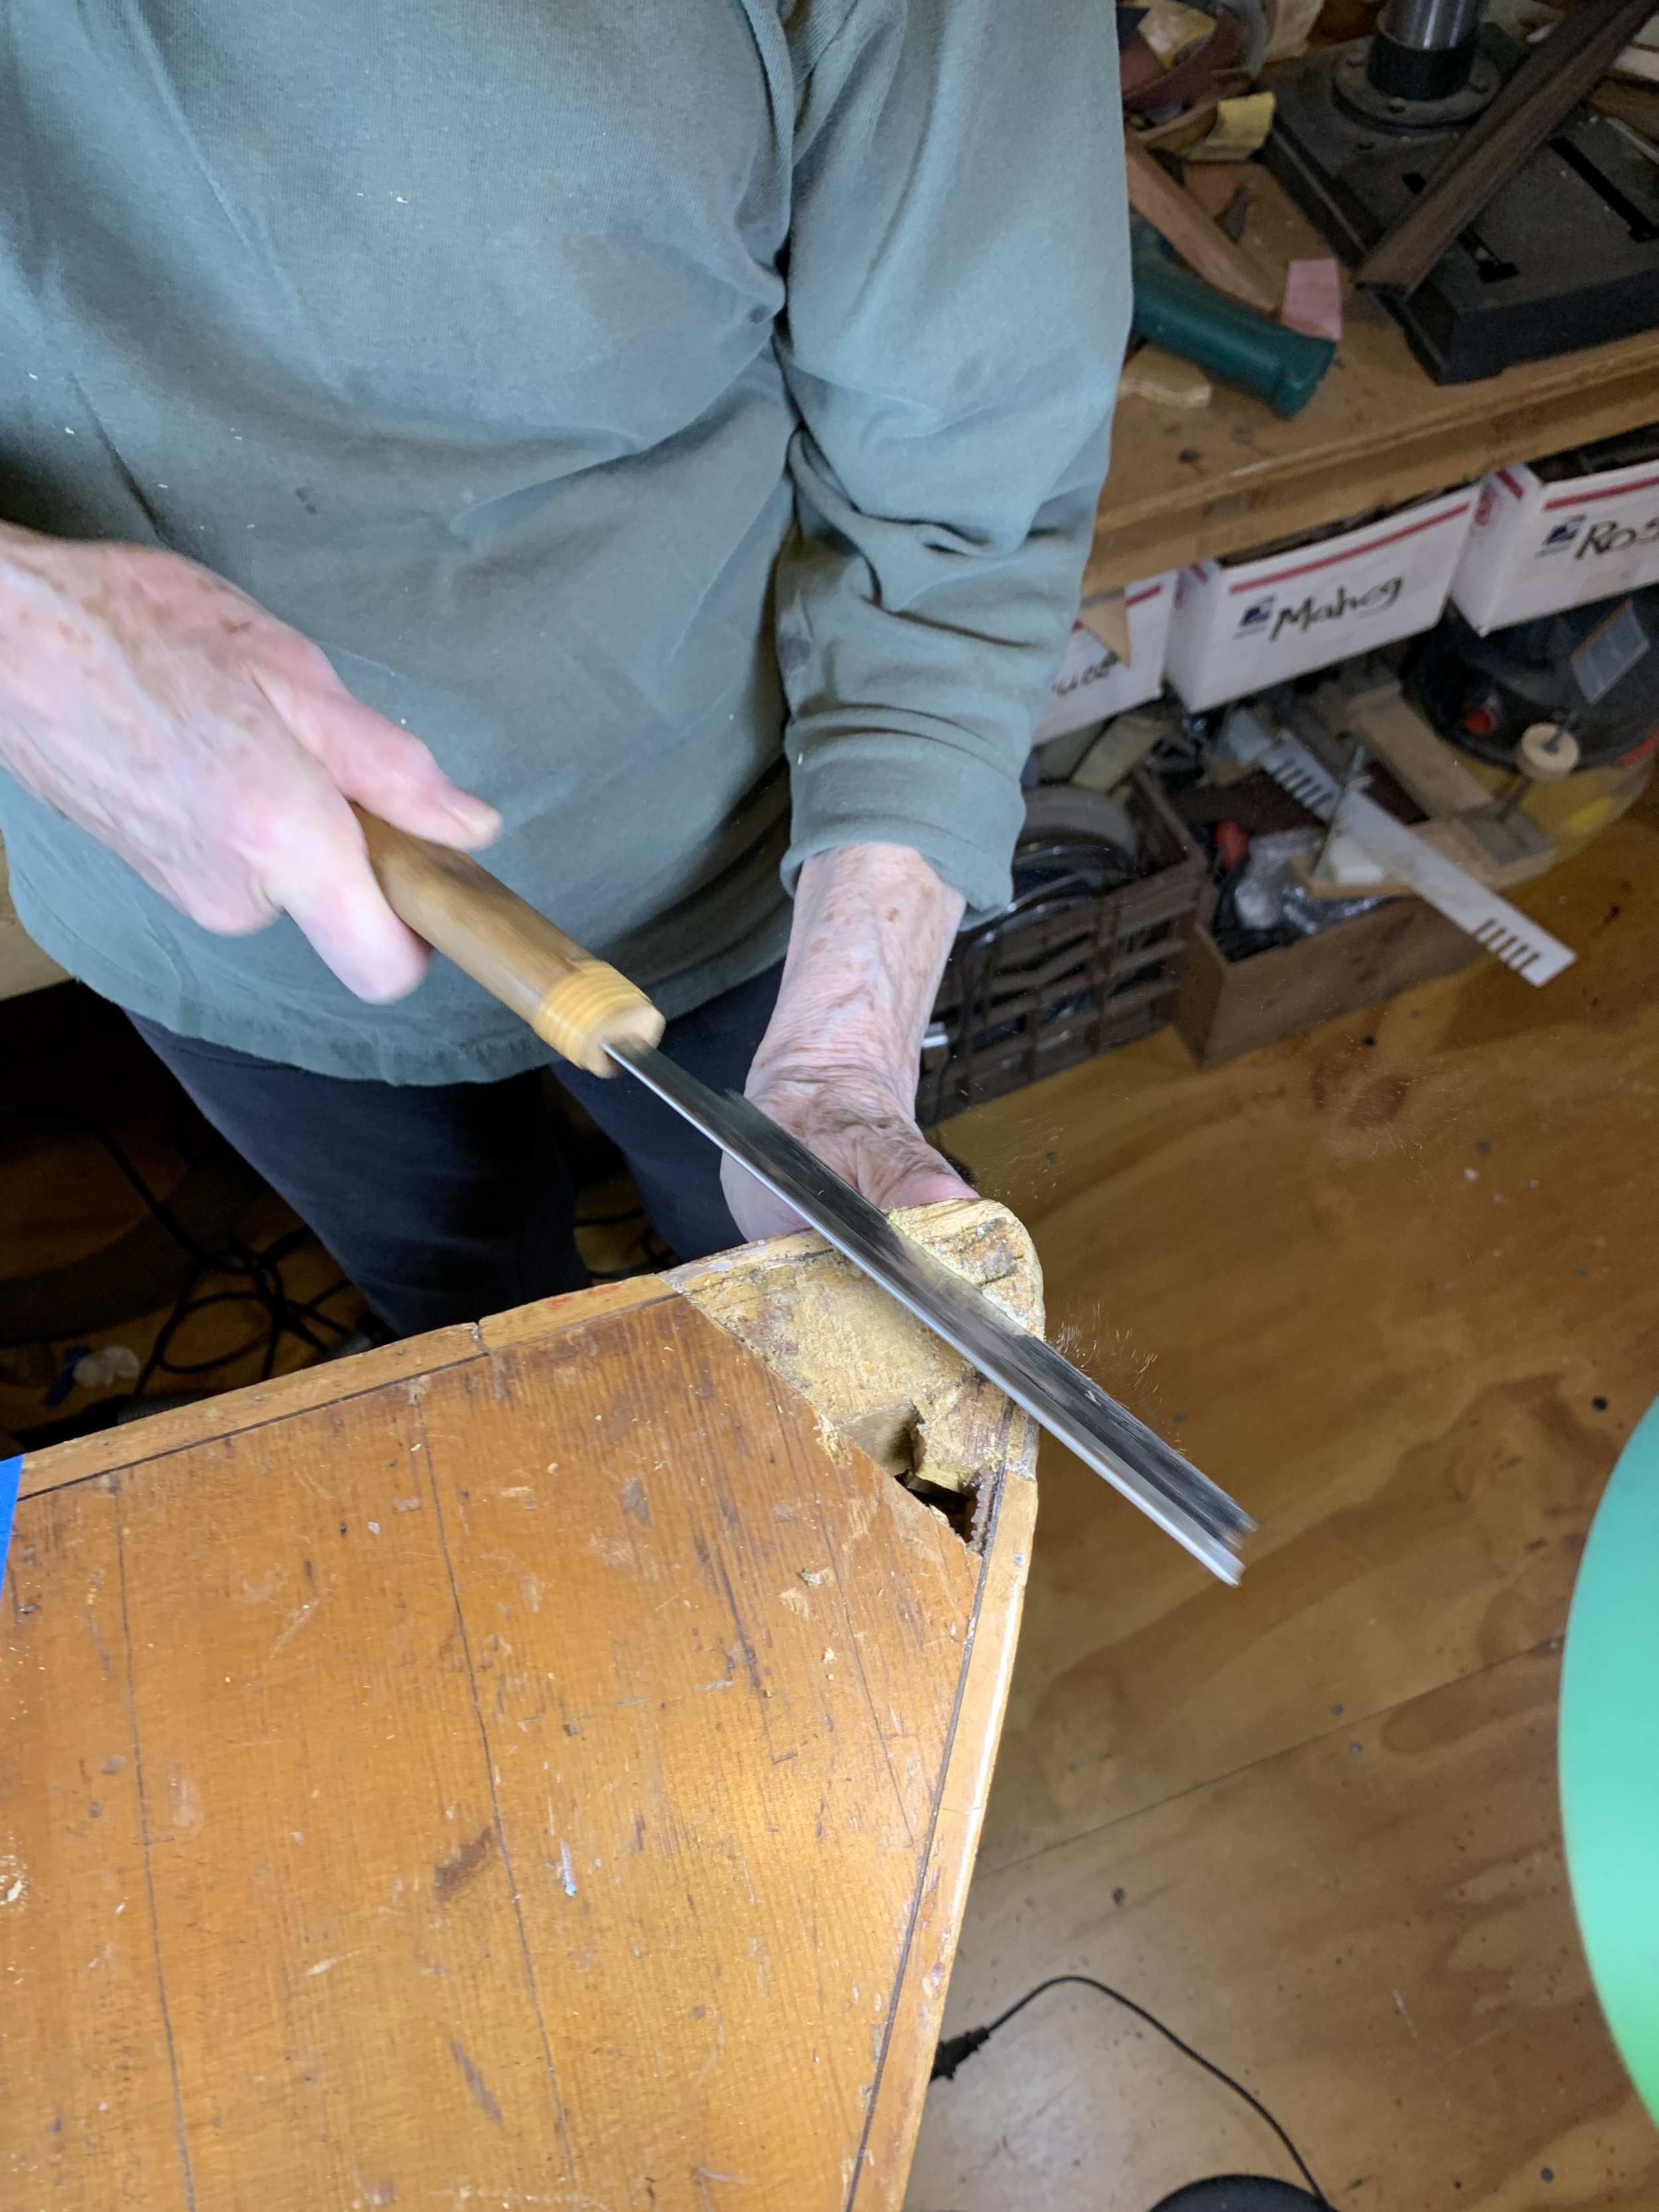
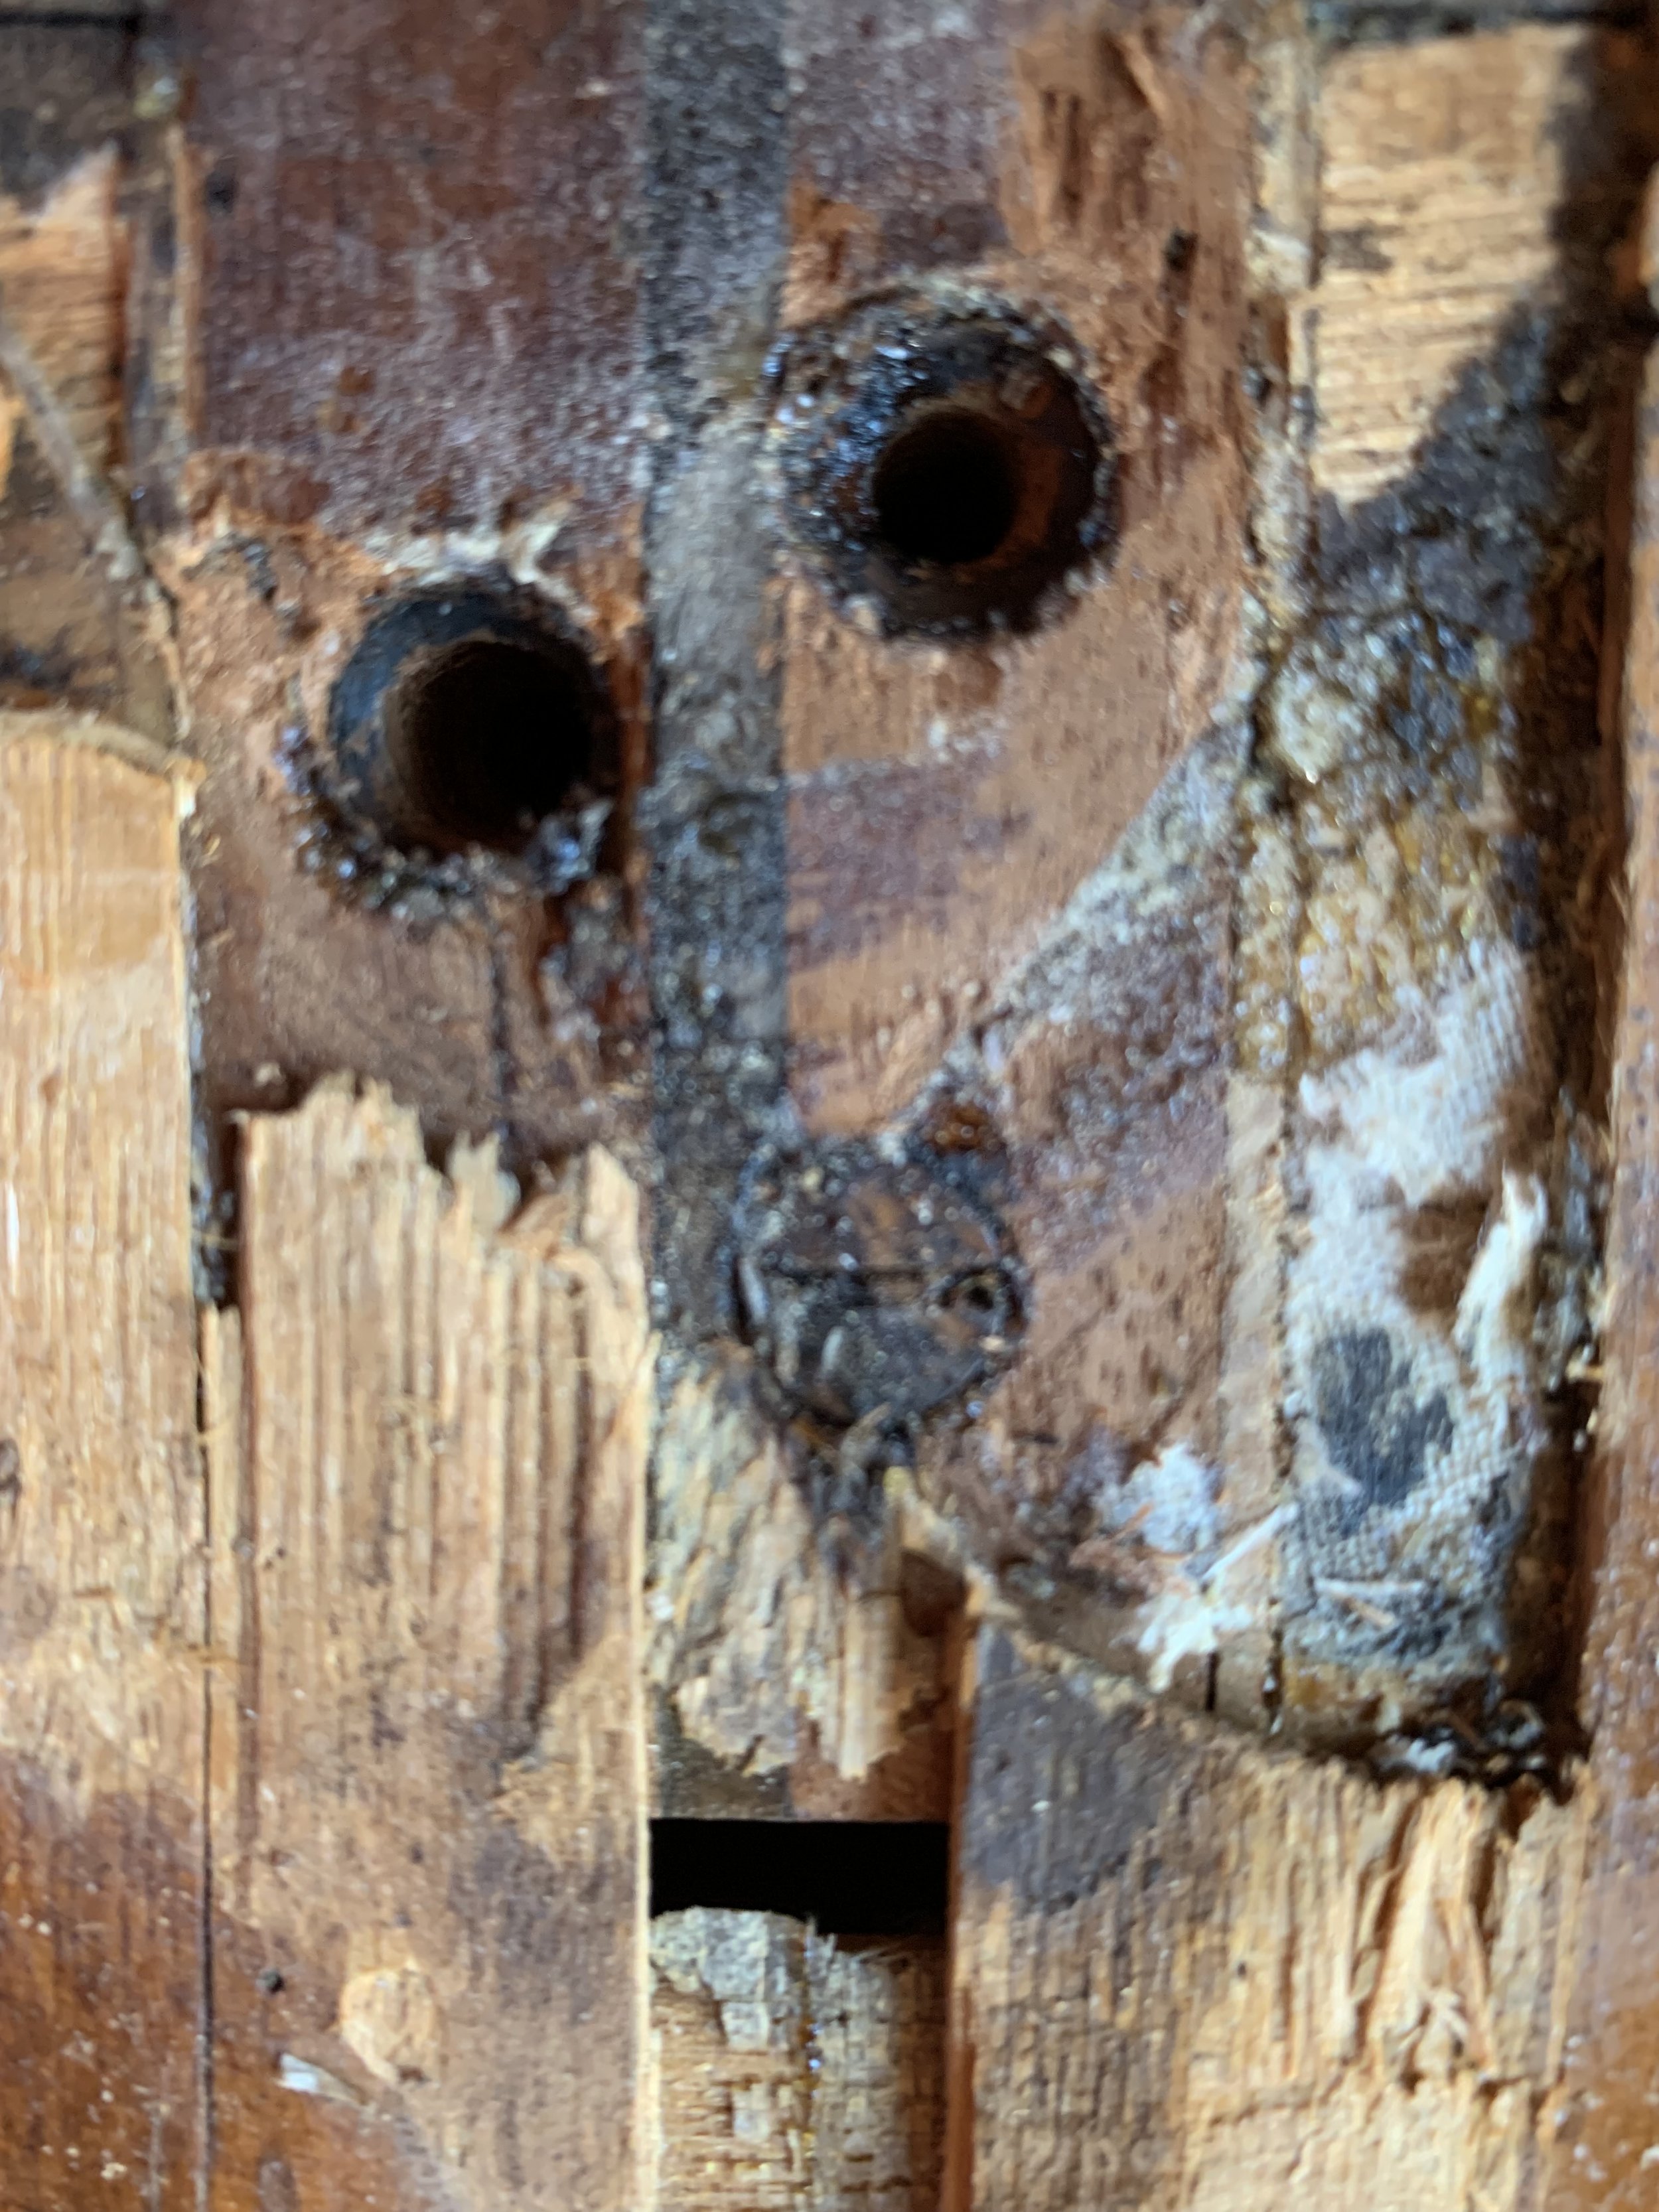
Here you can see the tail collapse.someone had covered it with bonds and put a piece of tin can on the edge for the strings to go over. The semicircle is where the screws were set to hold the strings, but the wood was so punky and full of old holes that the screws were loose, so I removed the piece of rosewood, filled the holes with dowels and put a new piece of rosewood there. I used a Sajia to glue the back panel to the bottom and my rubber tire strips to glue the loose bottom panels.
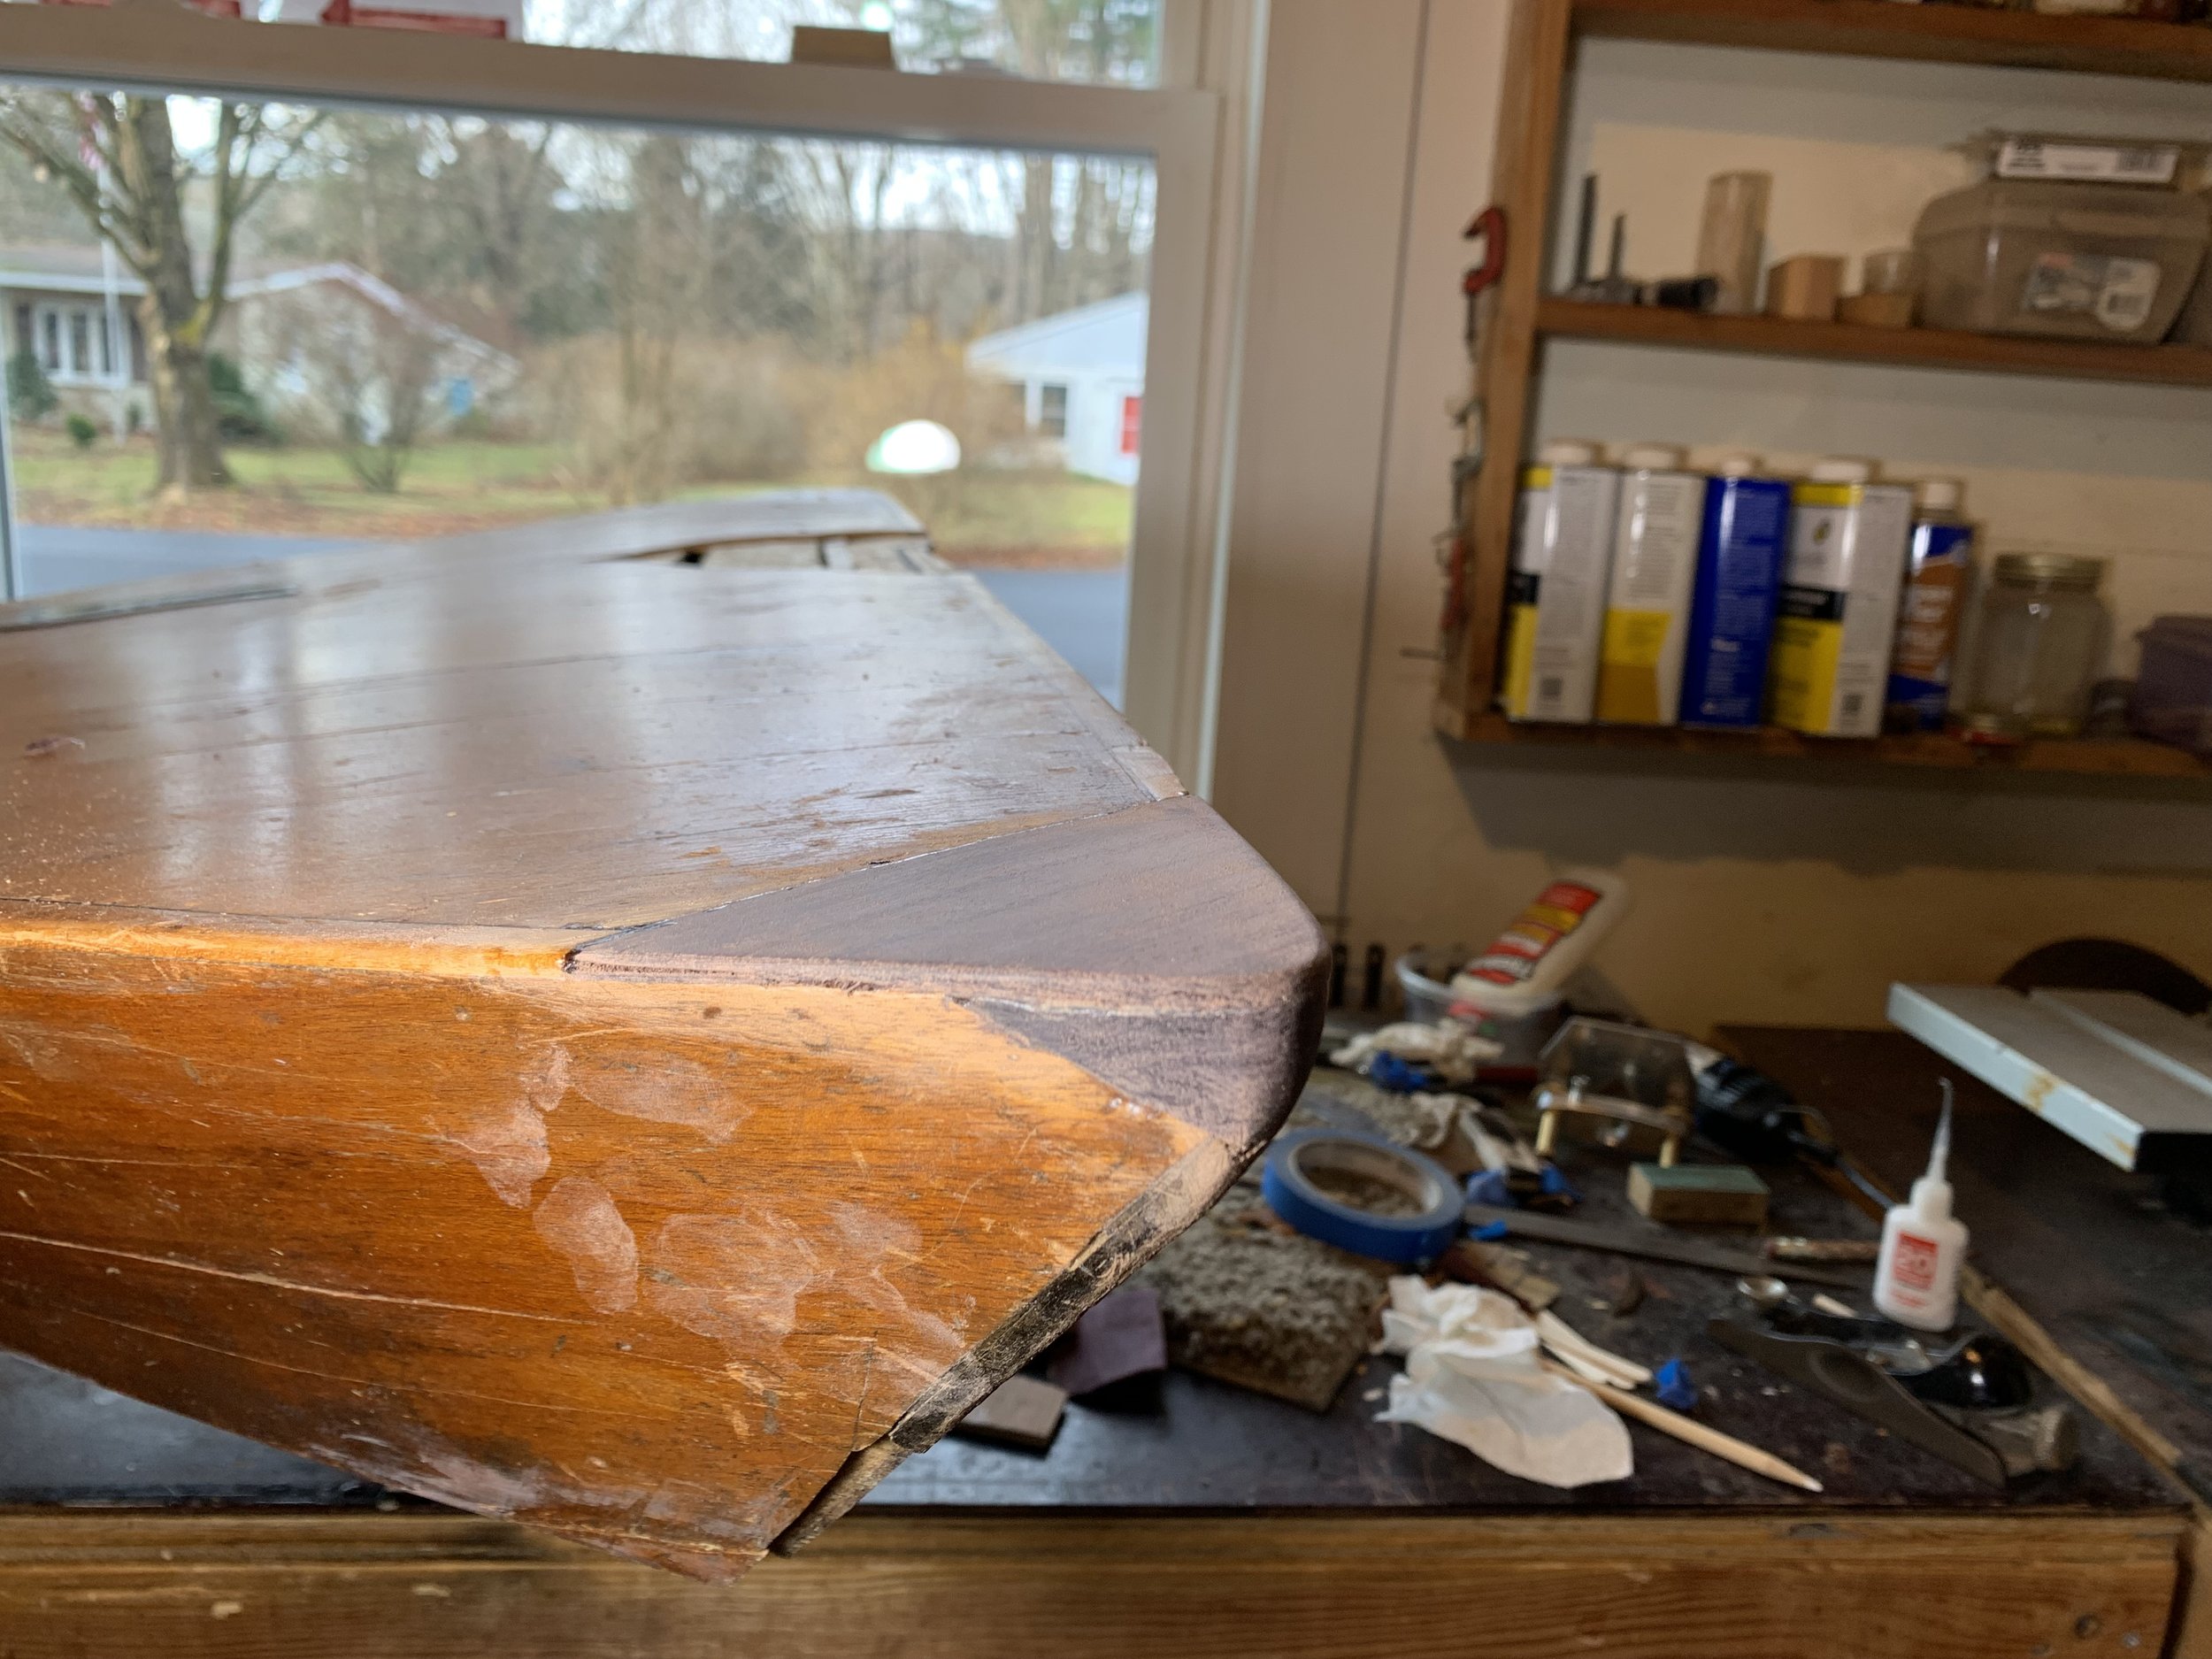
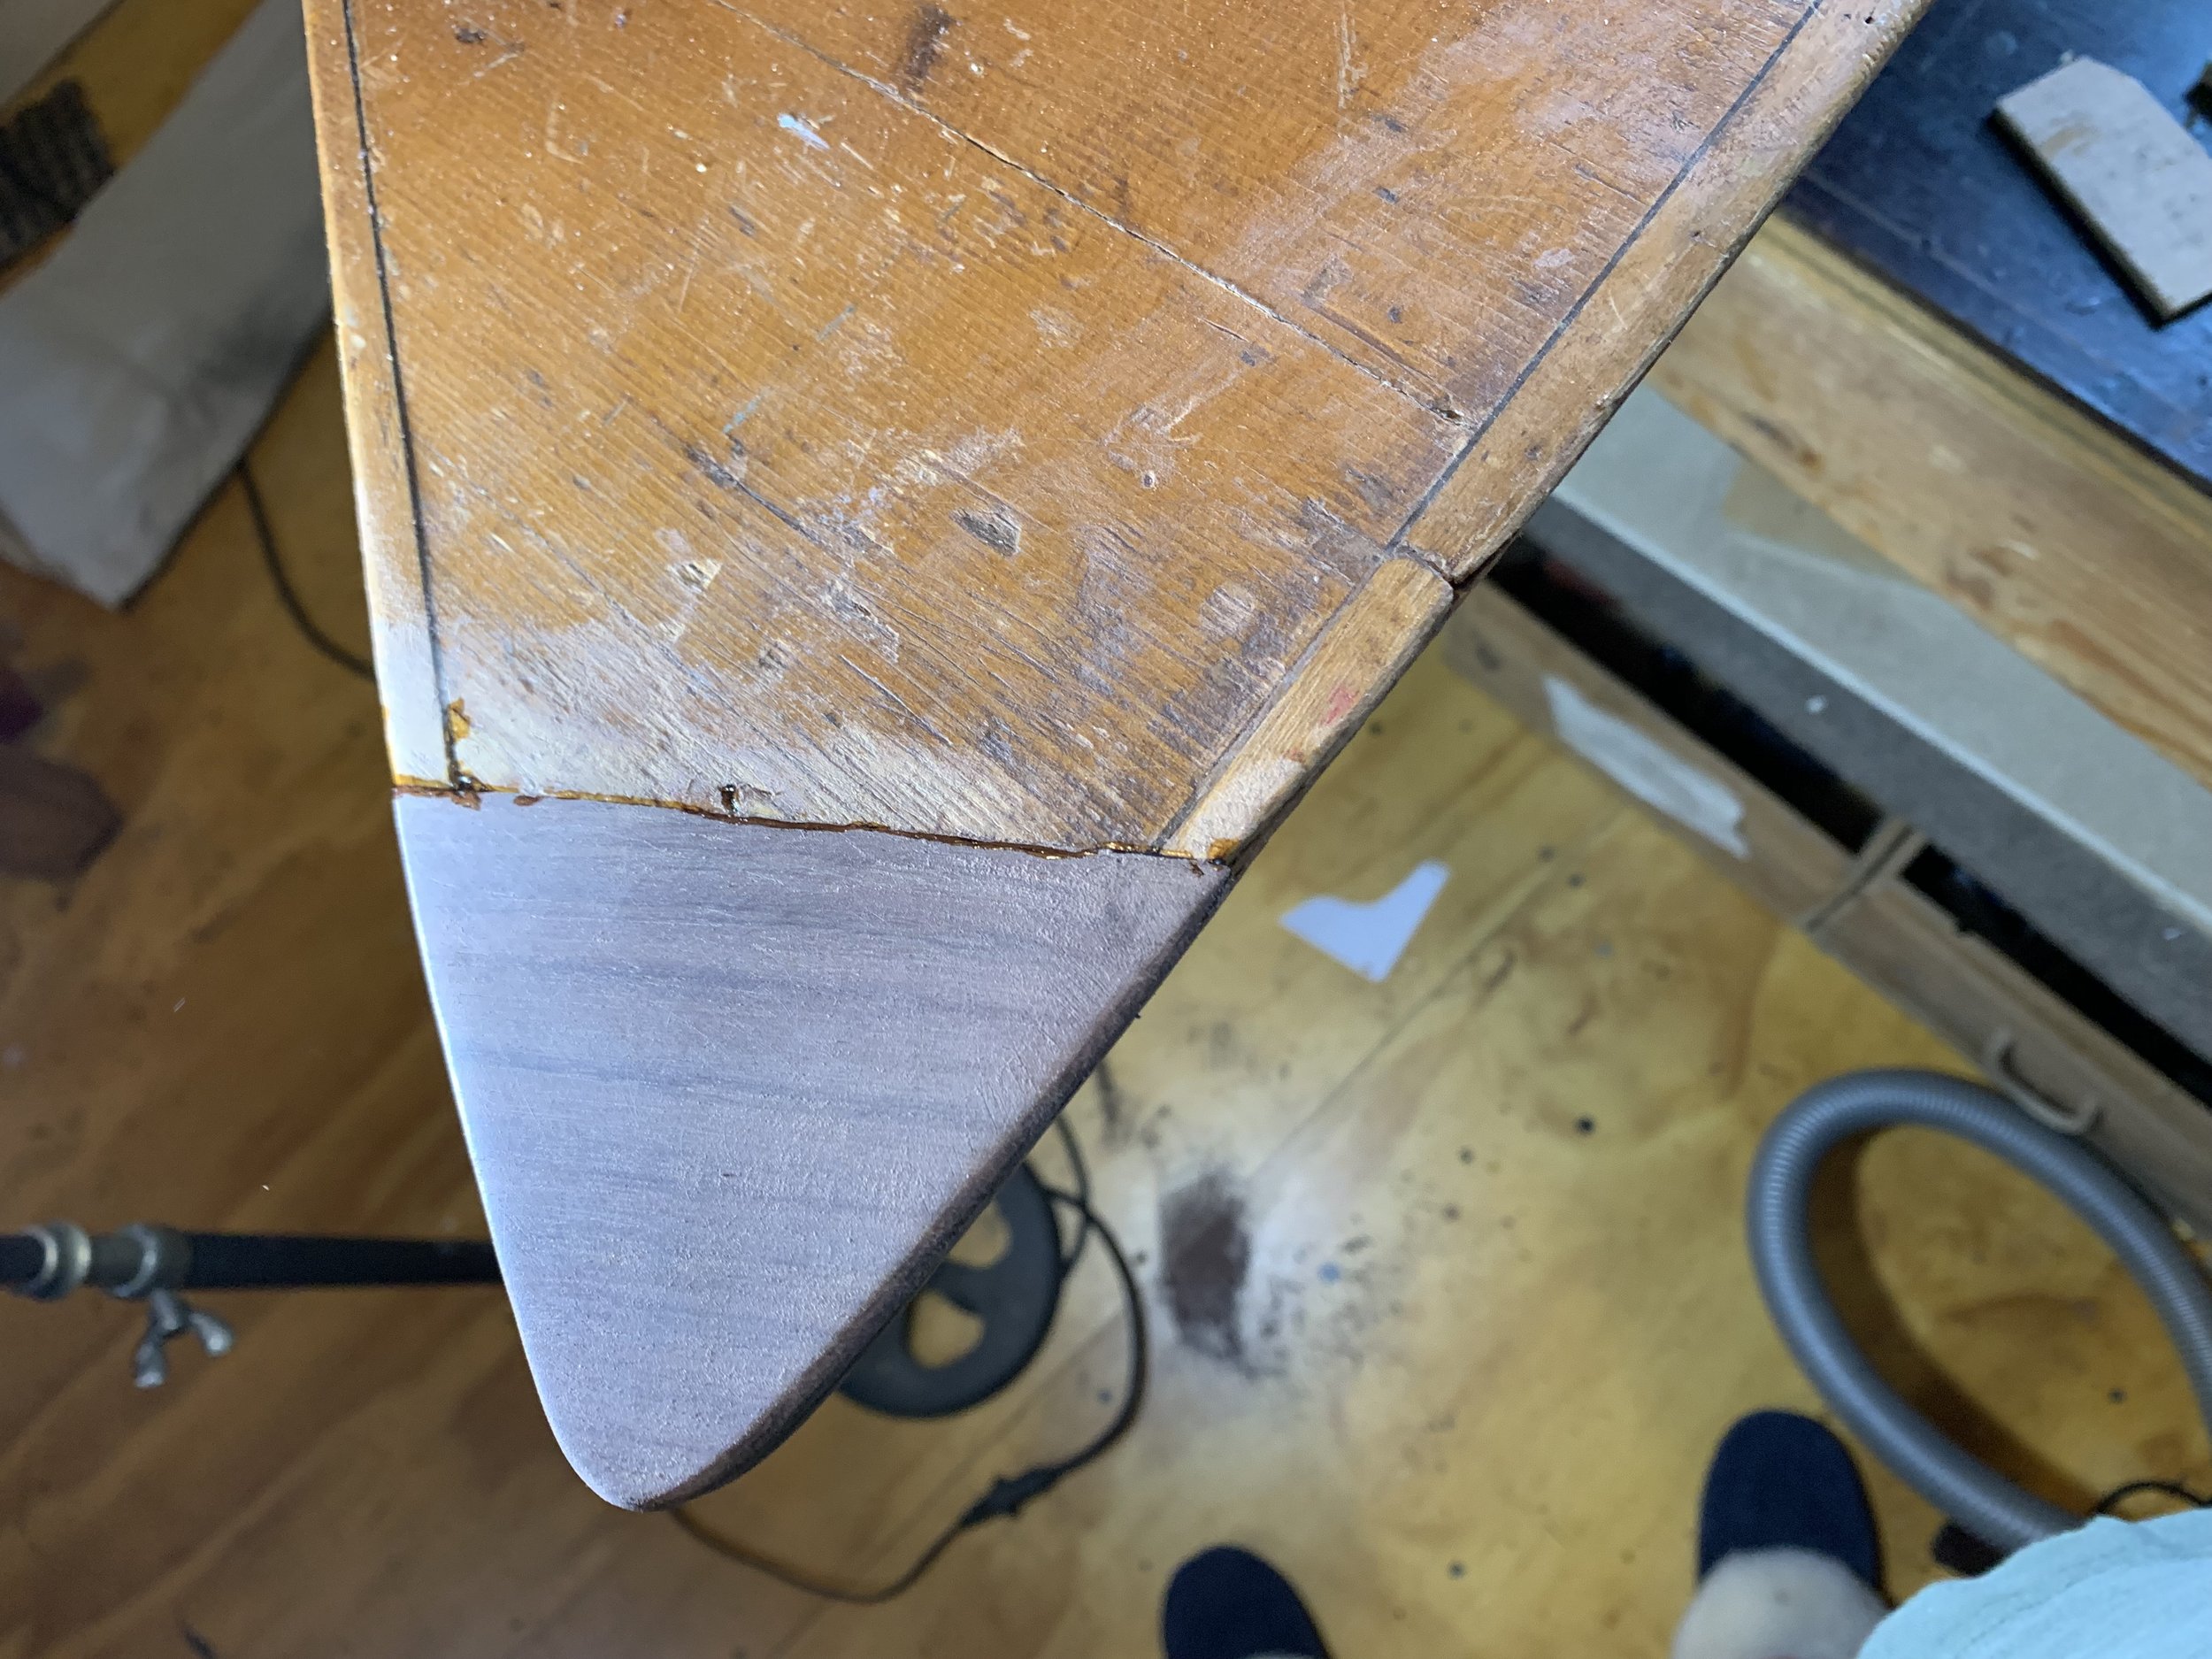
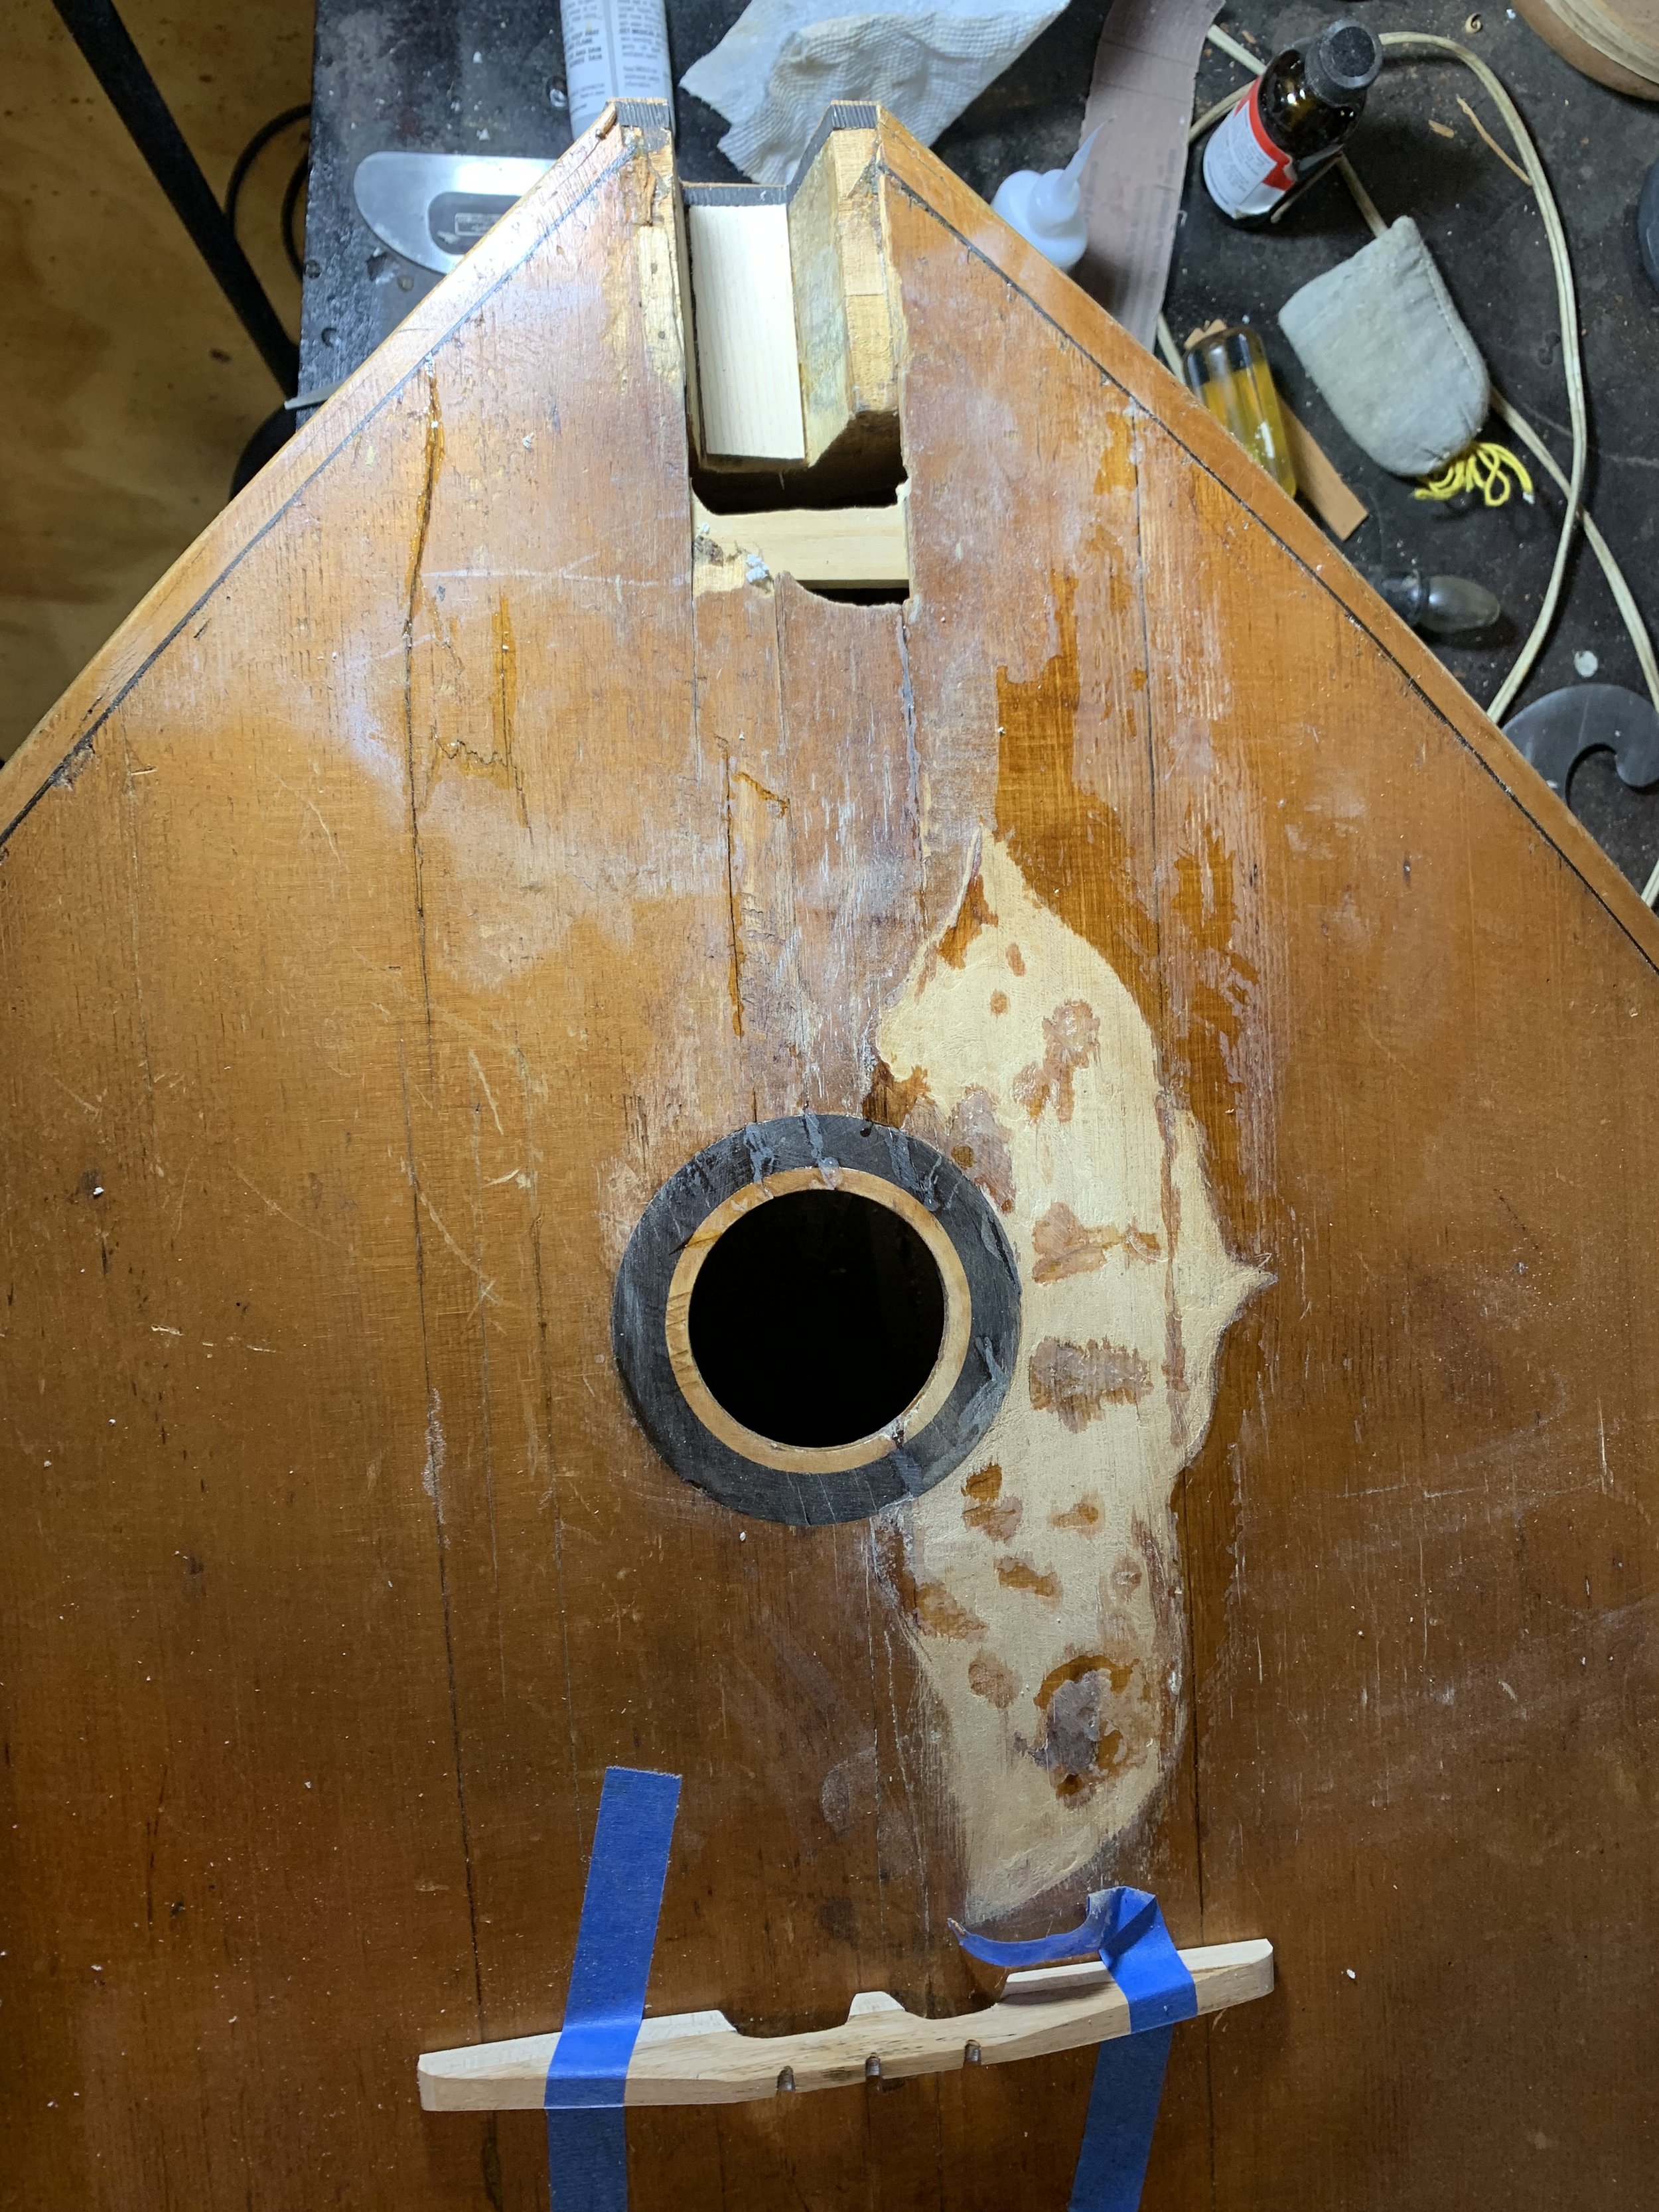
I inlayed a piece of ebony to the tail for strength and also inlayed a piece of rosewood on the top, where the spruce had collapsed, also for strength.
Then I removed the old maple binding from the bottom and used ebony also for durability and strength. Then I put ebony dowels in the tail to receive the screws for that hold the loop end strings. I also sent away for strings made for the instrument (coming from St Petersburg, Russia no less!) they should arrive in a month or so.


Next I made a new corner piece for the bass side corner that was destroyed.


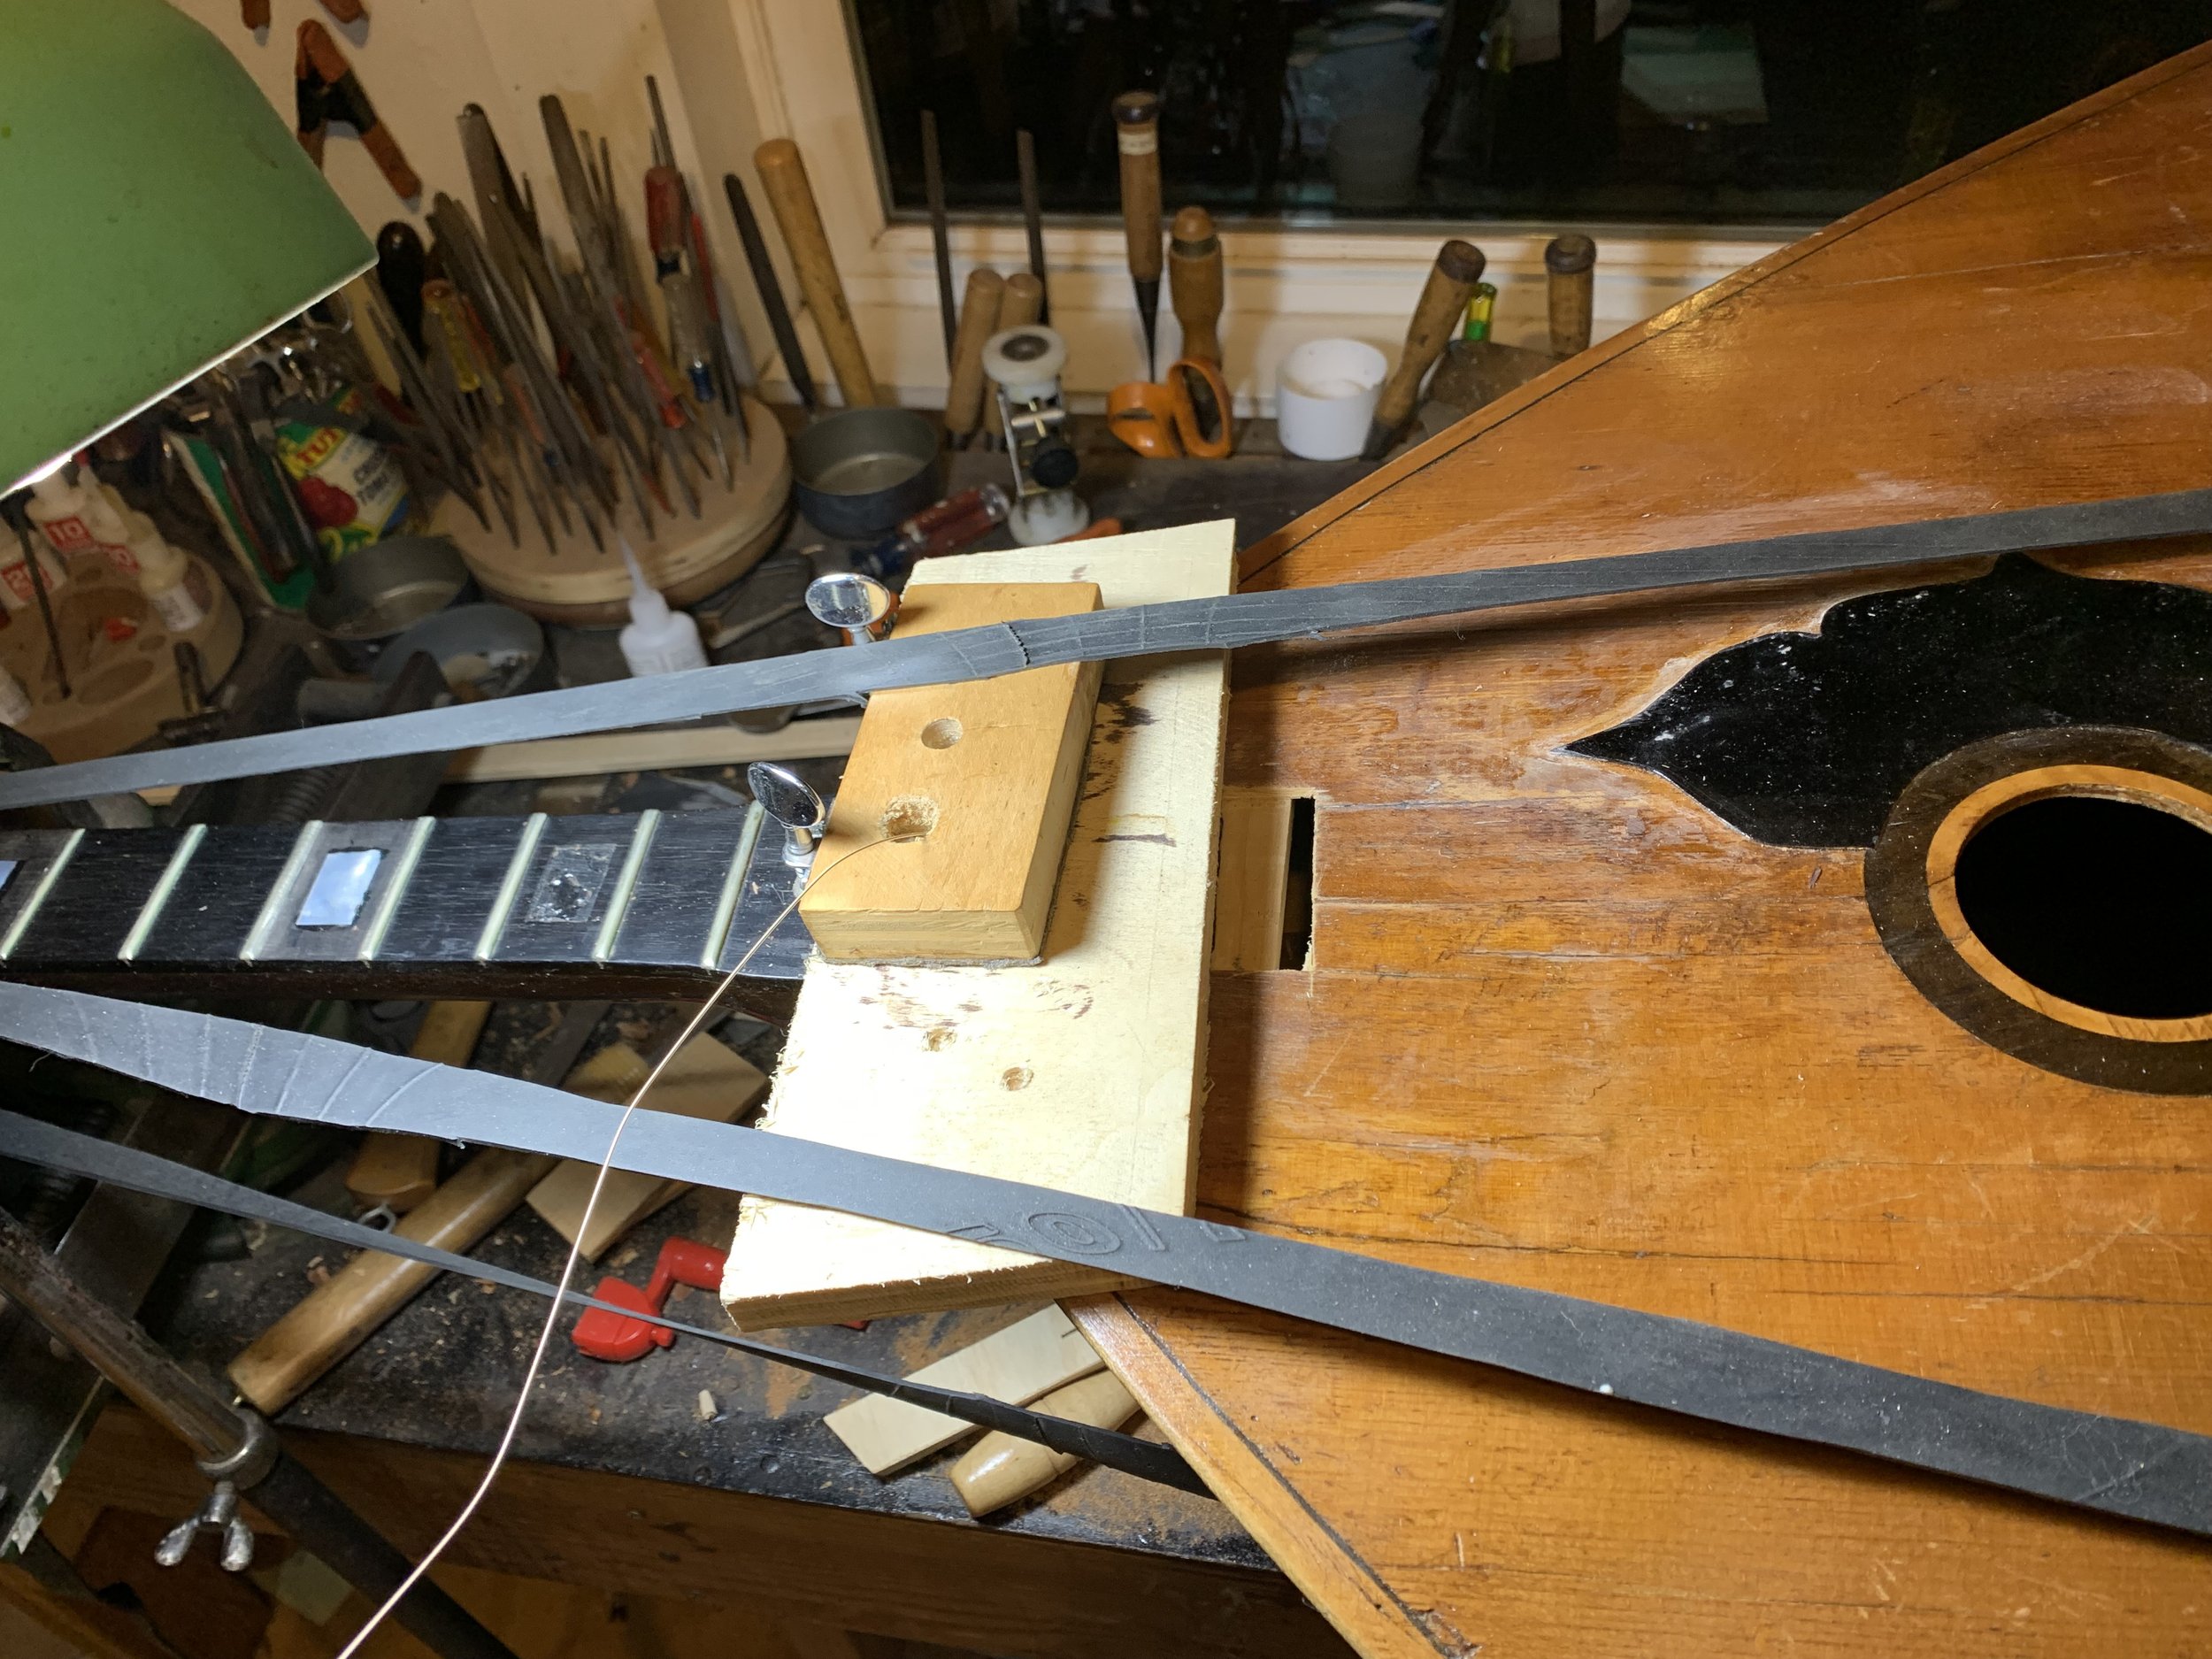
Now it was time to take the neck off and see what kind of neck joint it has. You never know what you are going to find when you take a neck off an instrument. So I cut off the fingerboard extension to get a look at what was underneath.It turns out someone had already taken the neck off and put it back together with three huge wood screws which were underneath the top!
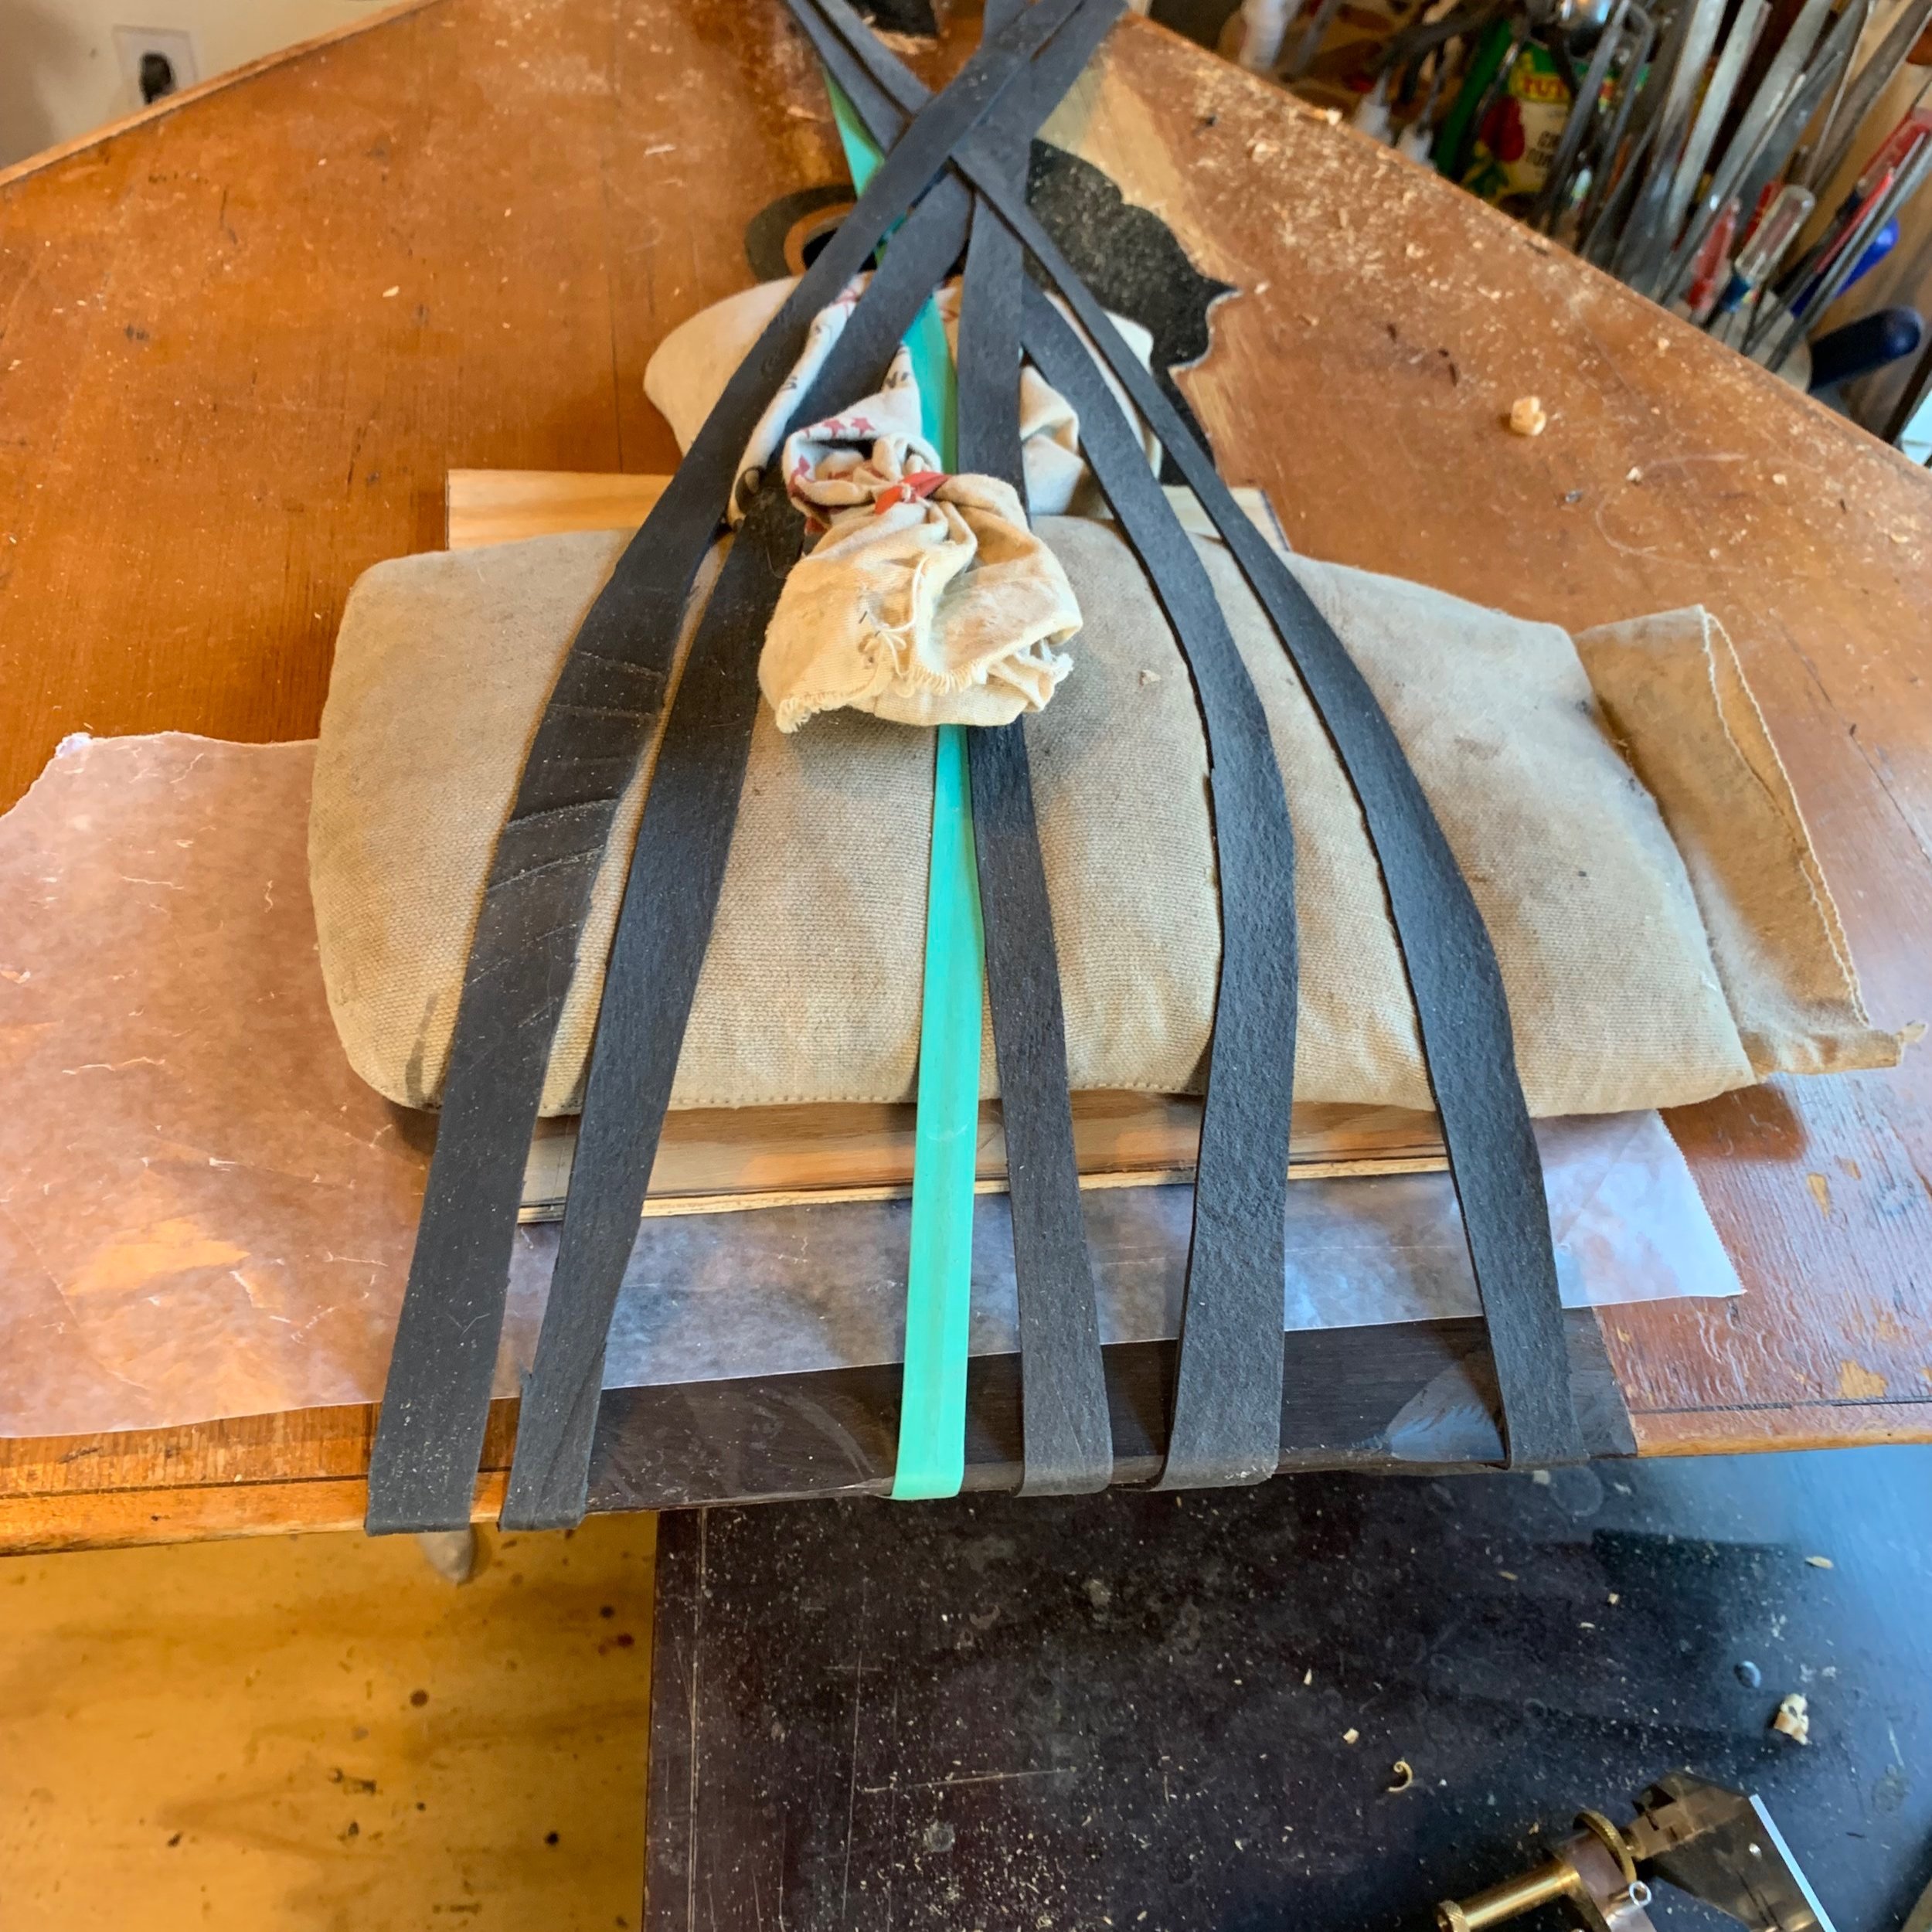
It took a long time to get the neck angle right and then figure out how to glue the darned thing in, since there is no way to use conventional clamps. I decided to use a sajia to pull it down and my rubber bands to suck it in. I had put a couple of braces under the top below the fingerboard extension to try to re-enforce the top where it had collapsed. Then I inlayed a piece of spruce in the area under the fingerboard extension.
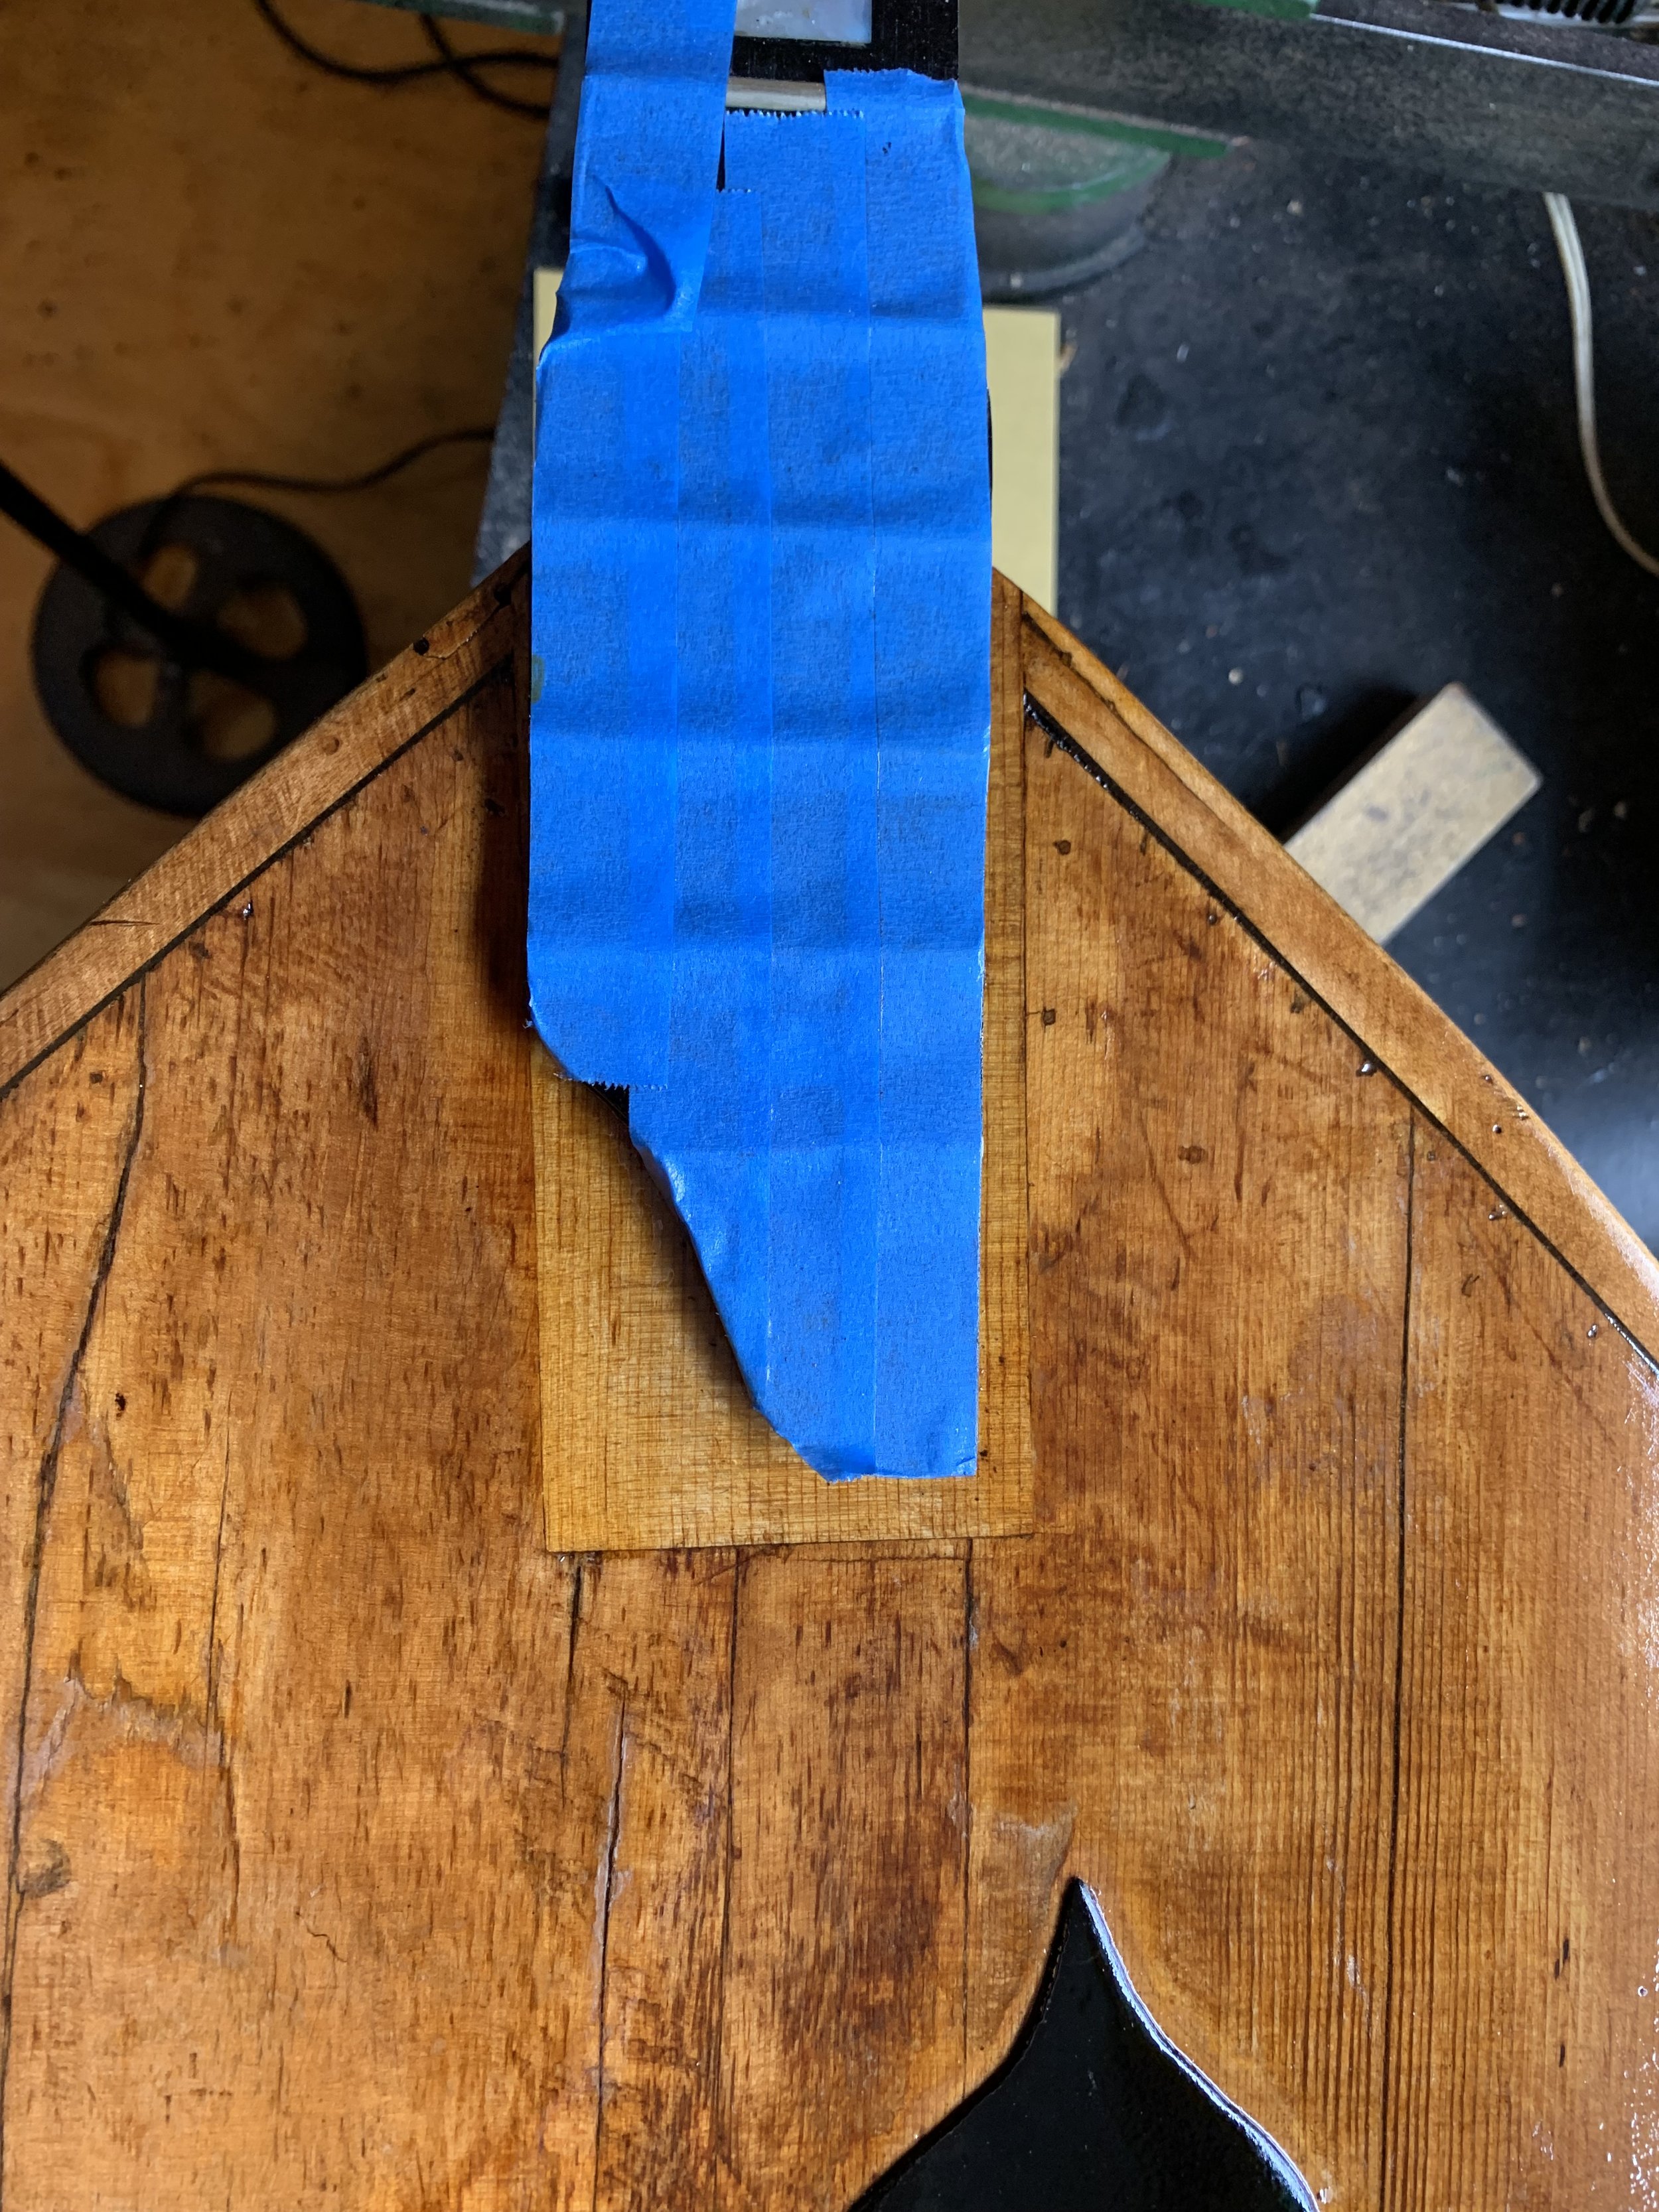
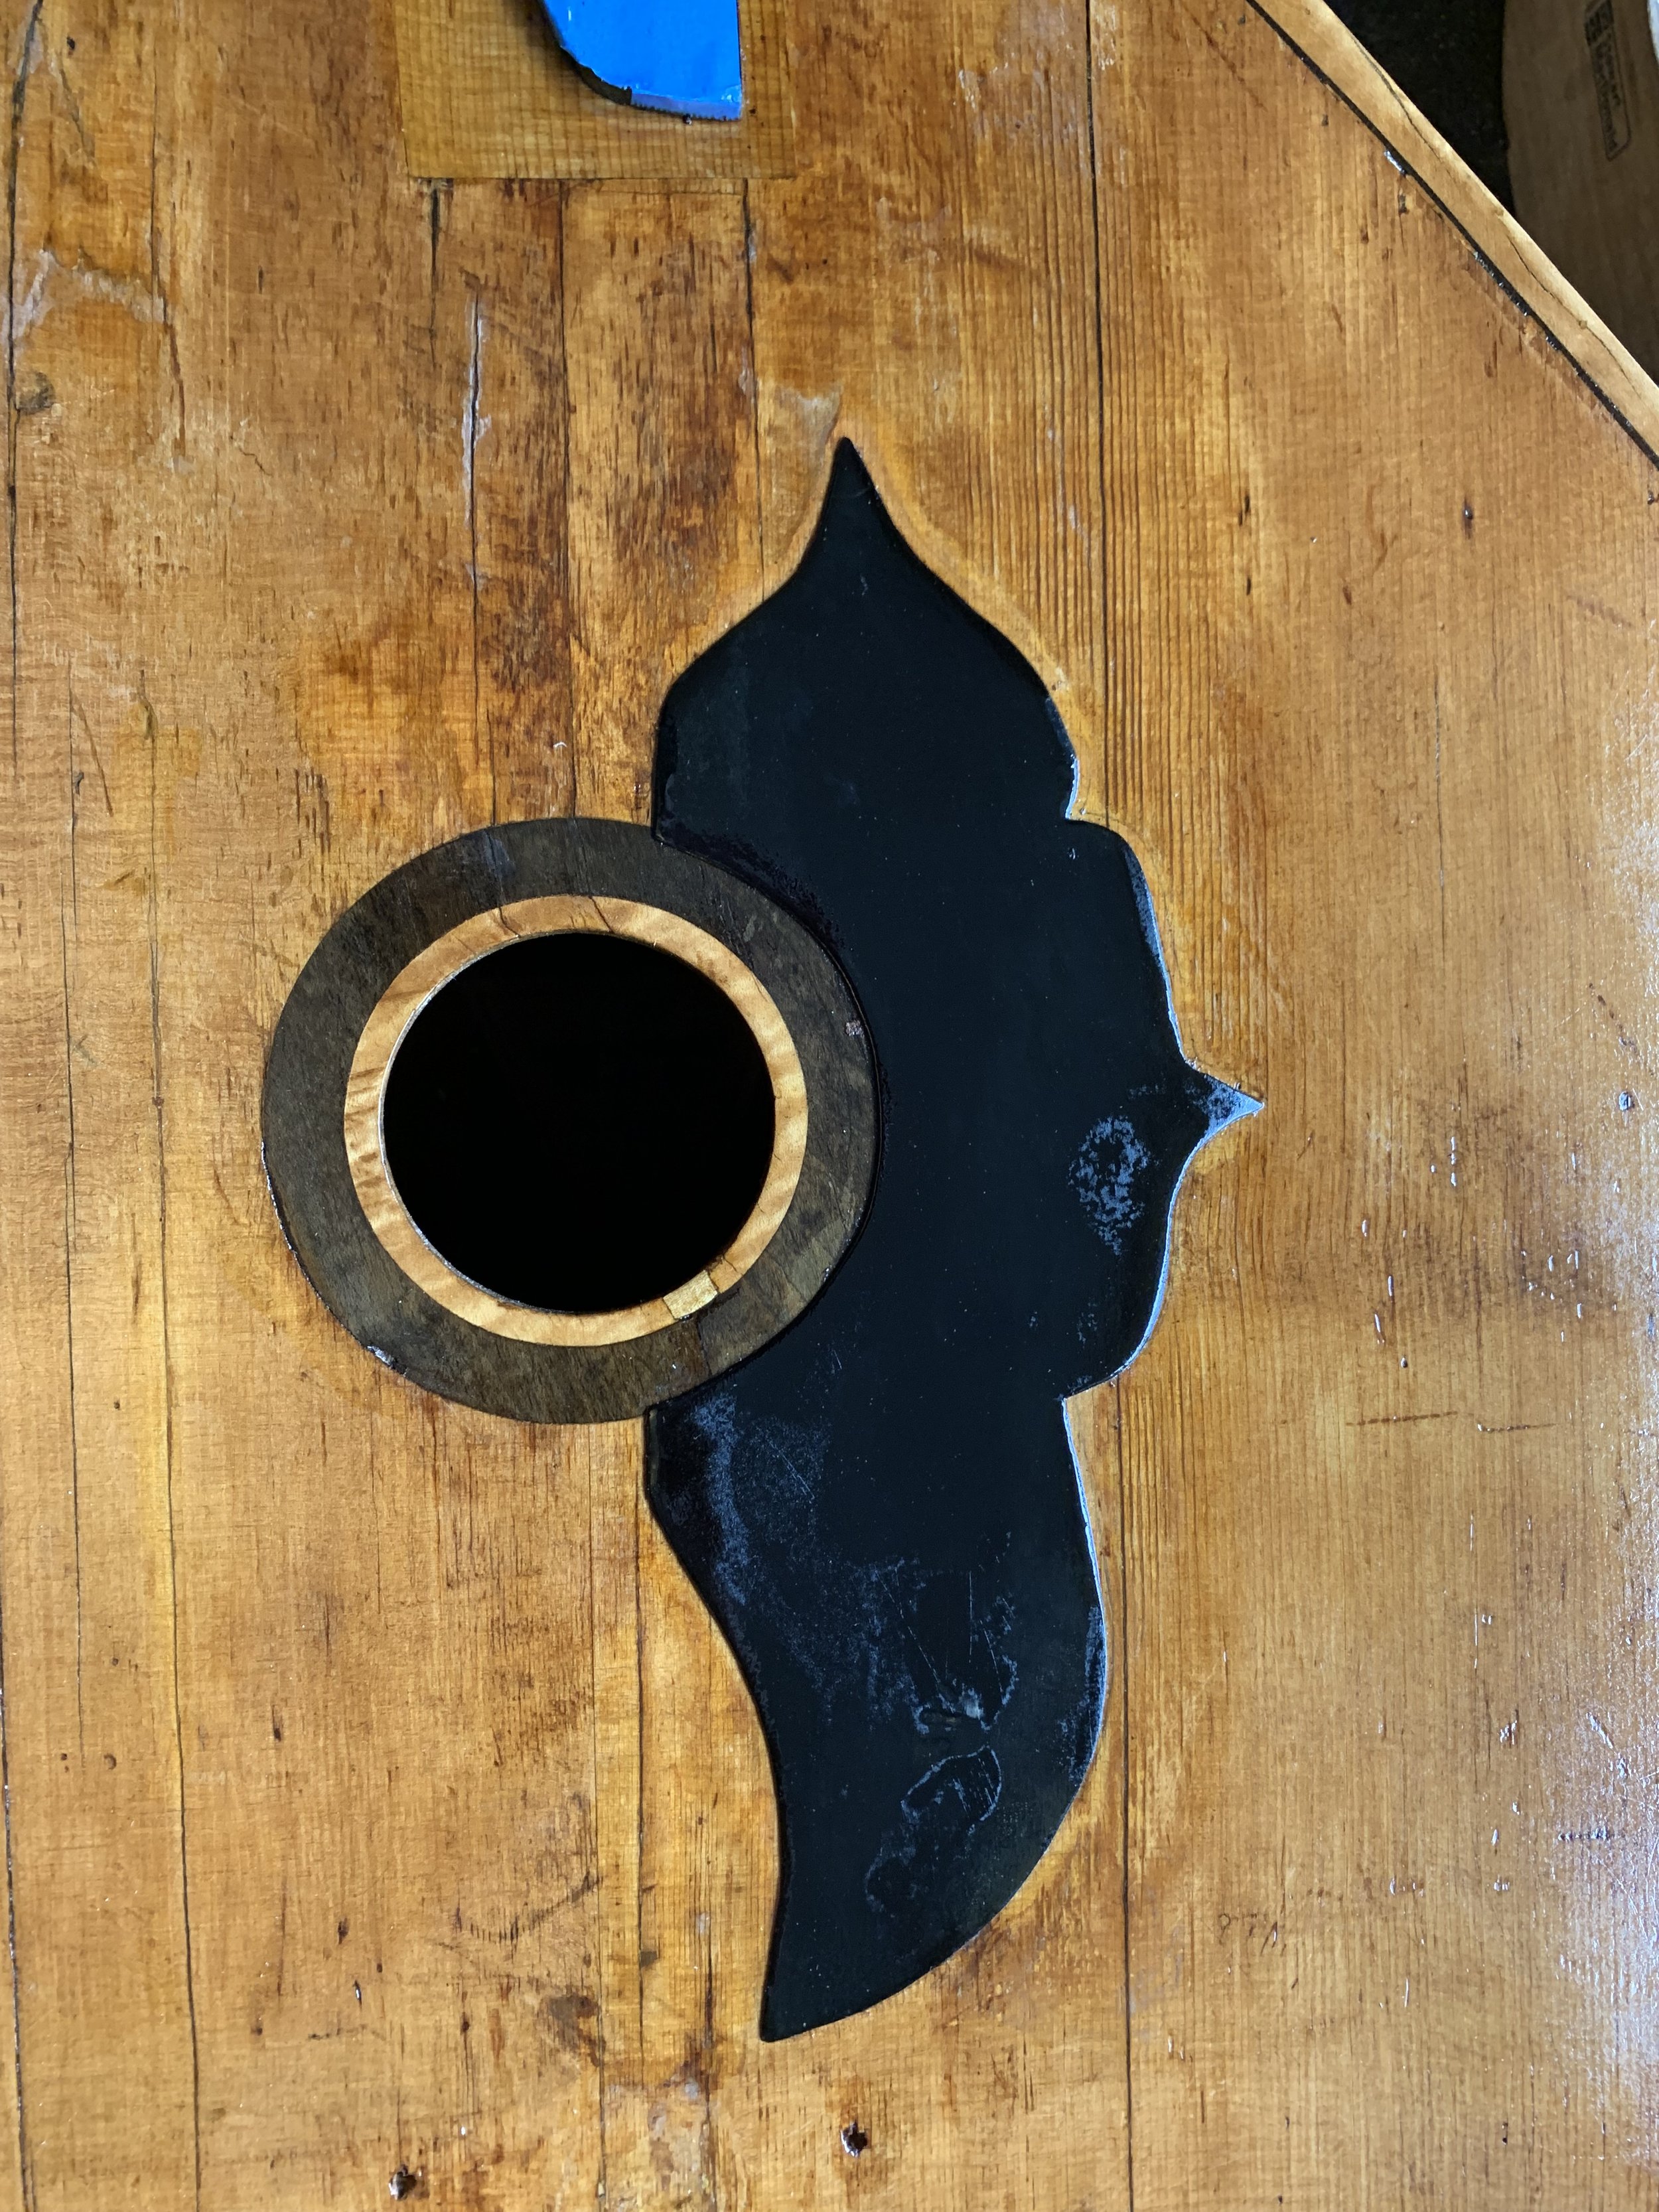
The pick guard was coming off, so I decided to take it off and see what was underneath. There were a few holes in the top that I filled with superglue. I also filled in the areas around the pick guard that were all chewed up with superglue, then sprayed shellack on the whole top.


I’m still waiting for the strings to come so I can string it up. I have to get screws for the string holders, because the old ones are all bent. Stay tuned!
Here’s a link to a guitar I restored for Happy Traum https://www.happytraum.com/post/the-story-of-a-guitar
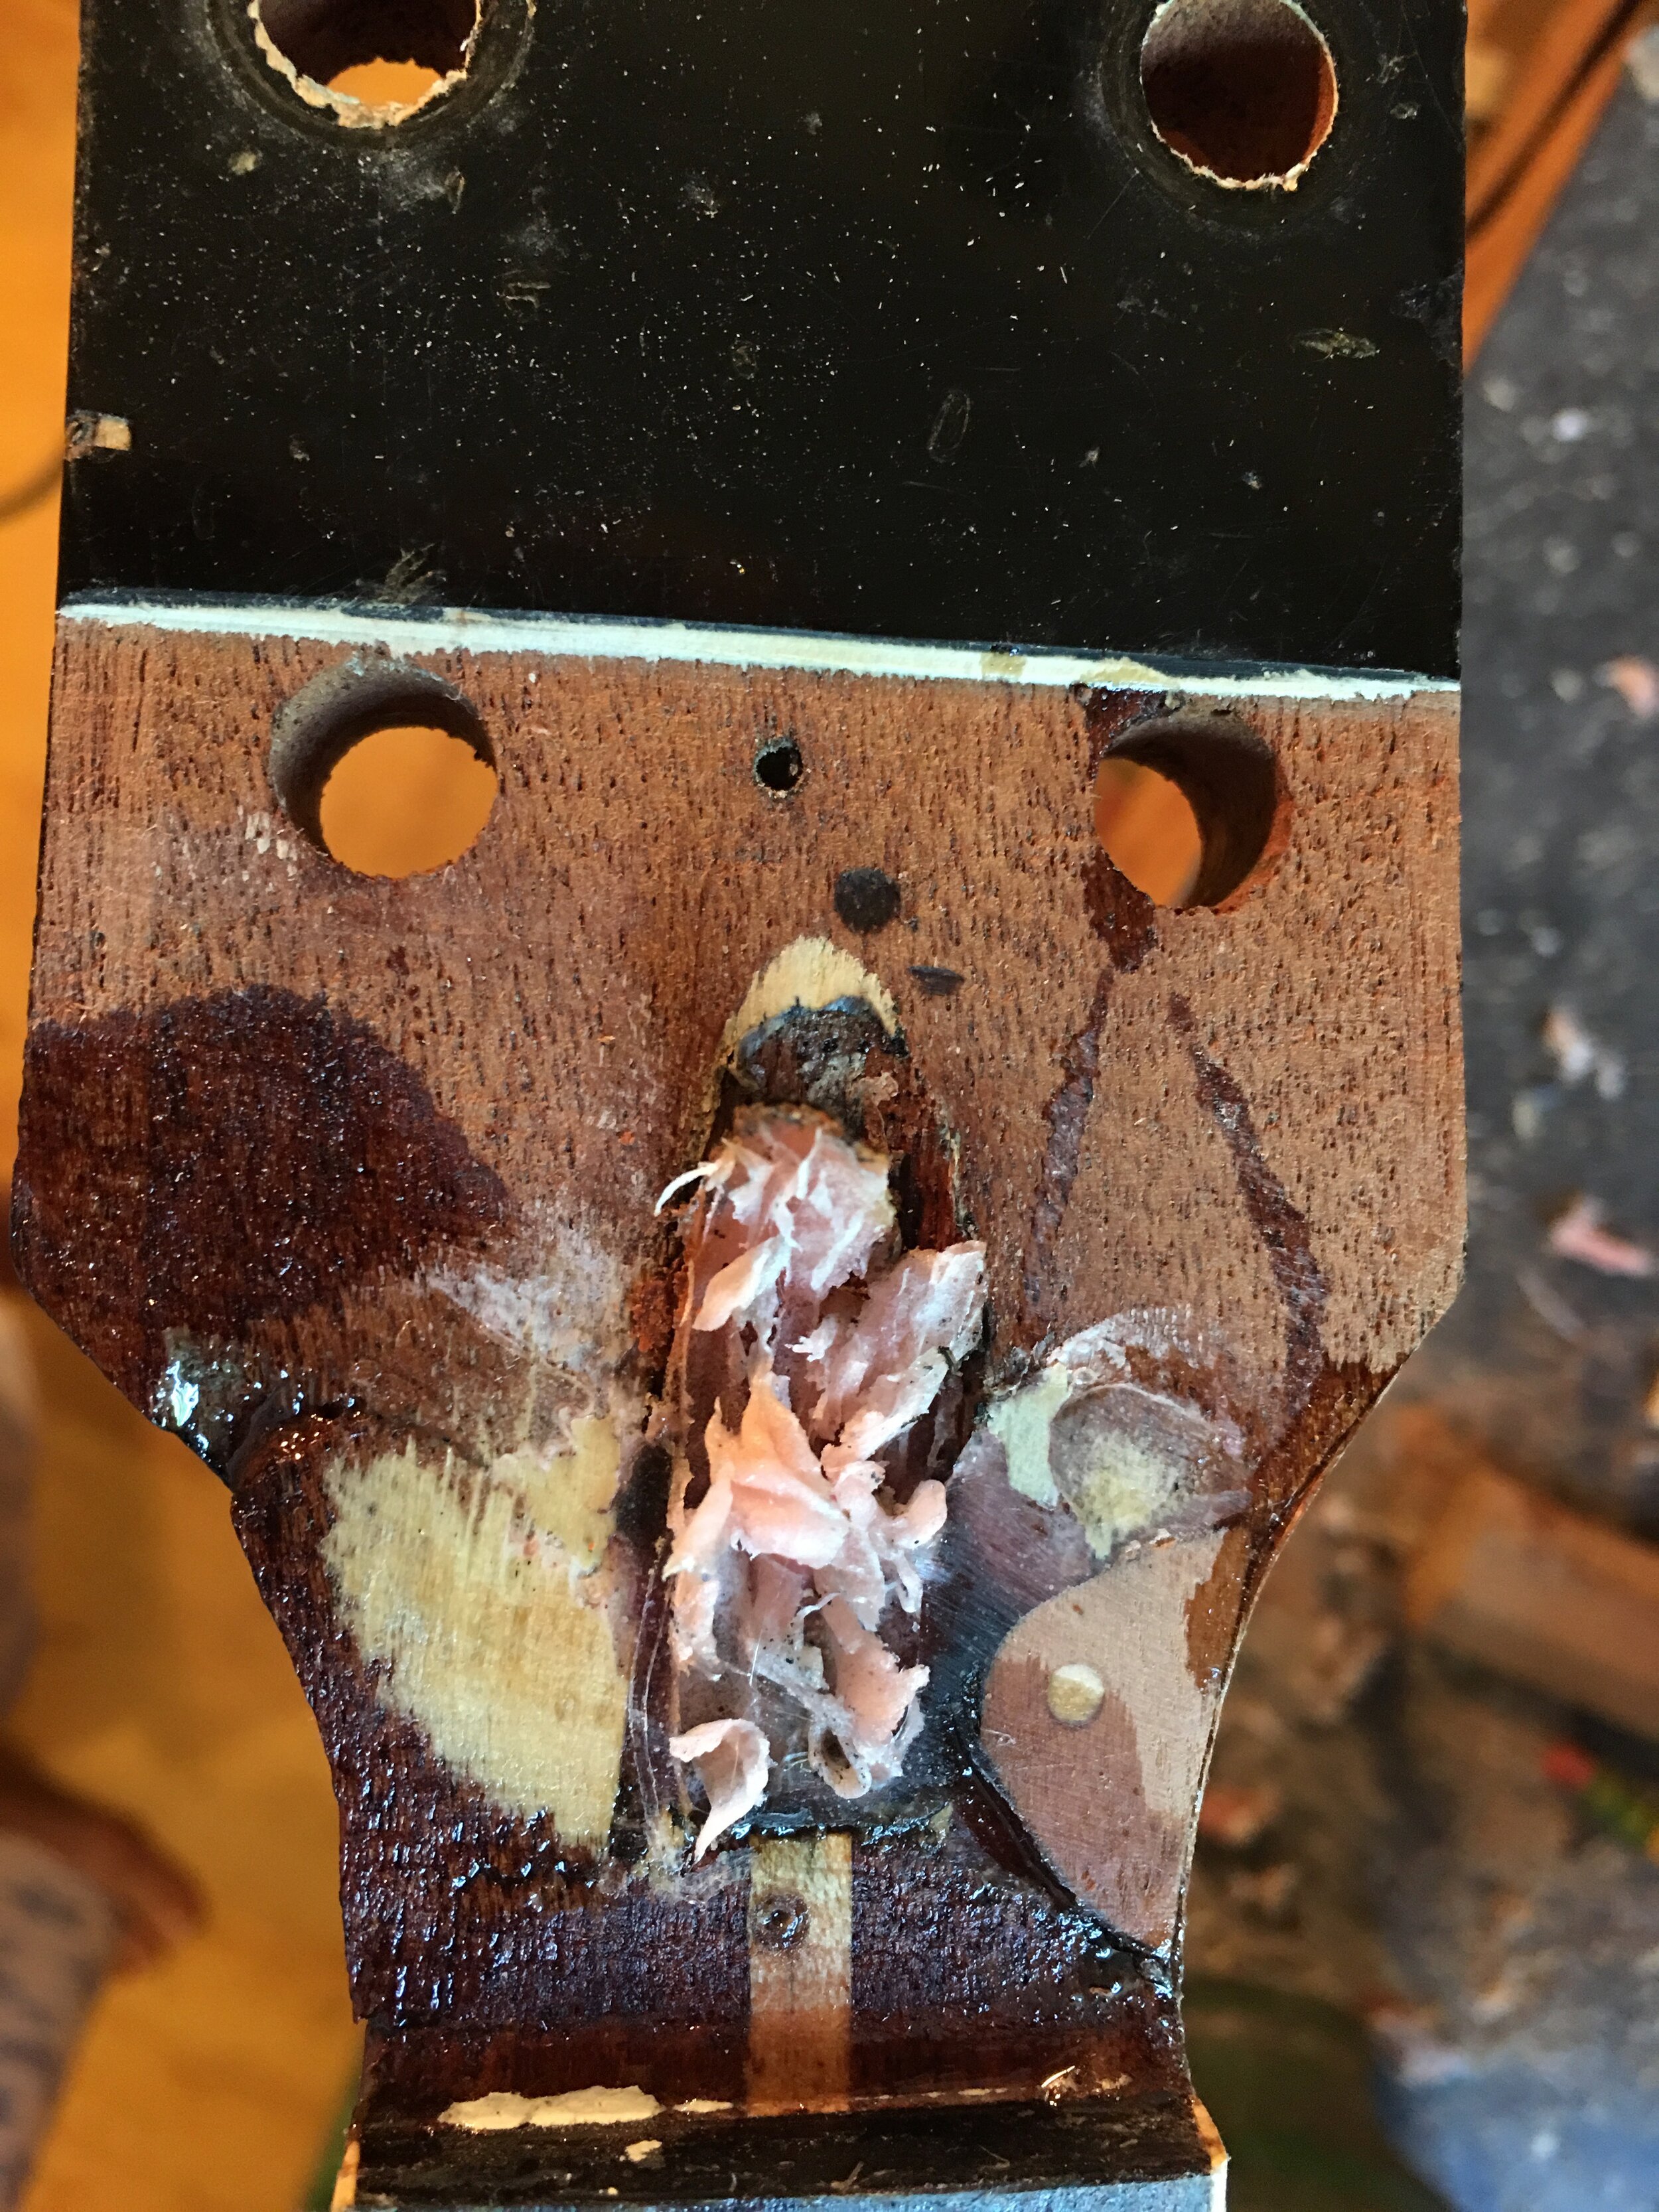
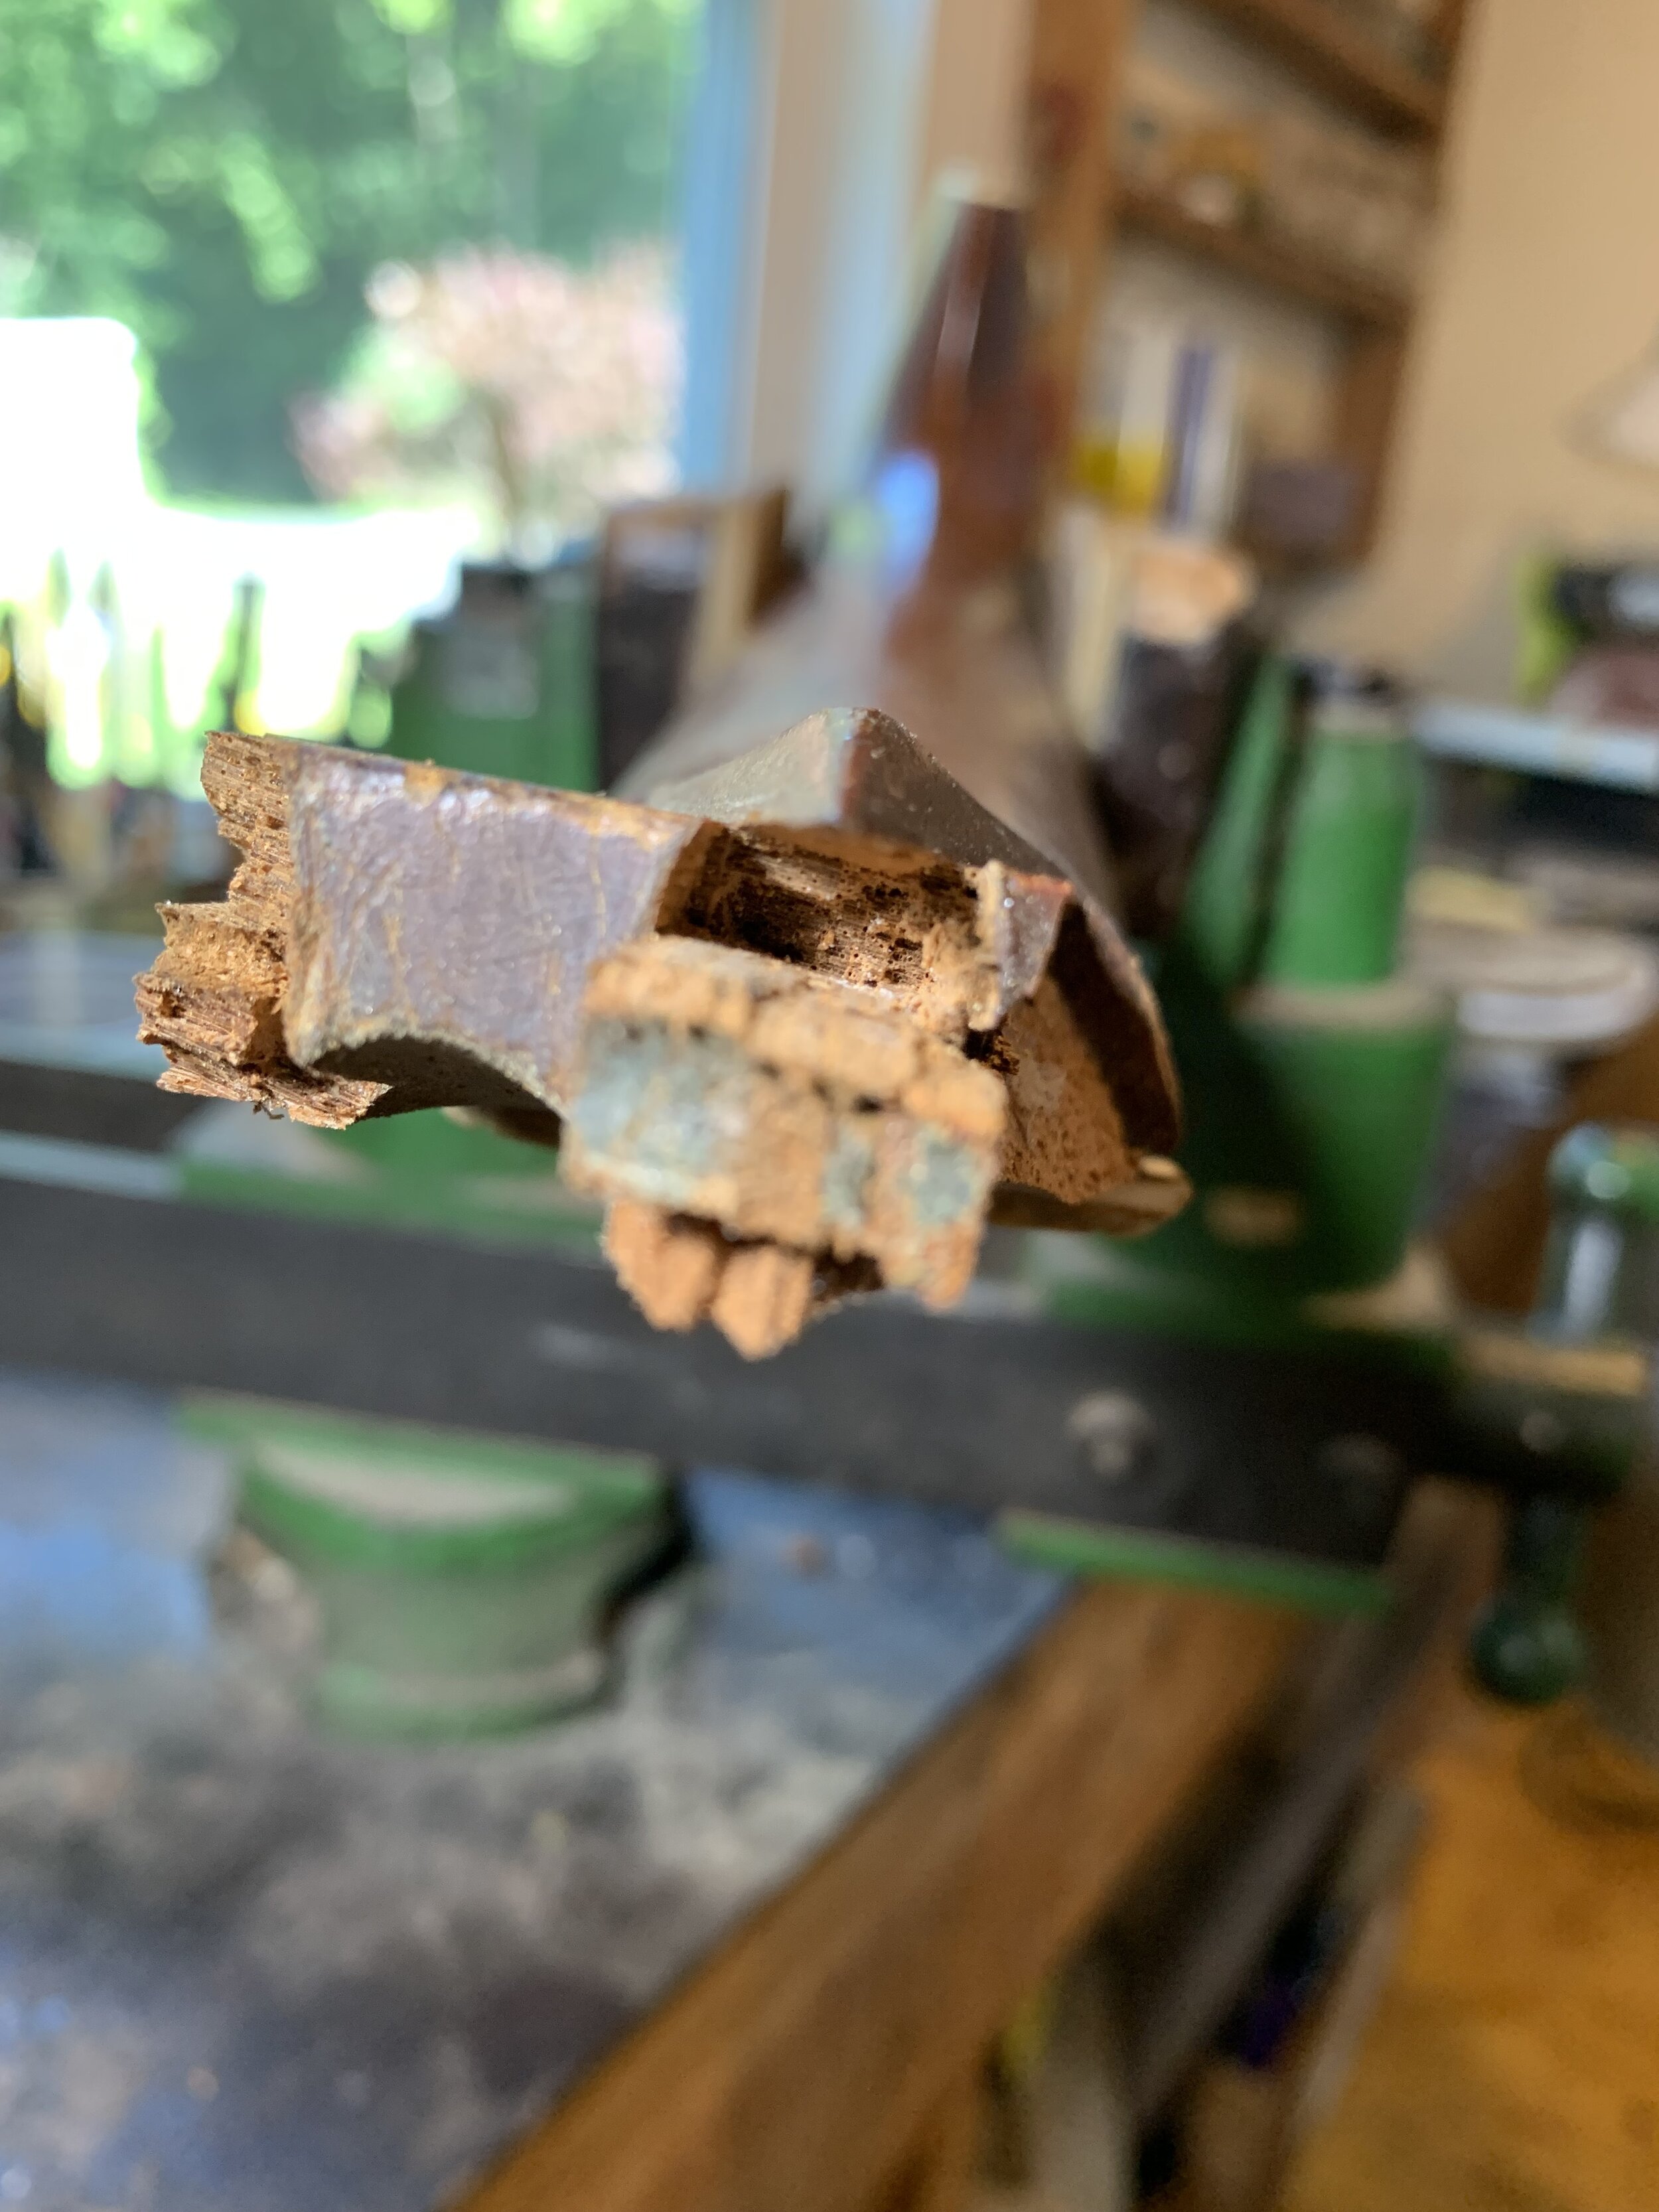
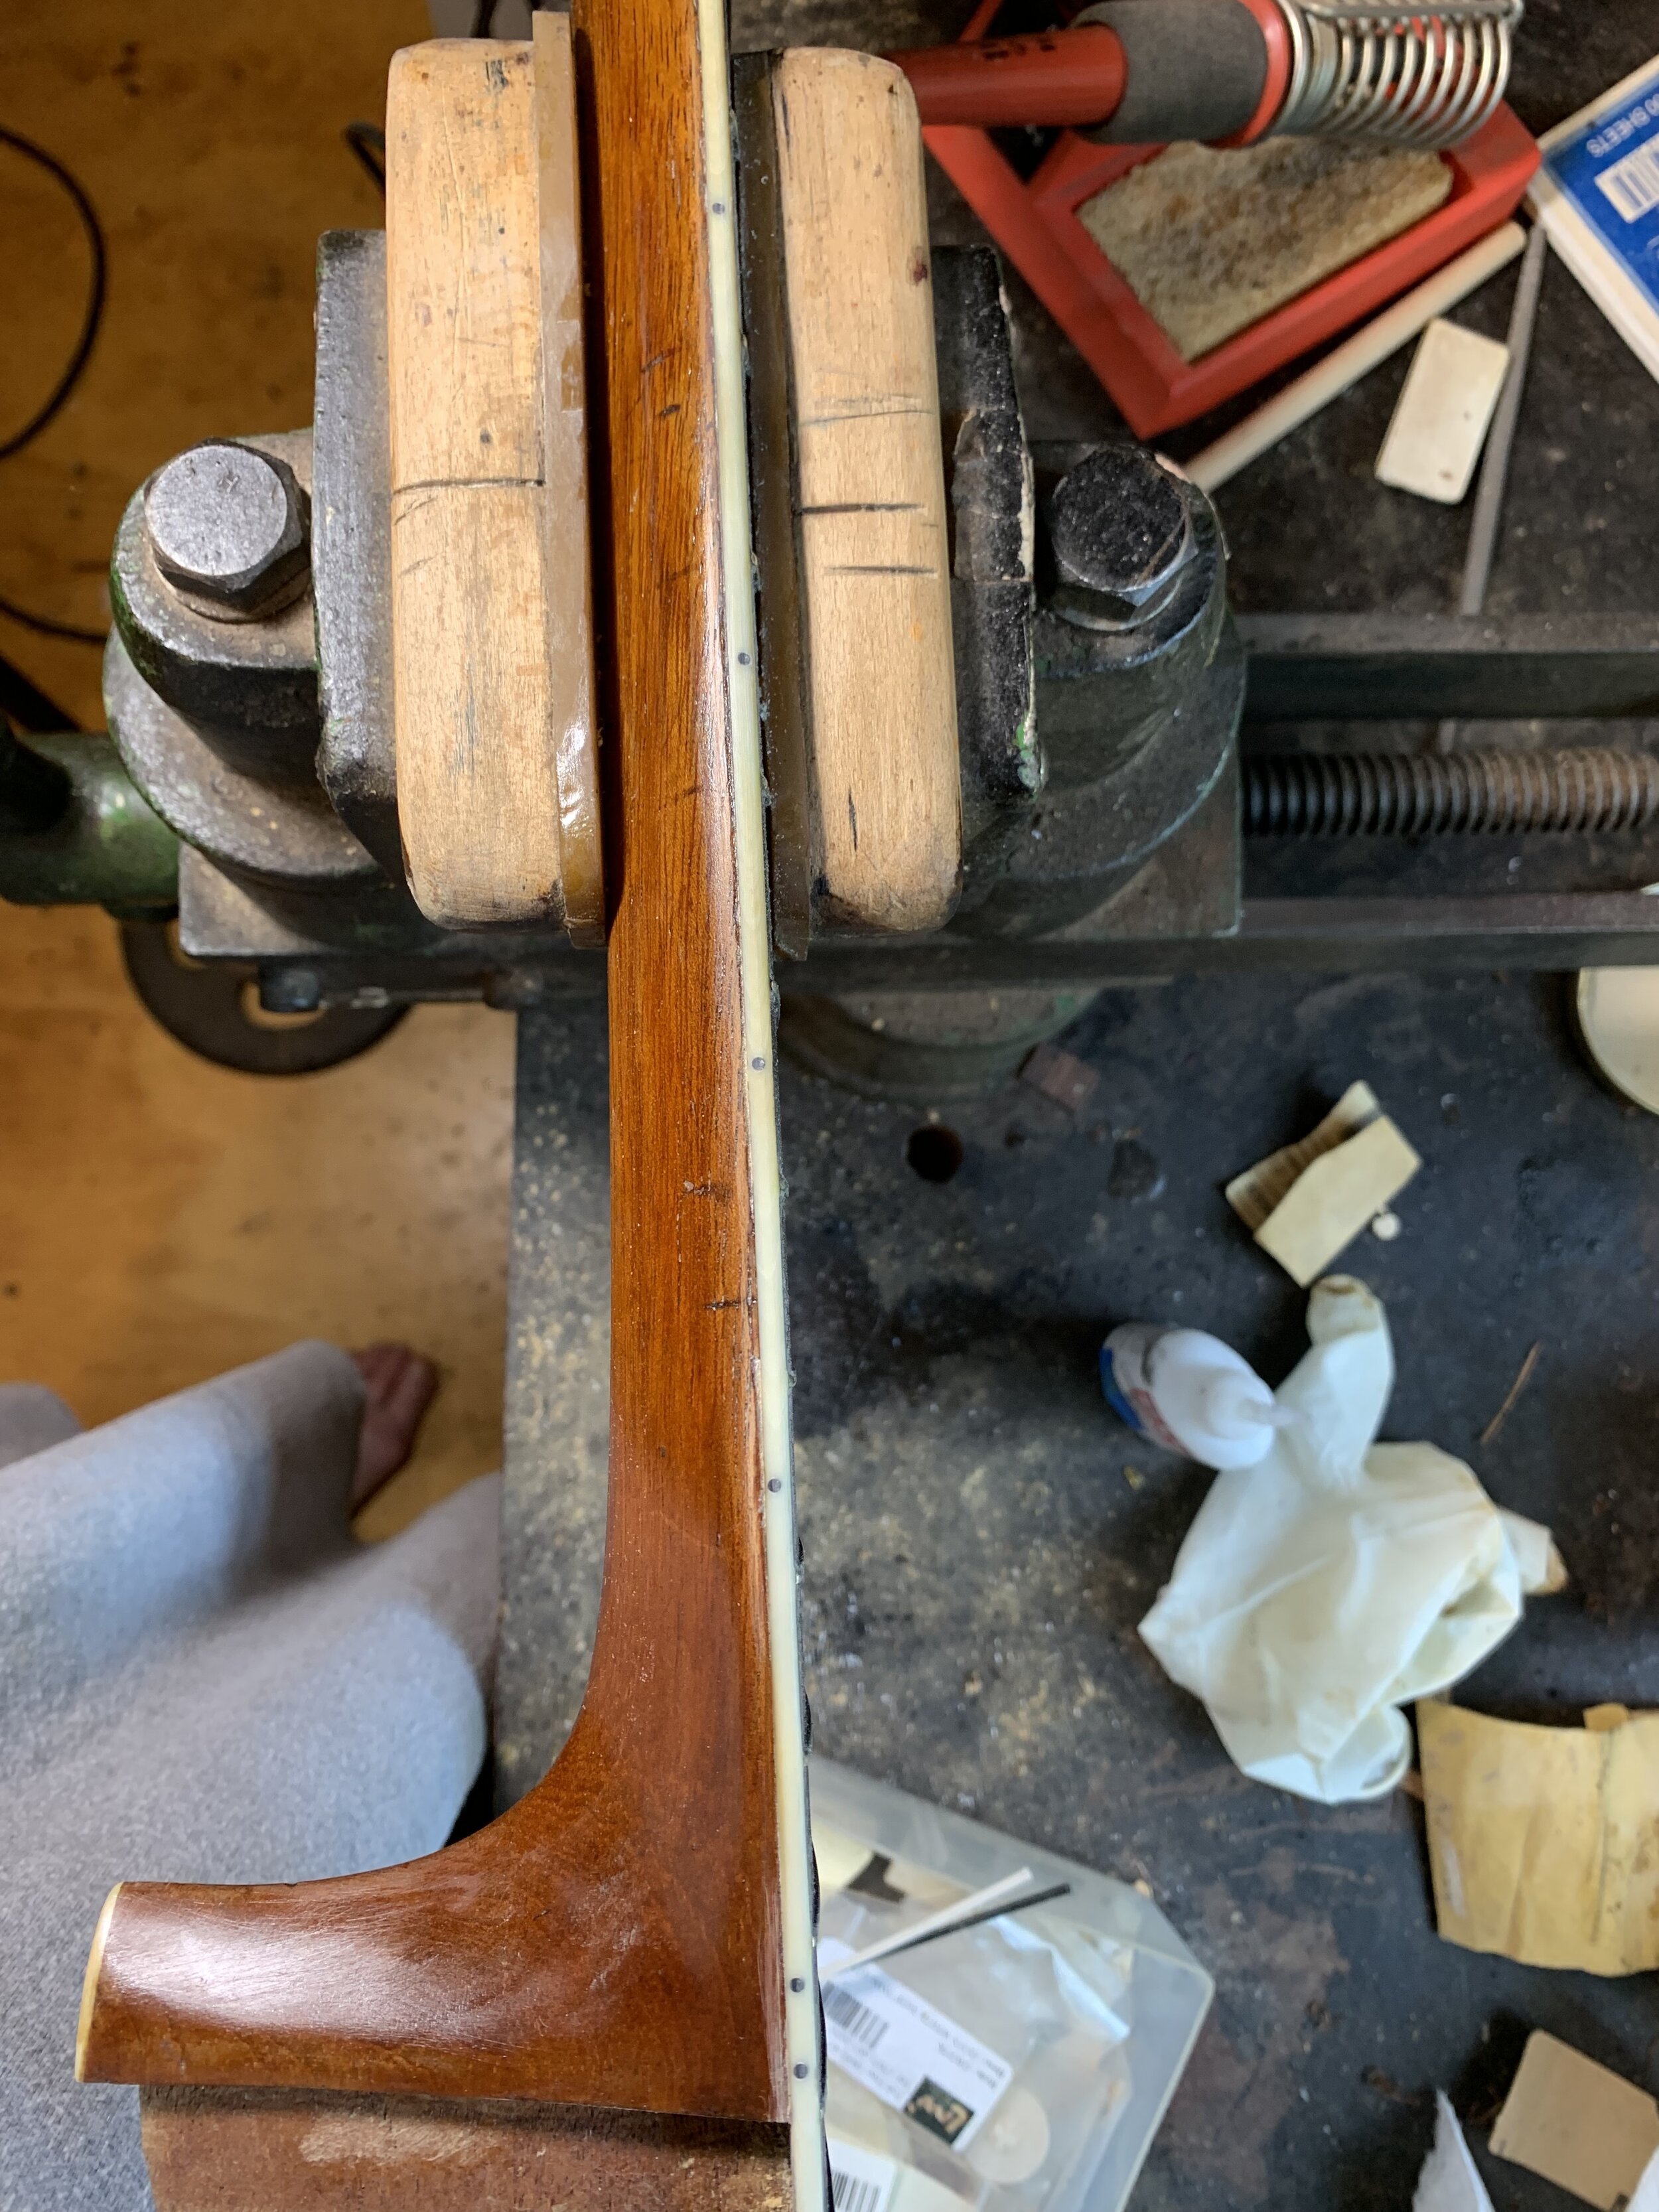
Next is a Gibson 125 with a broken (previously repaired) headstock.
It’s a common break on this model Gibson because they have very thin necks at the nut.
Someone used a huge screw and a lot of dental goo to fix it at some time. I had a heck of a time getting out the goo. I ended up using a soldering iron to heat it up so I could pick it out. It was also covering up the truss rod nut.
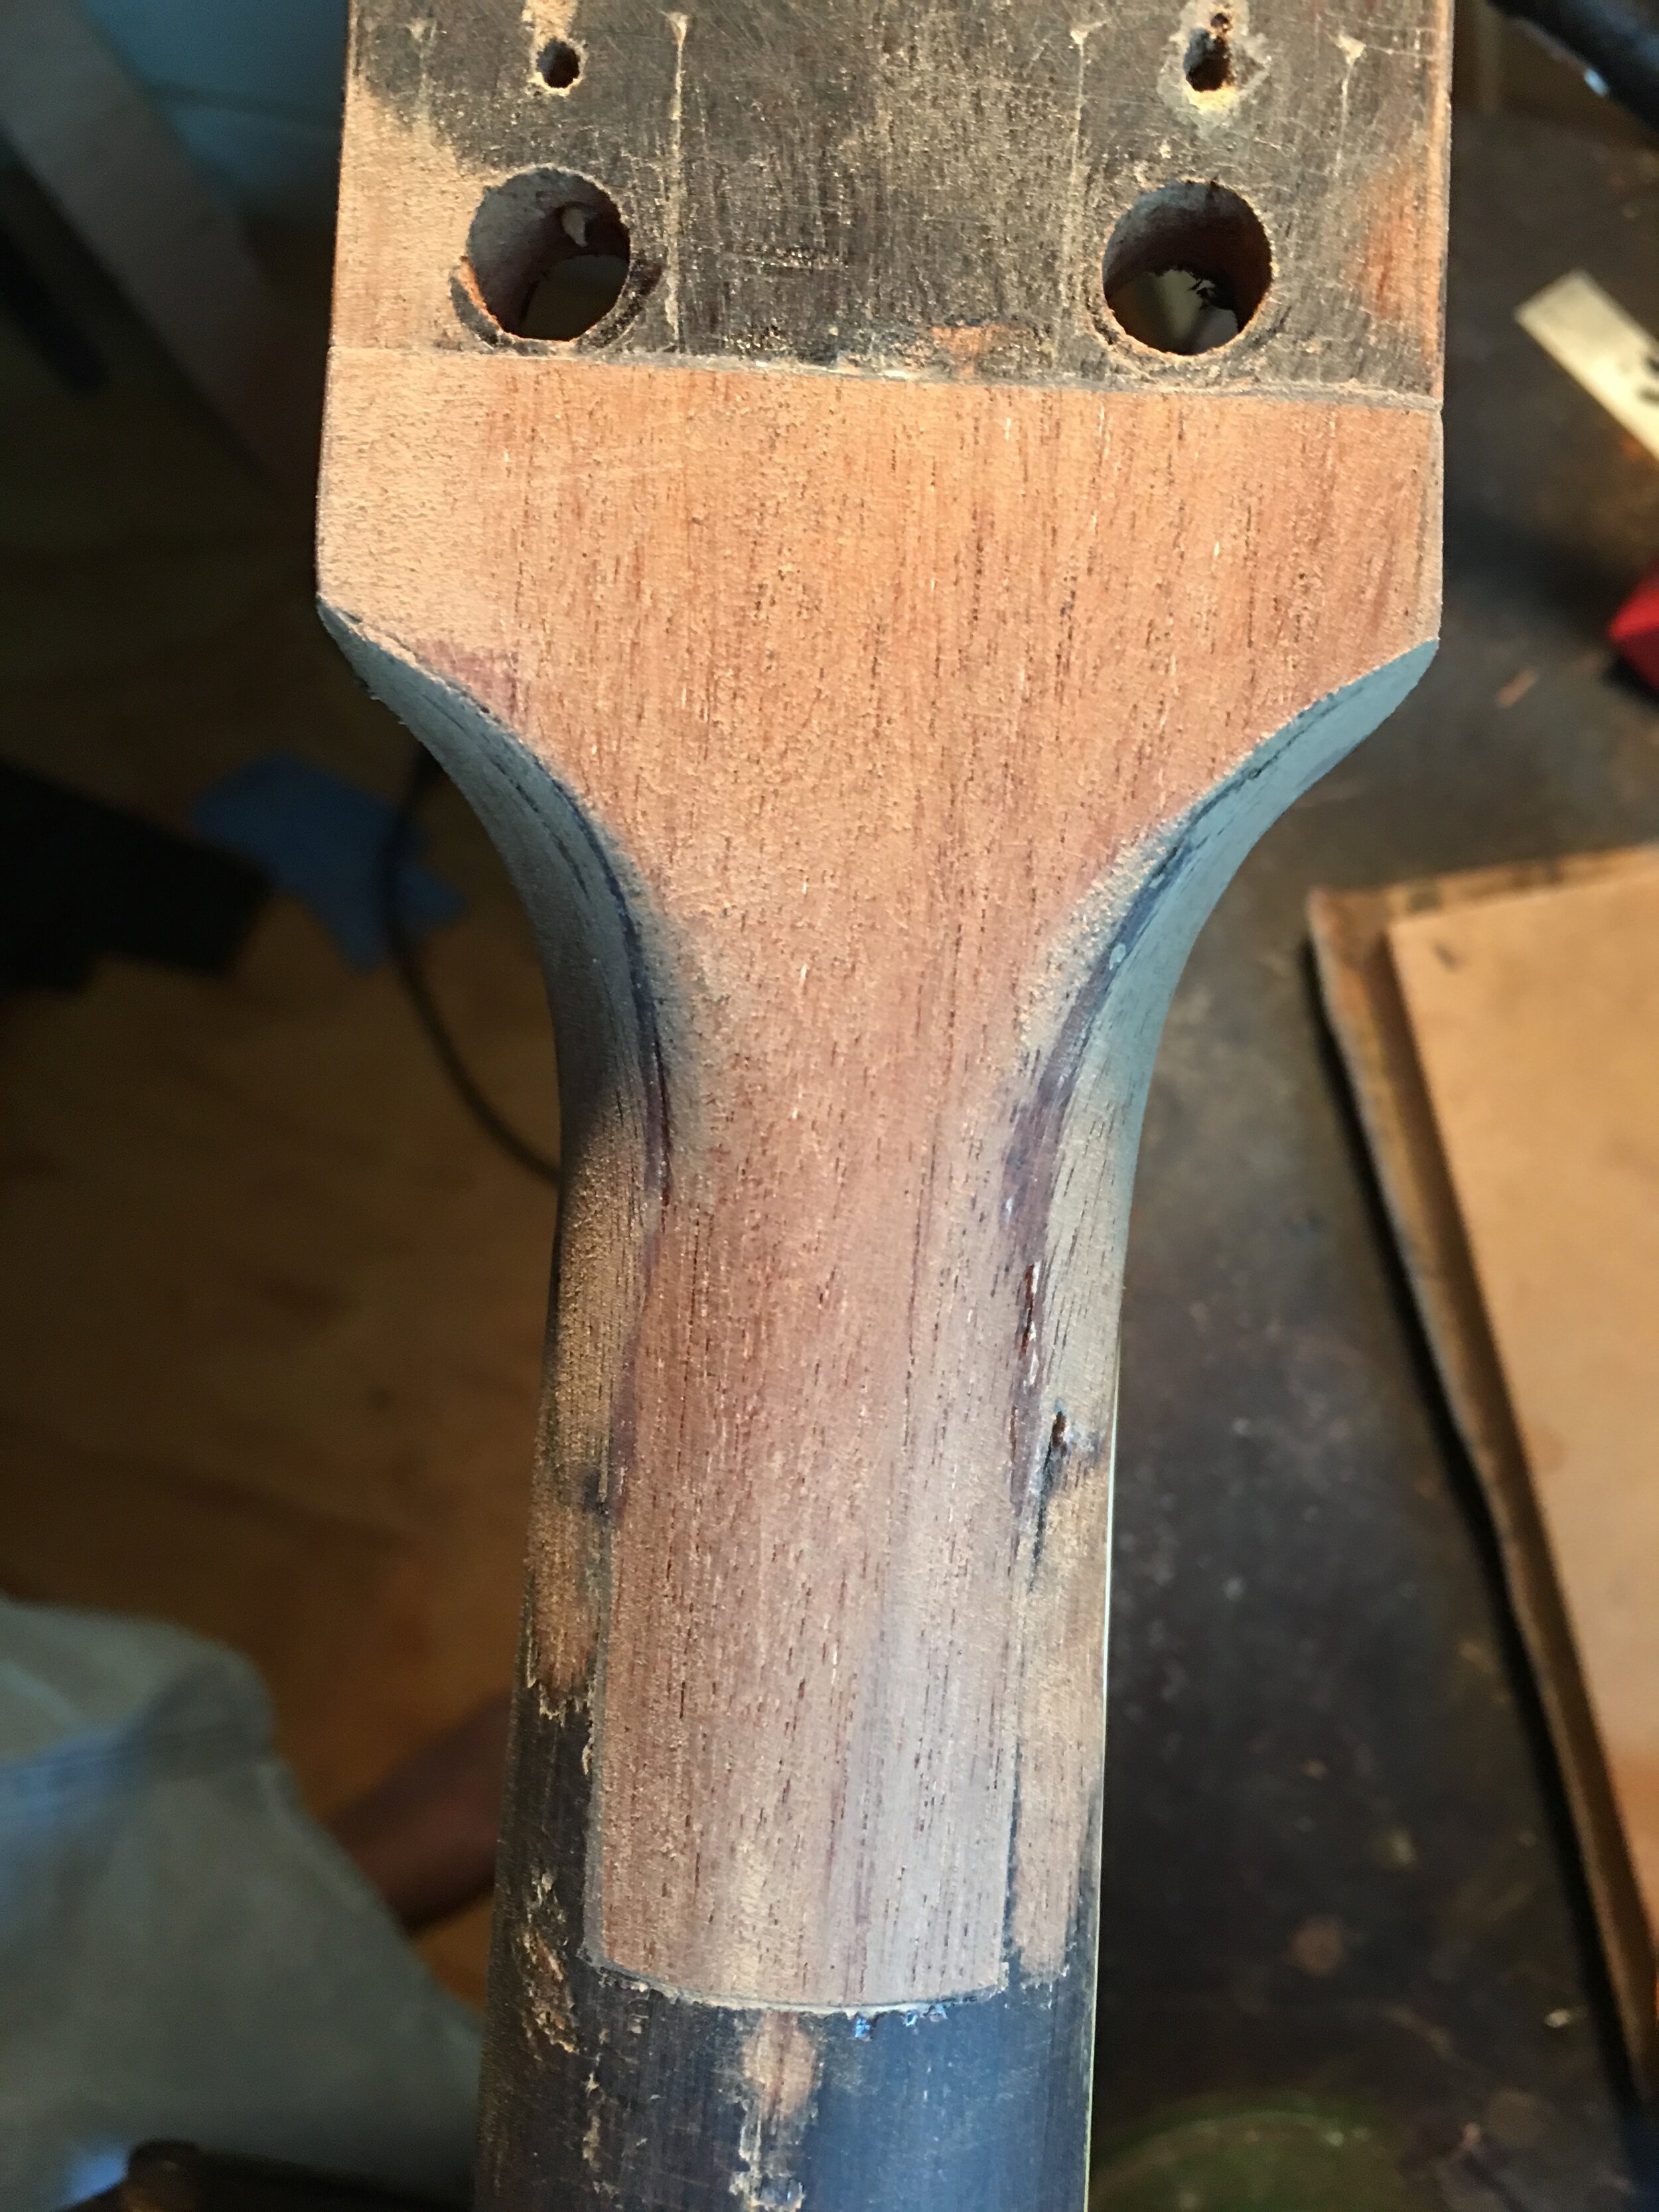
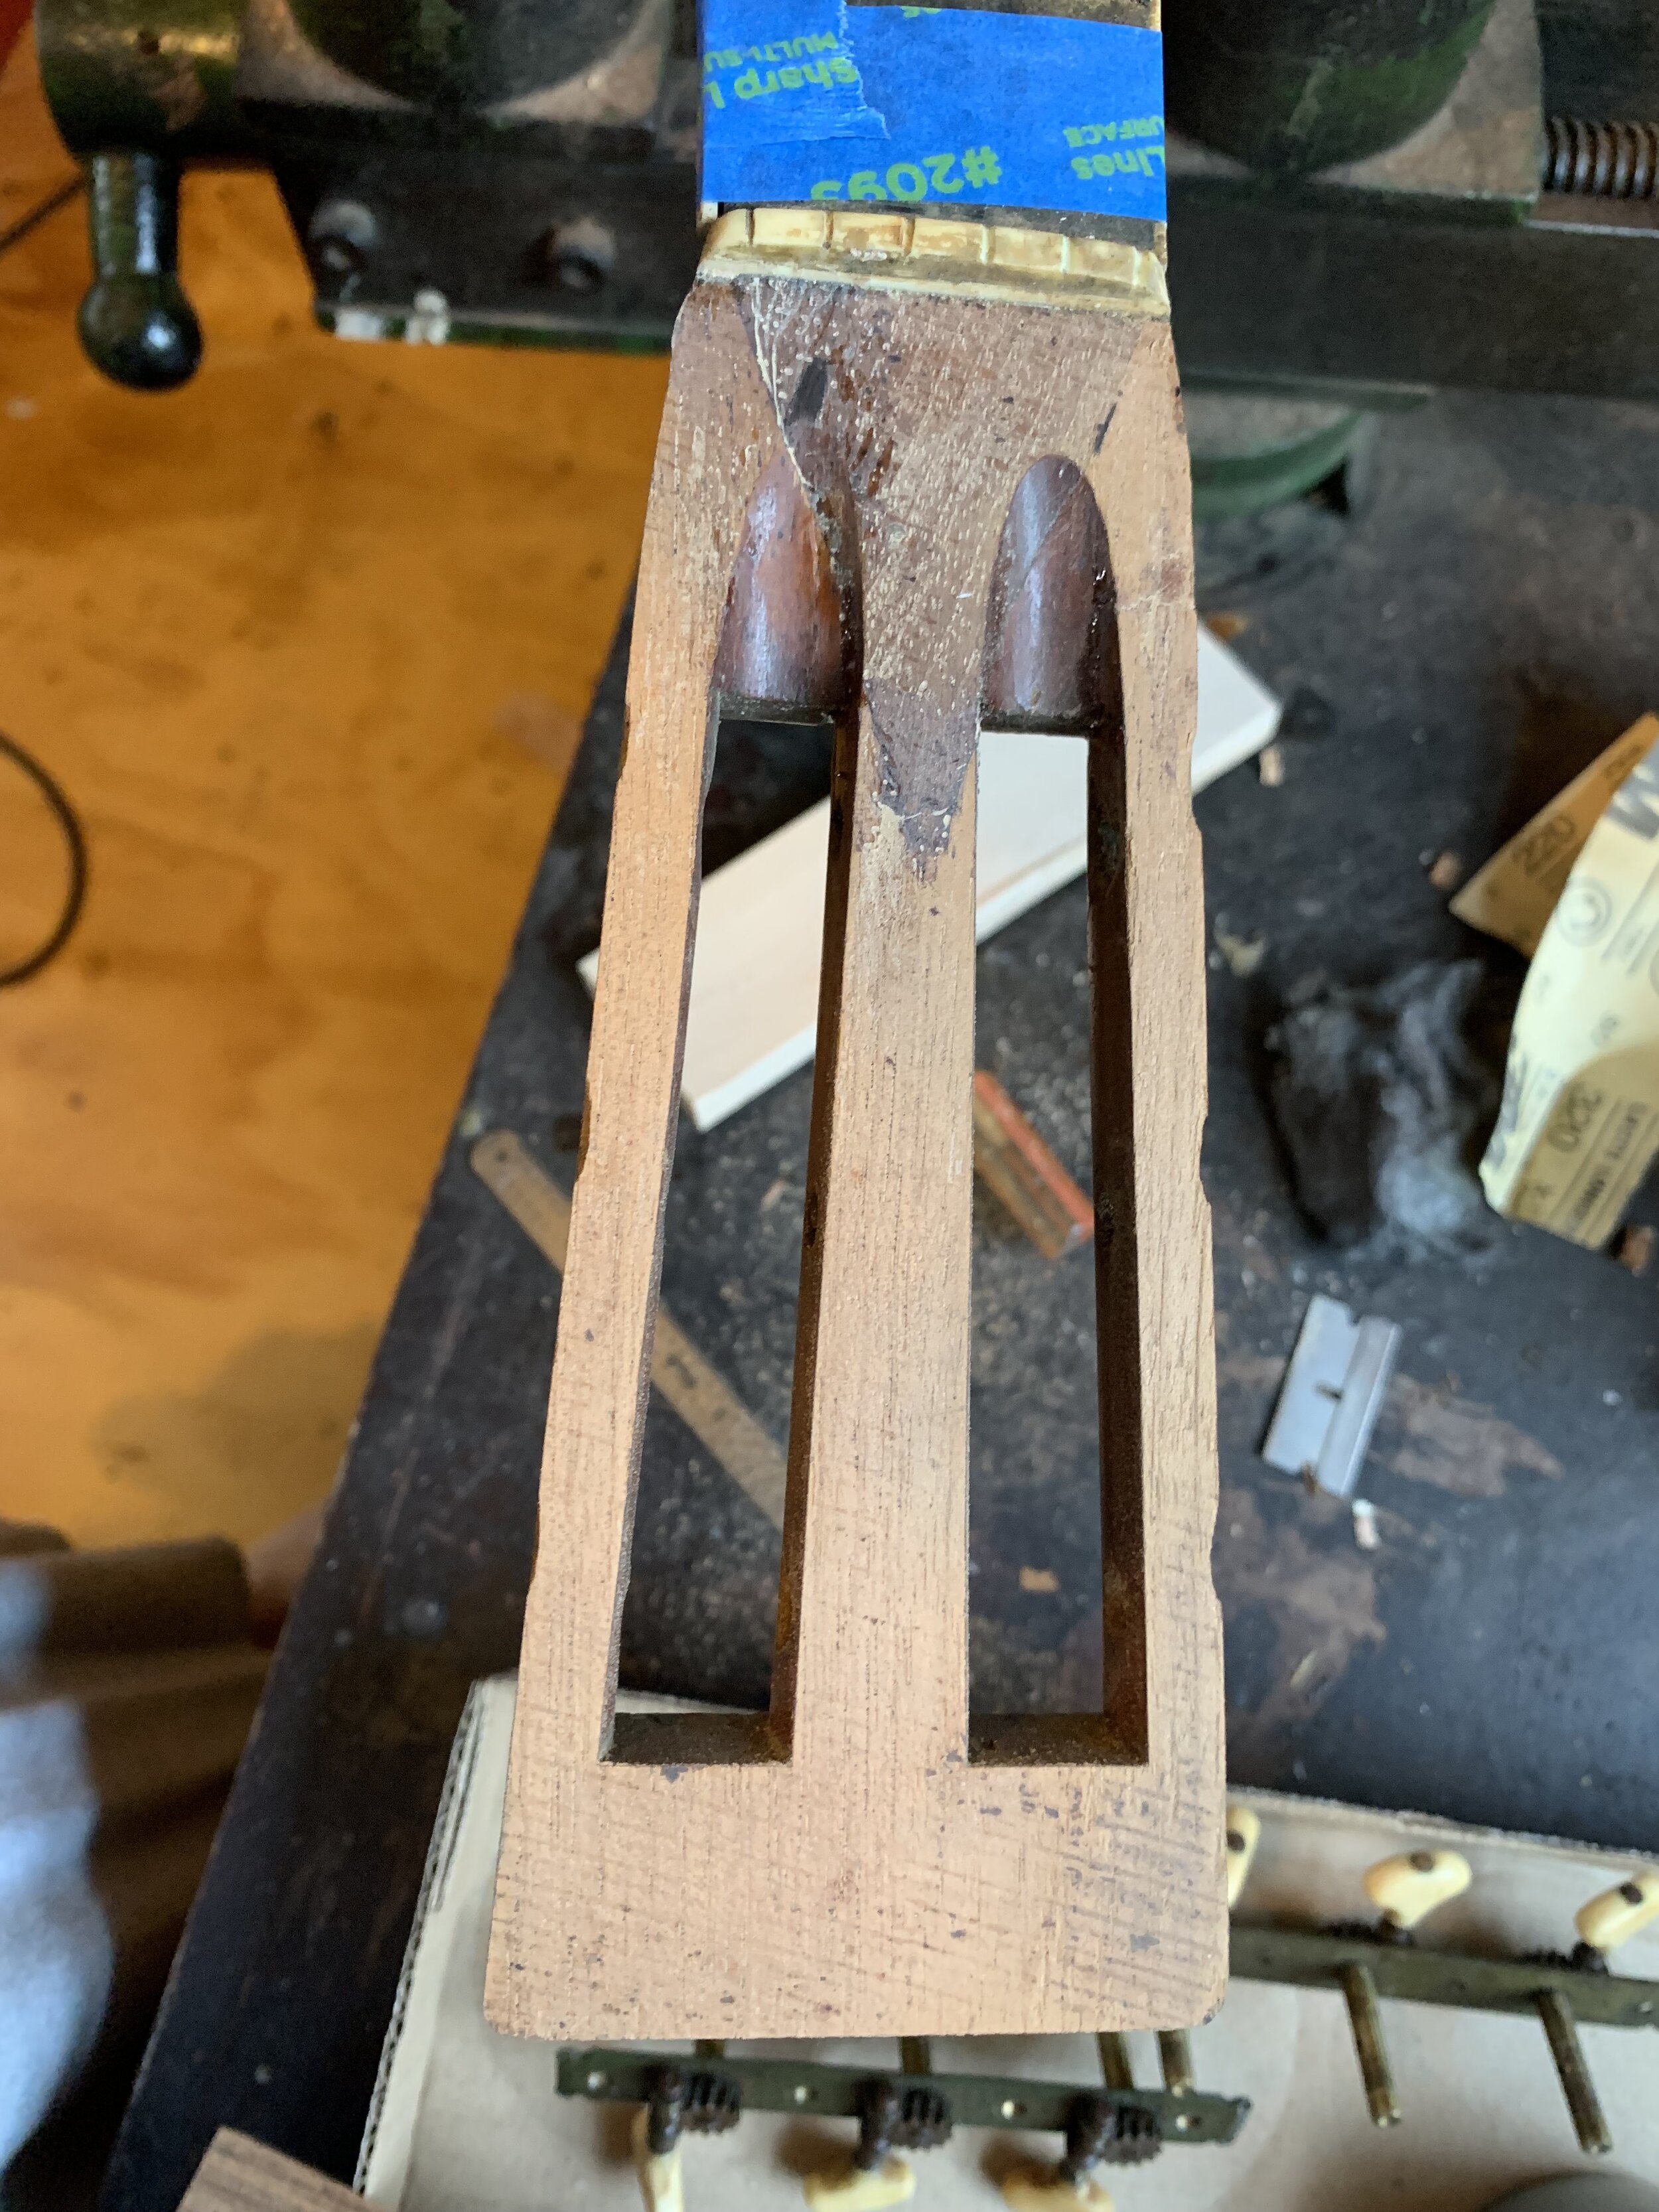
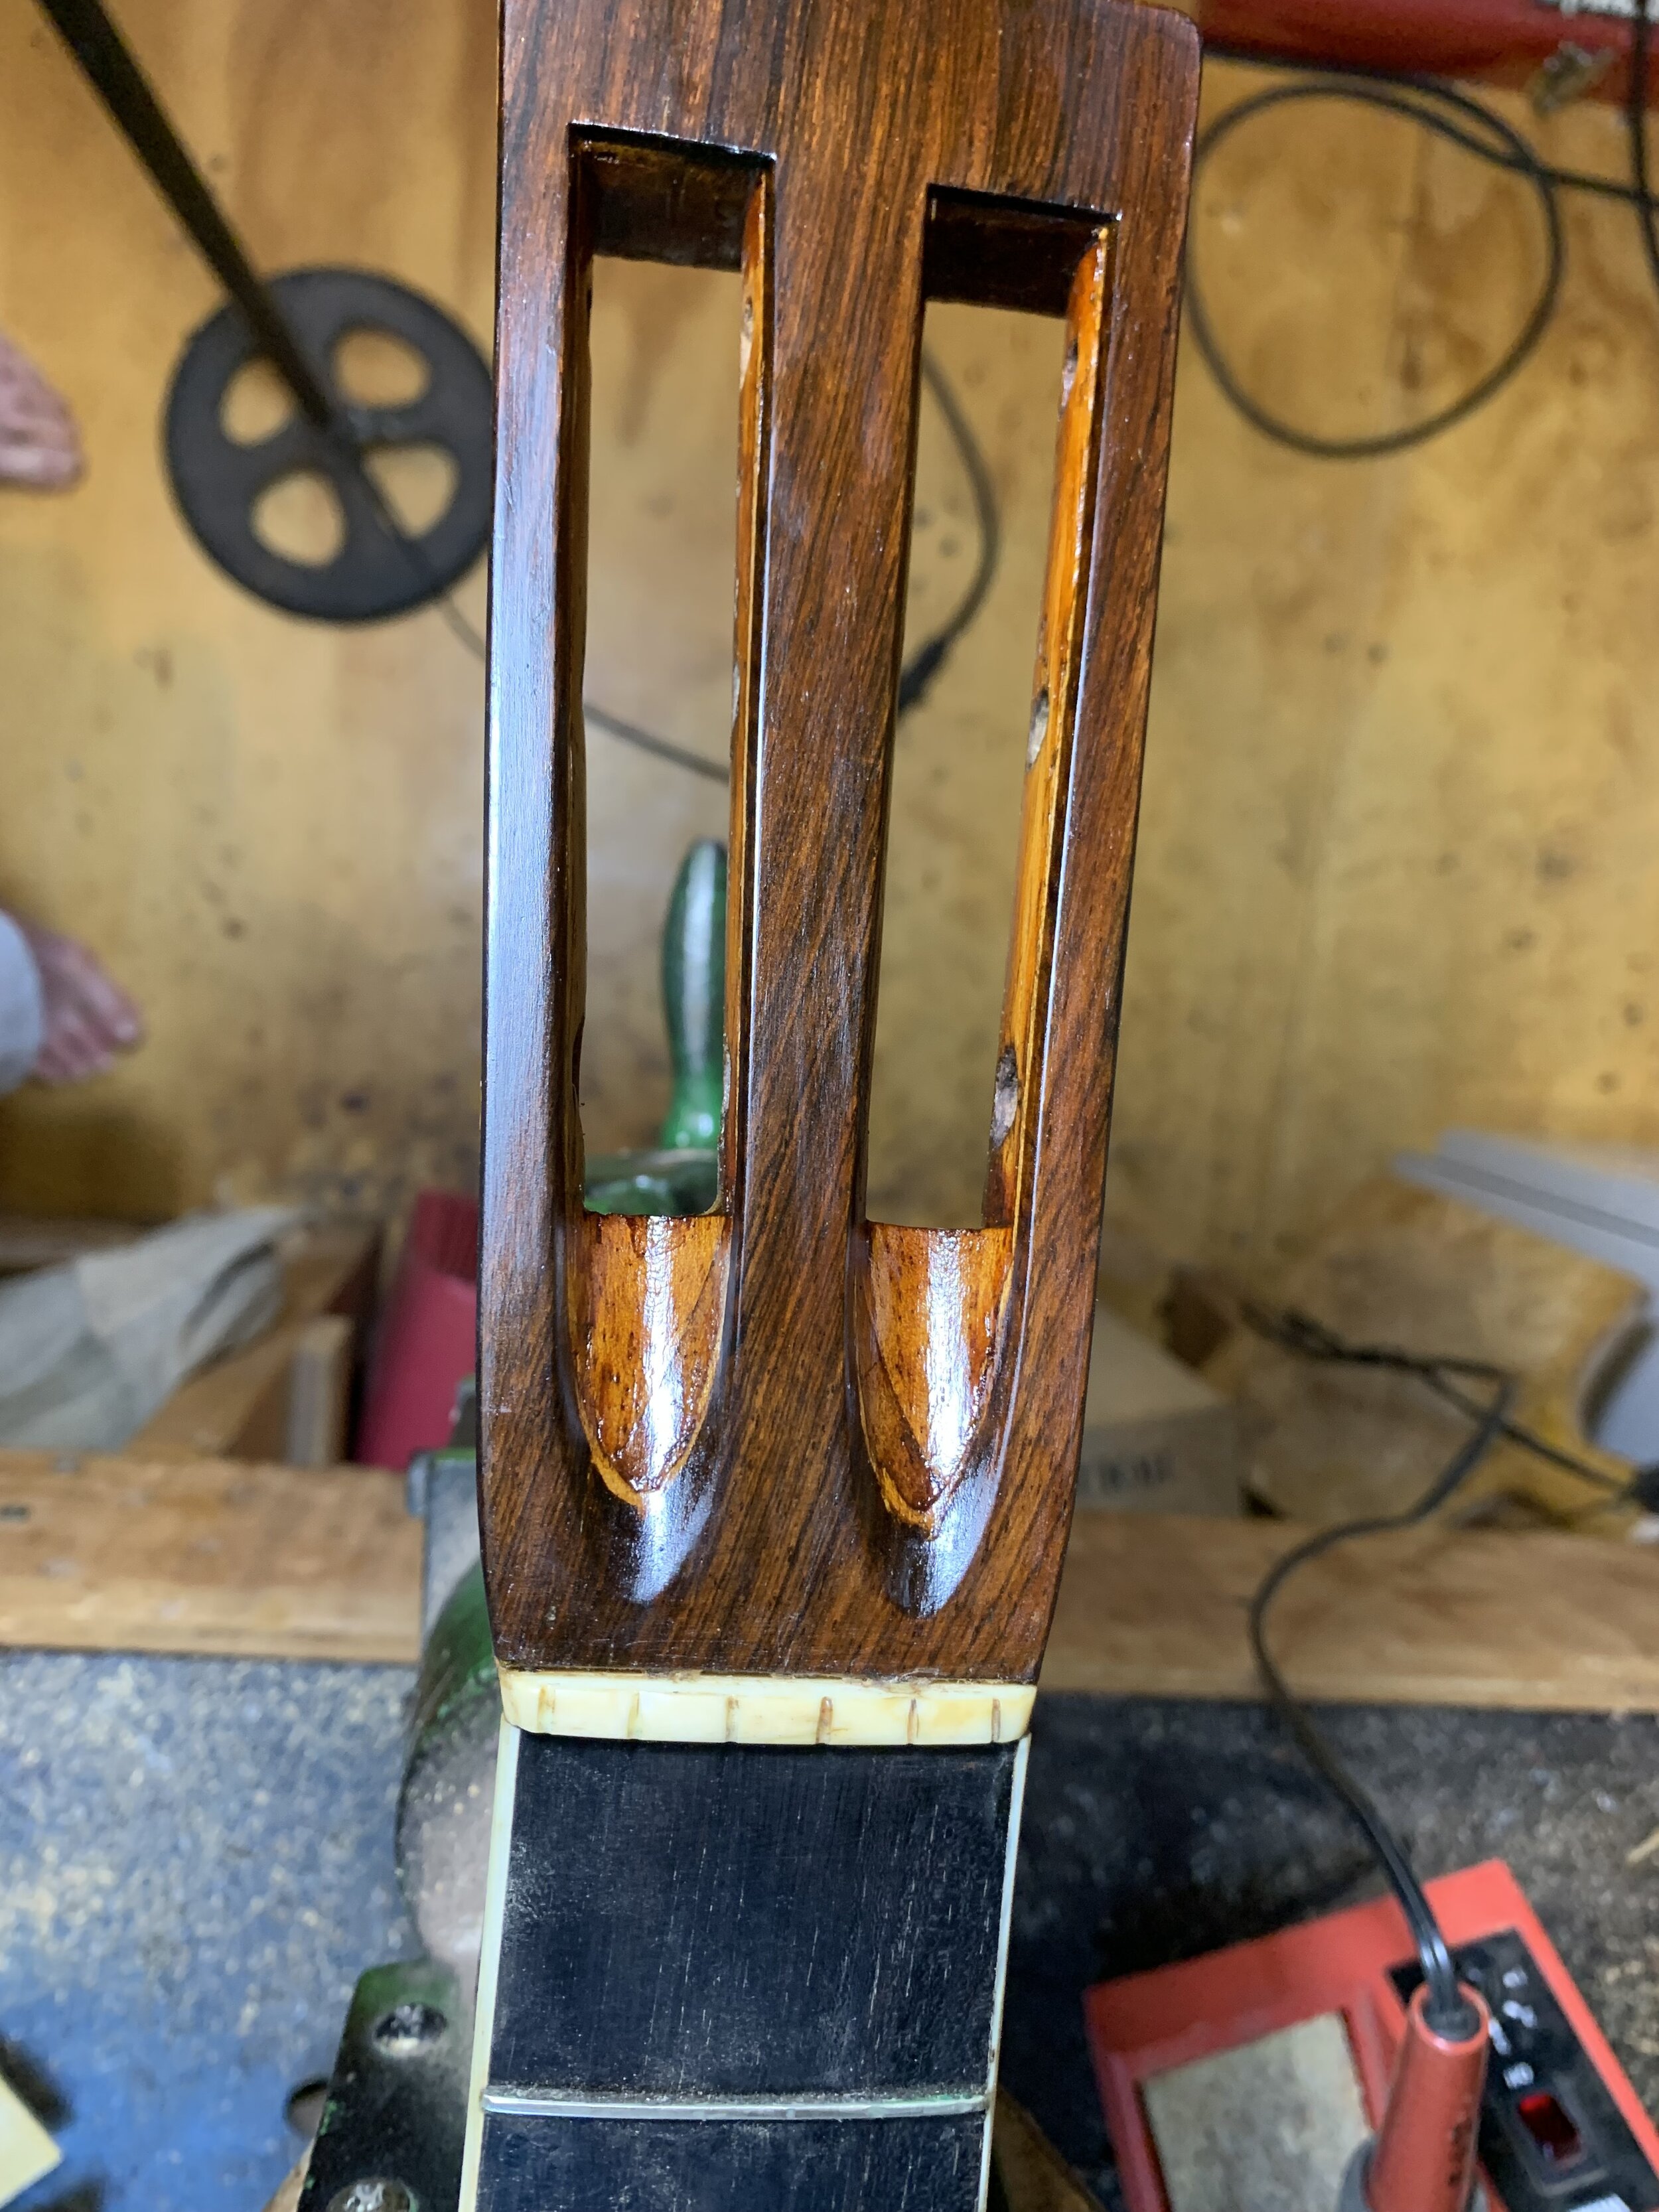
I then made pieces of mahogany to replace the lost wood and sprayed the neck and peghead, saving the Gibson Label.


-

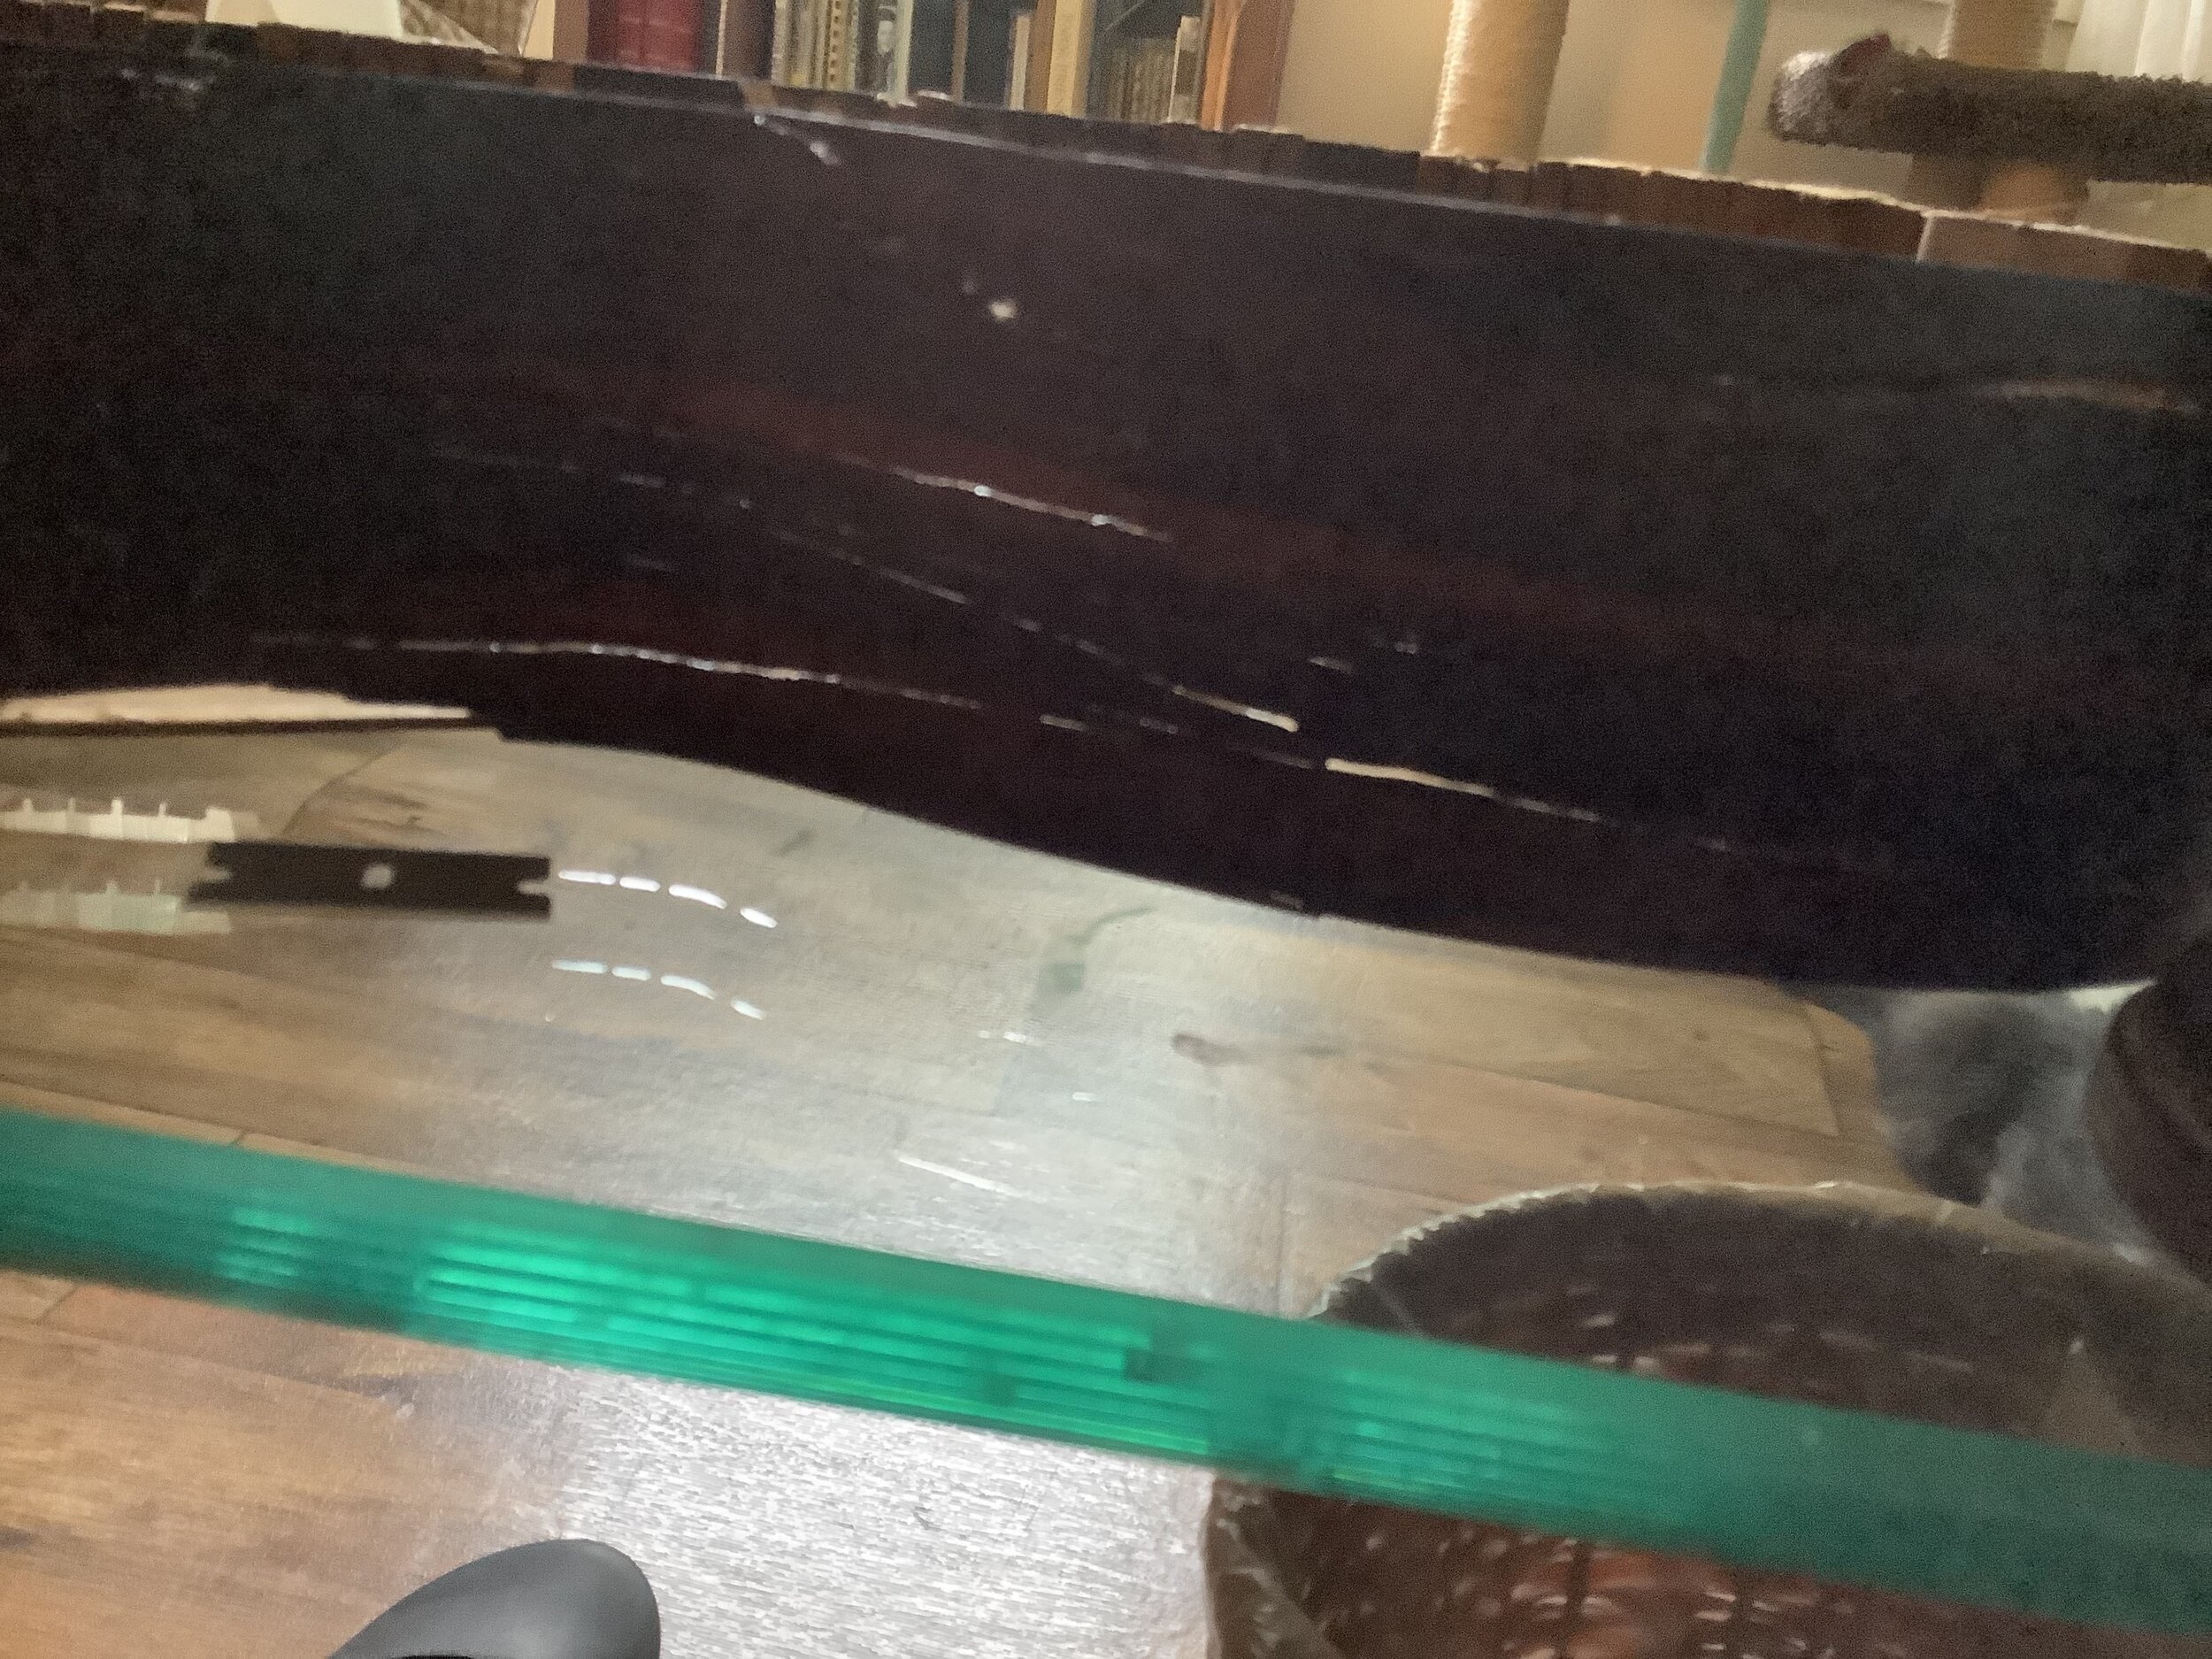
1940's Martin Archtop
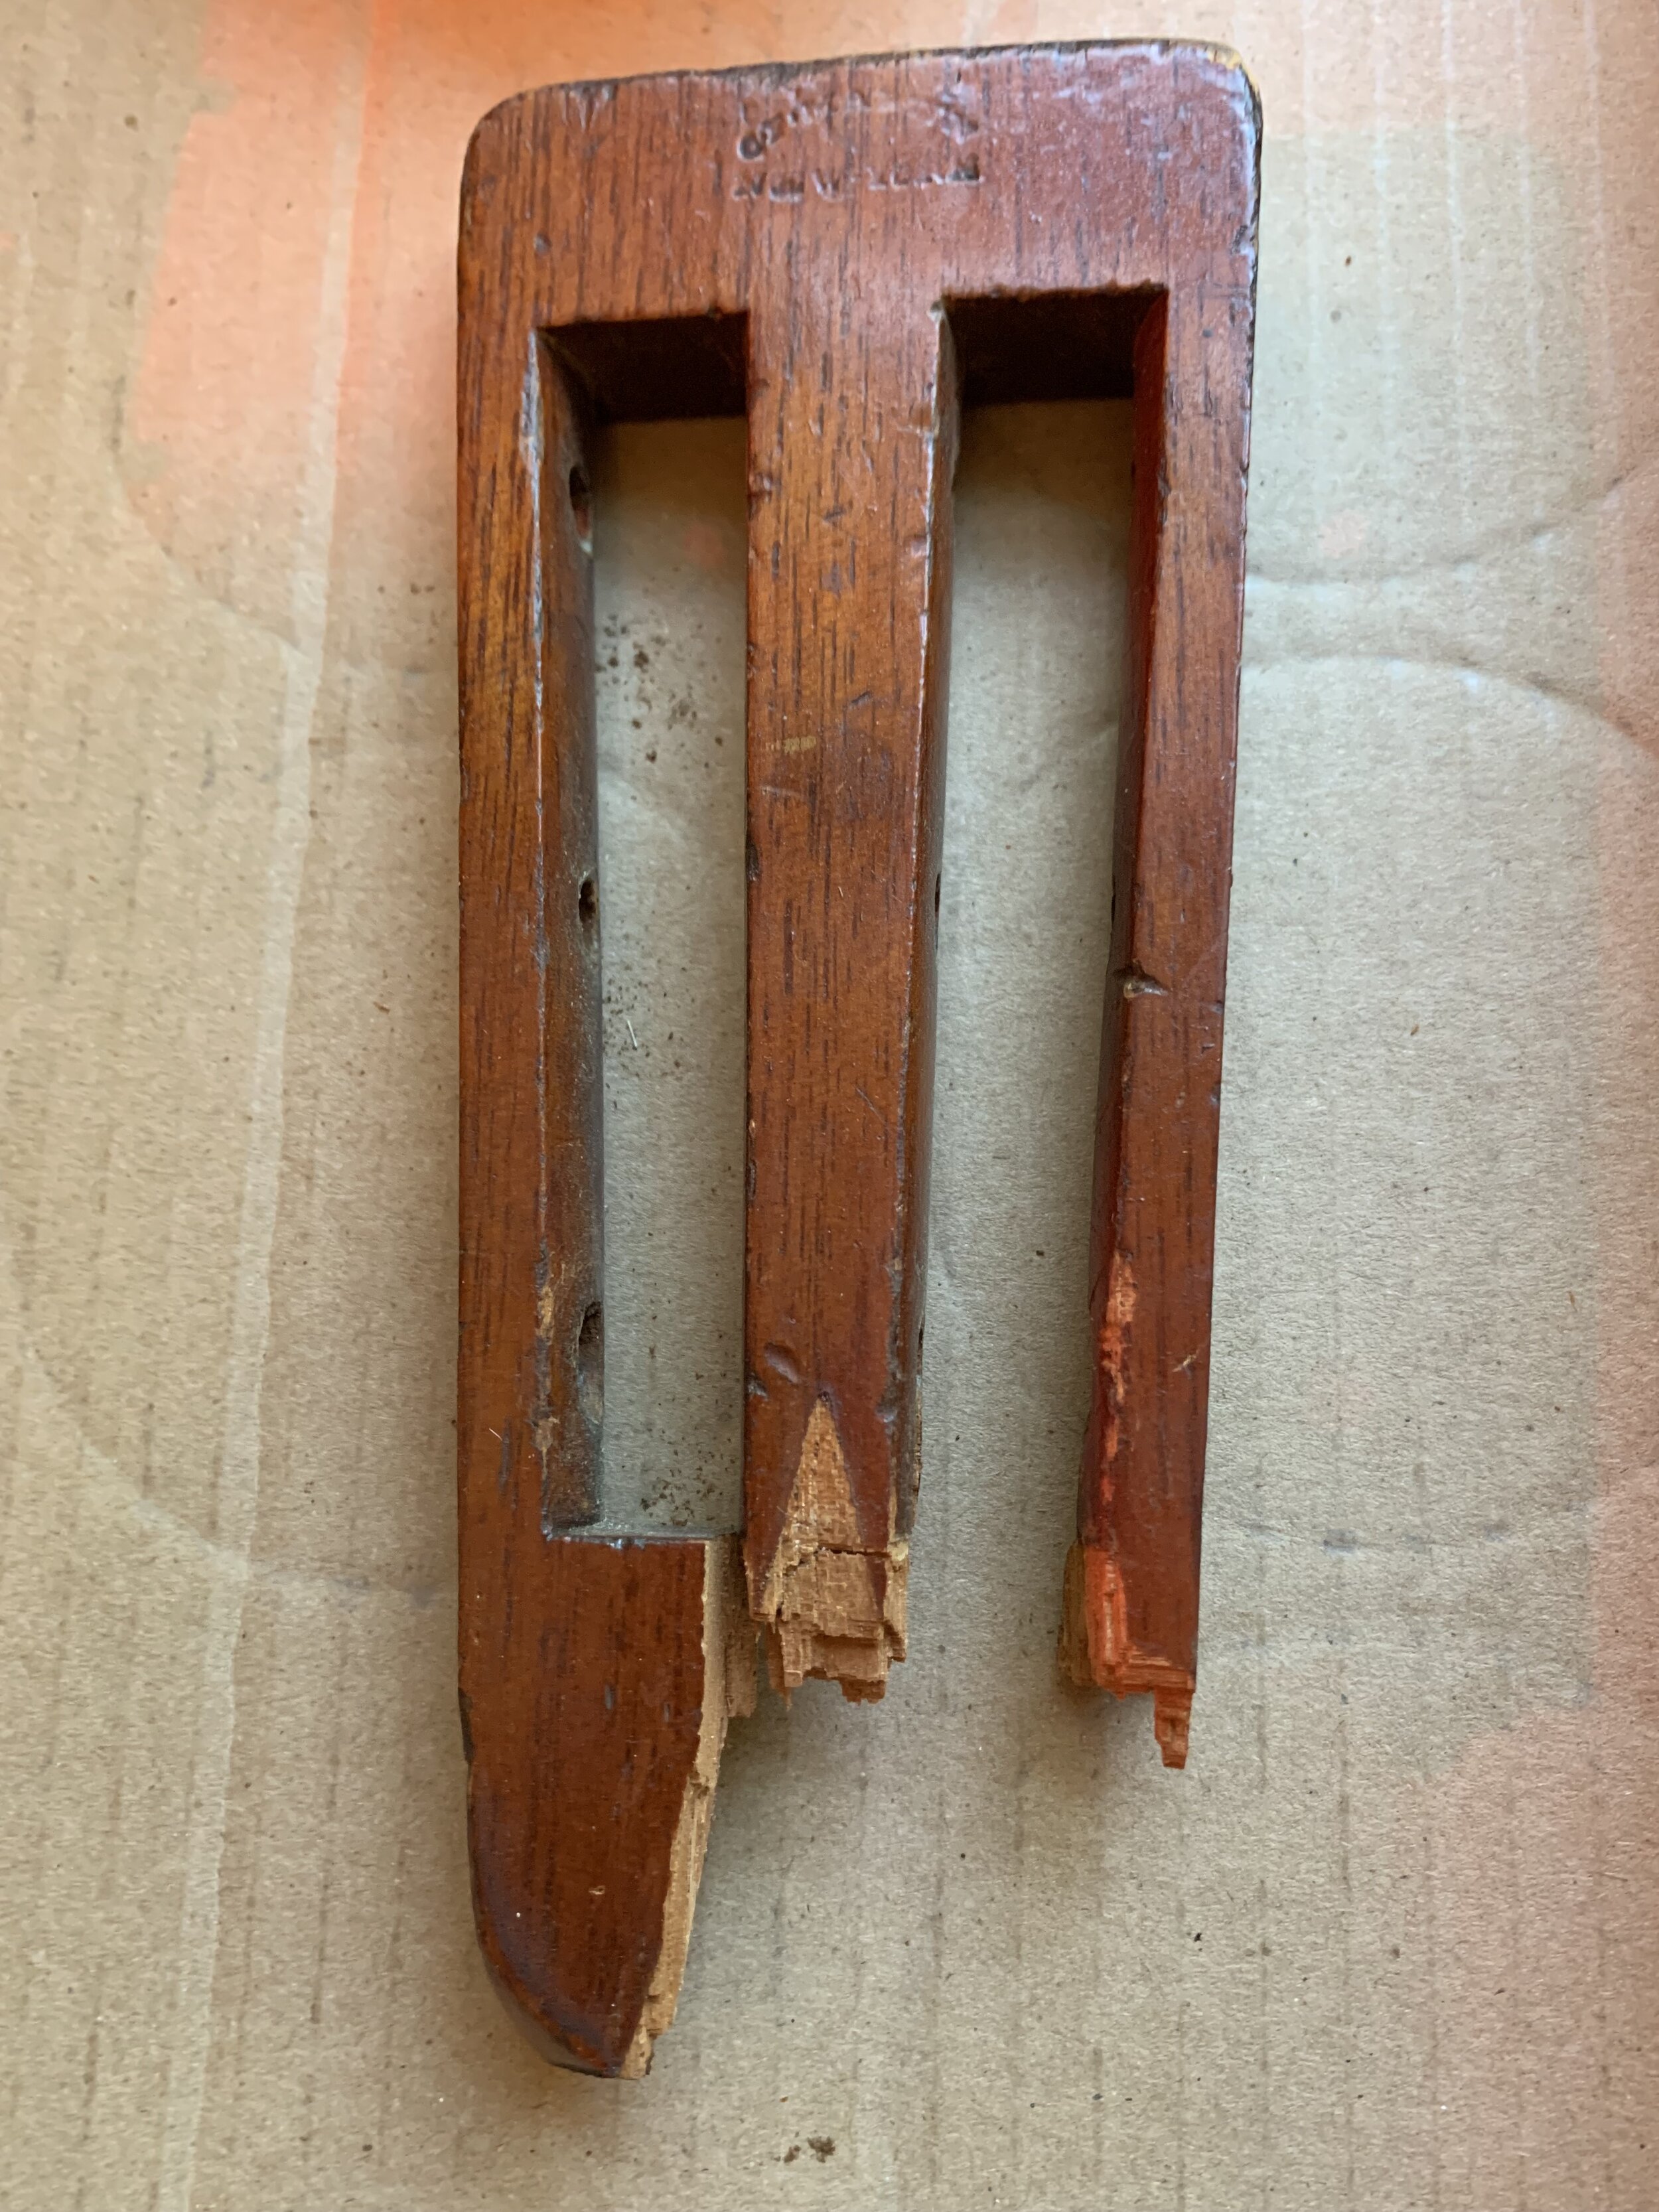
Someone had tried to repair this X Brace from outside the guitar using a LOT of glue!
-

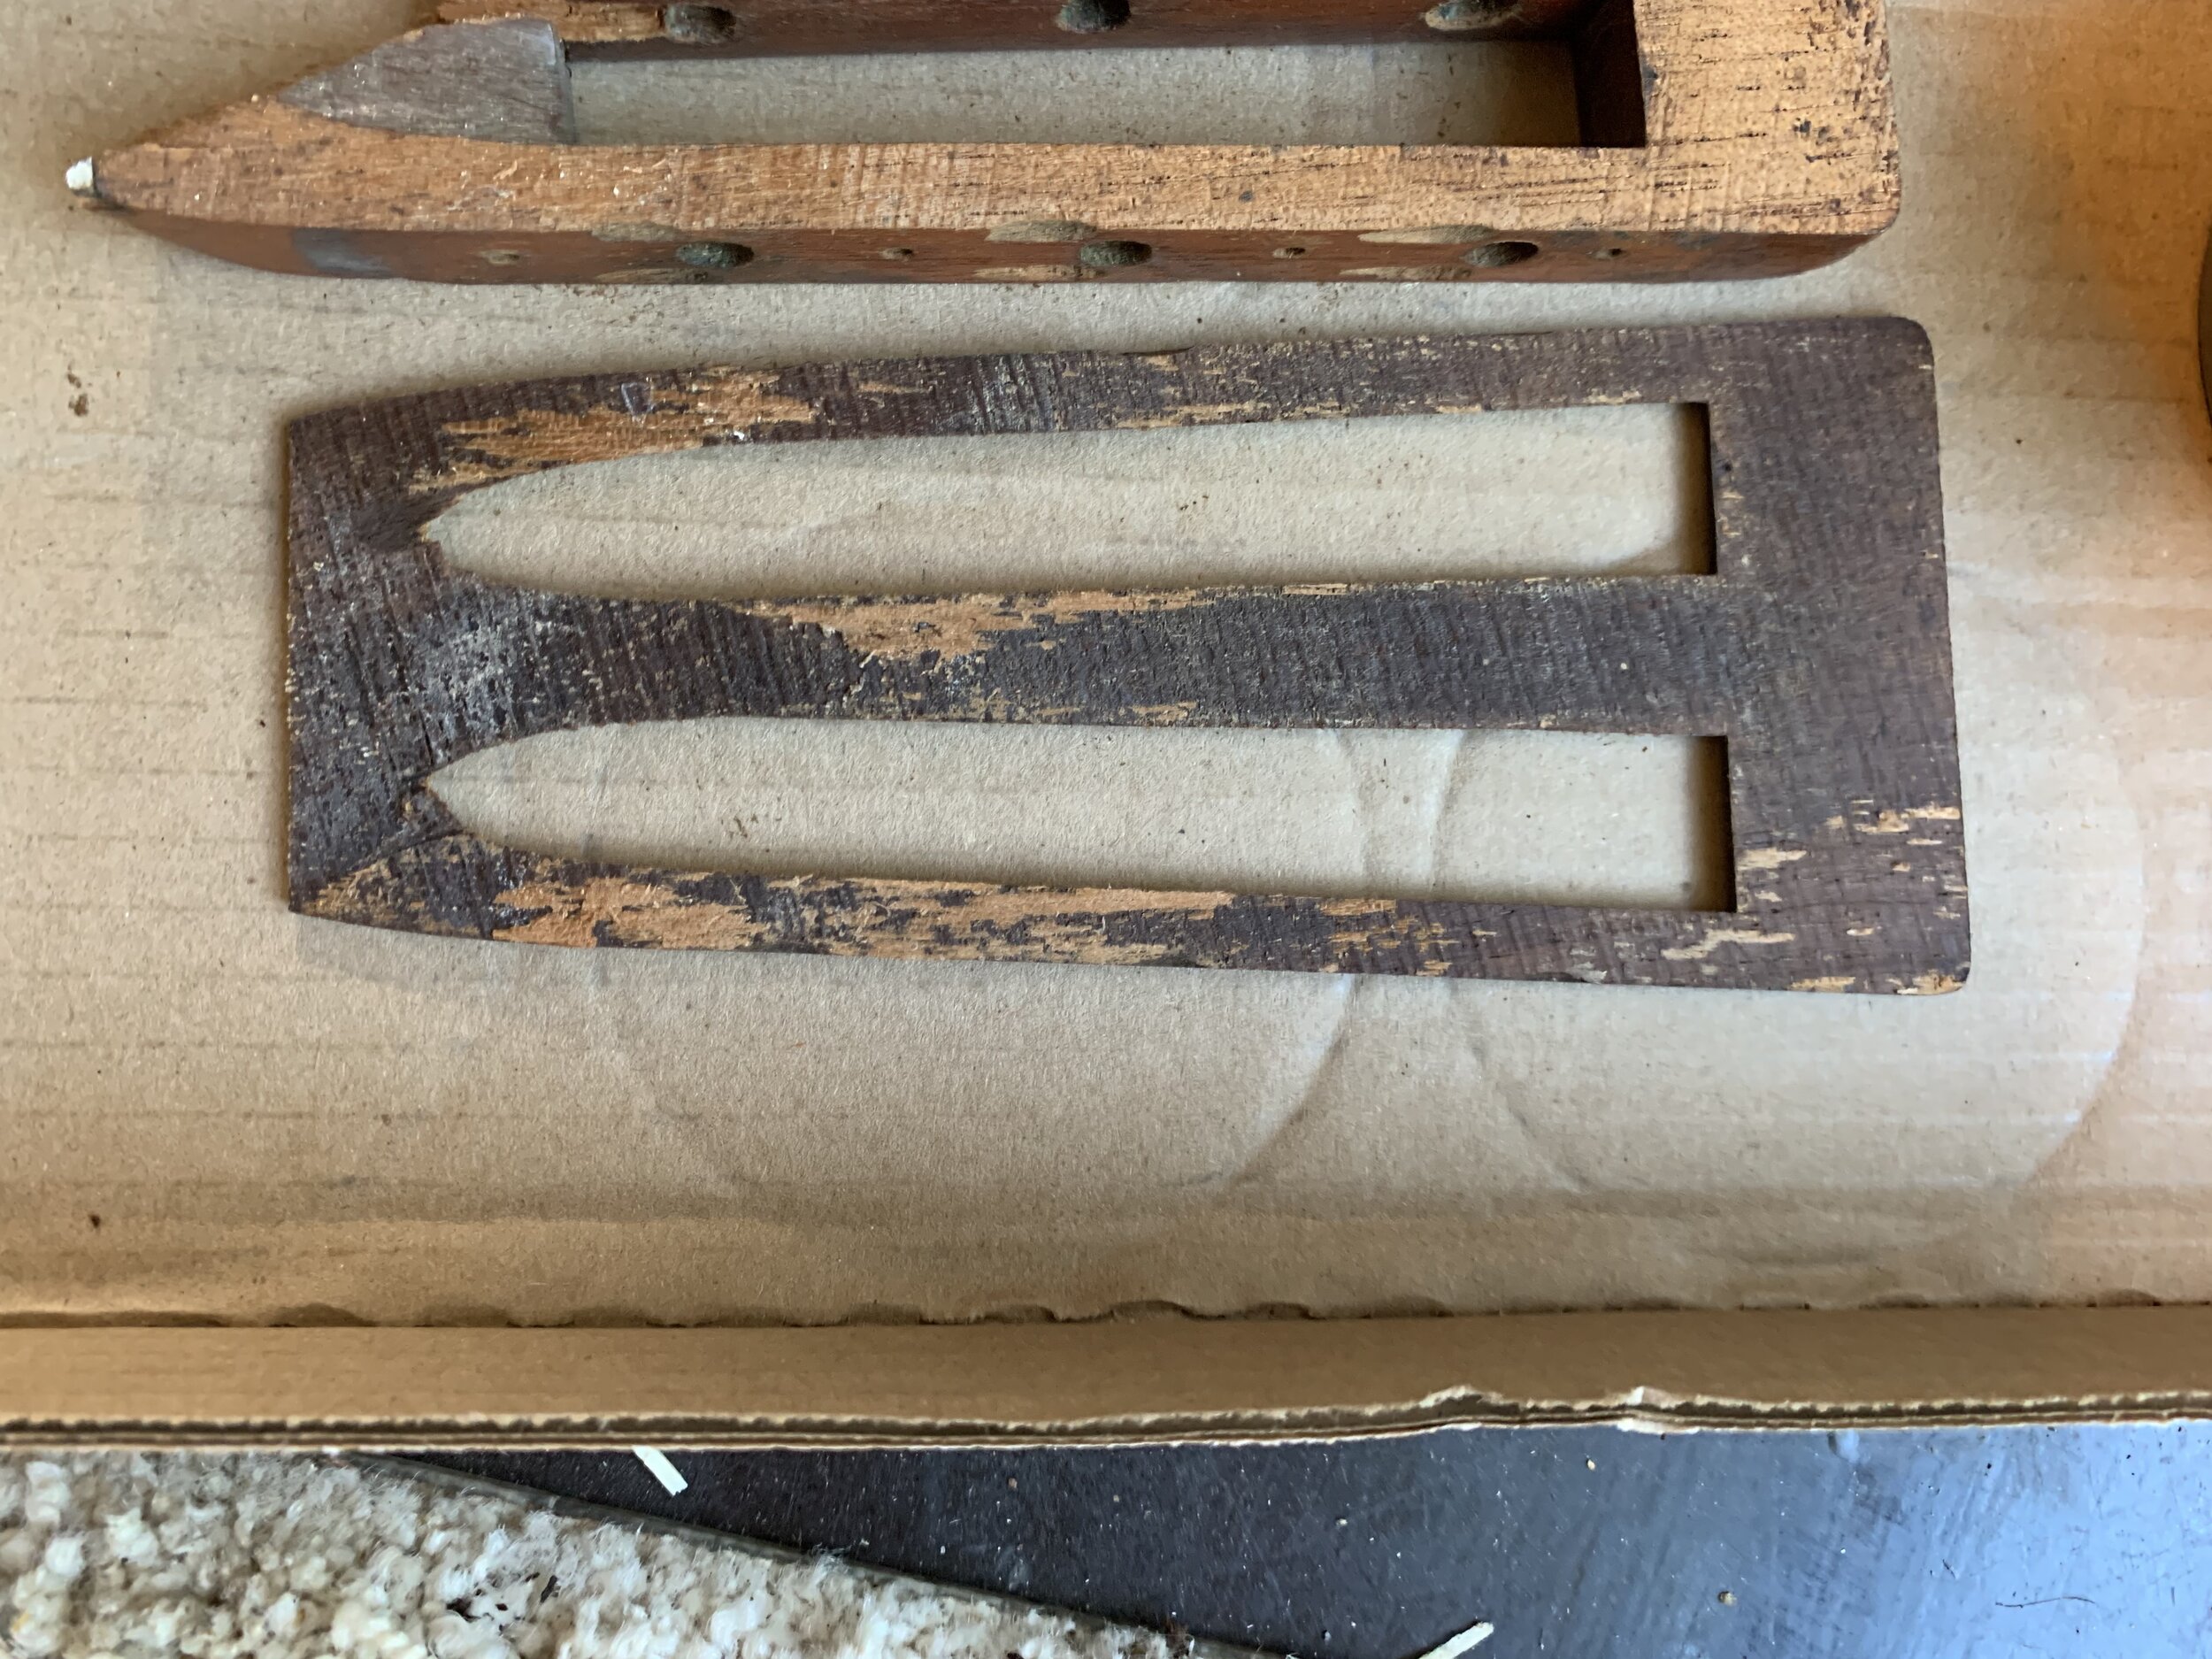
here’s what the Brace looks like after I removed the back to get a good look.
-

I made a new X Brace and glued it in.
-
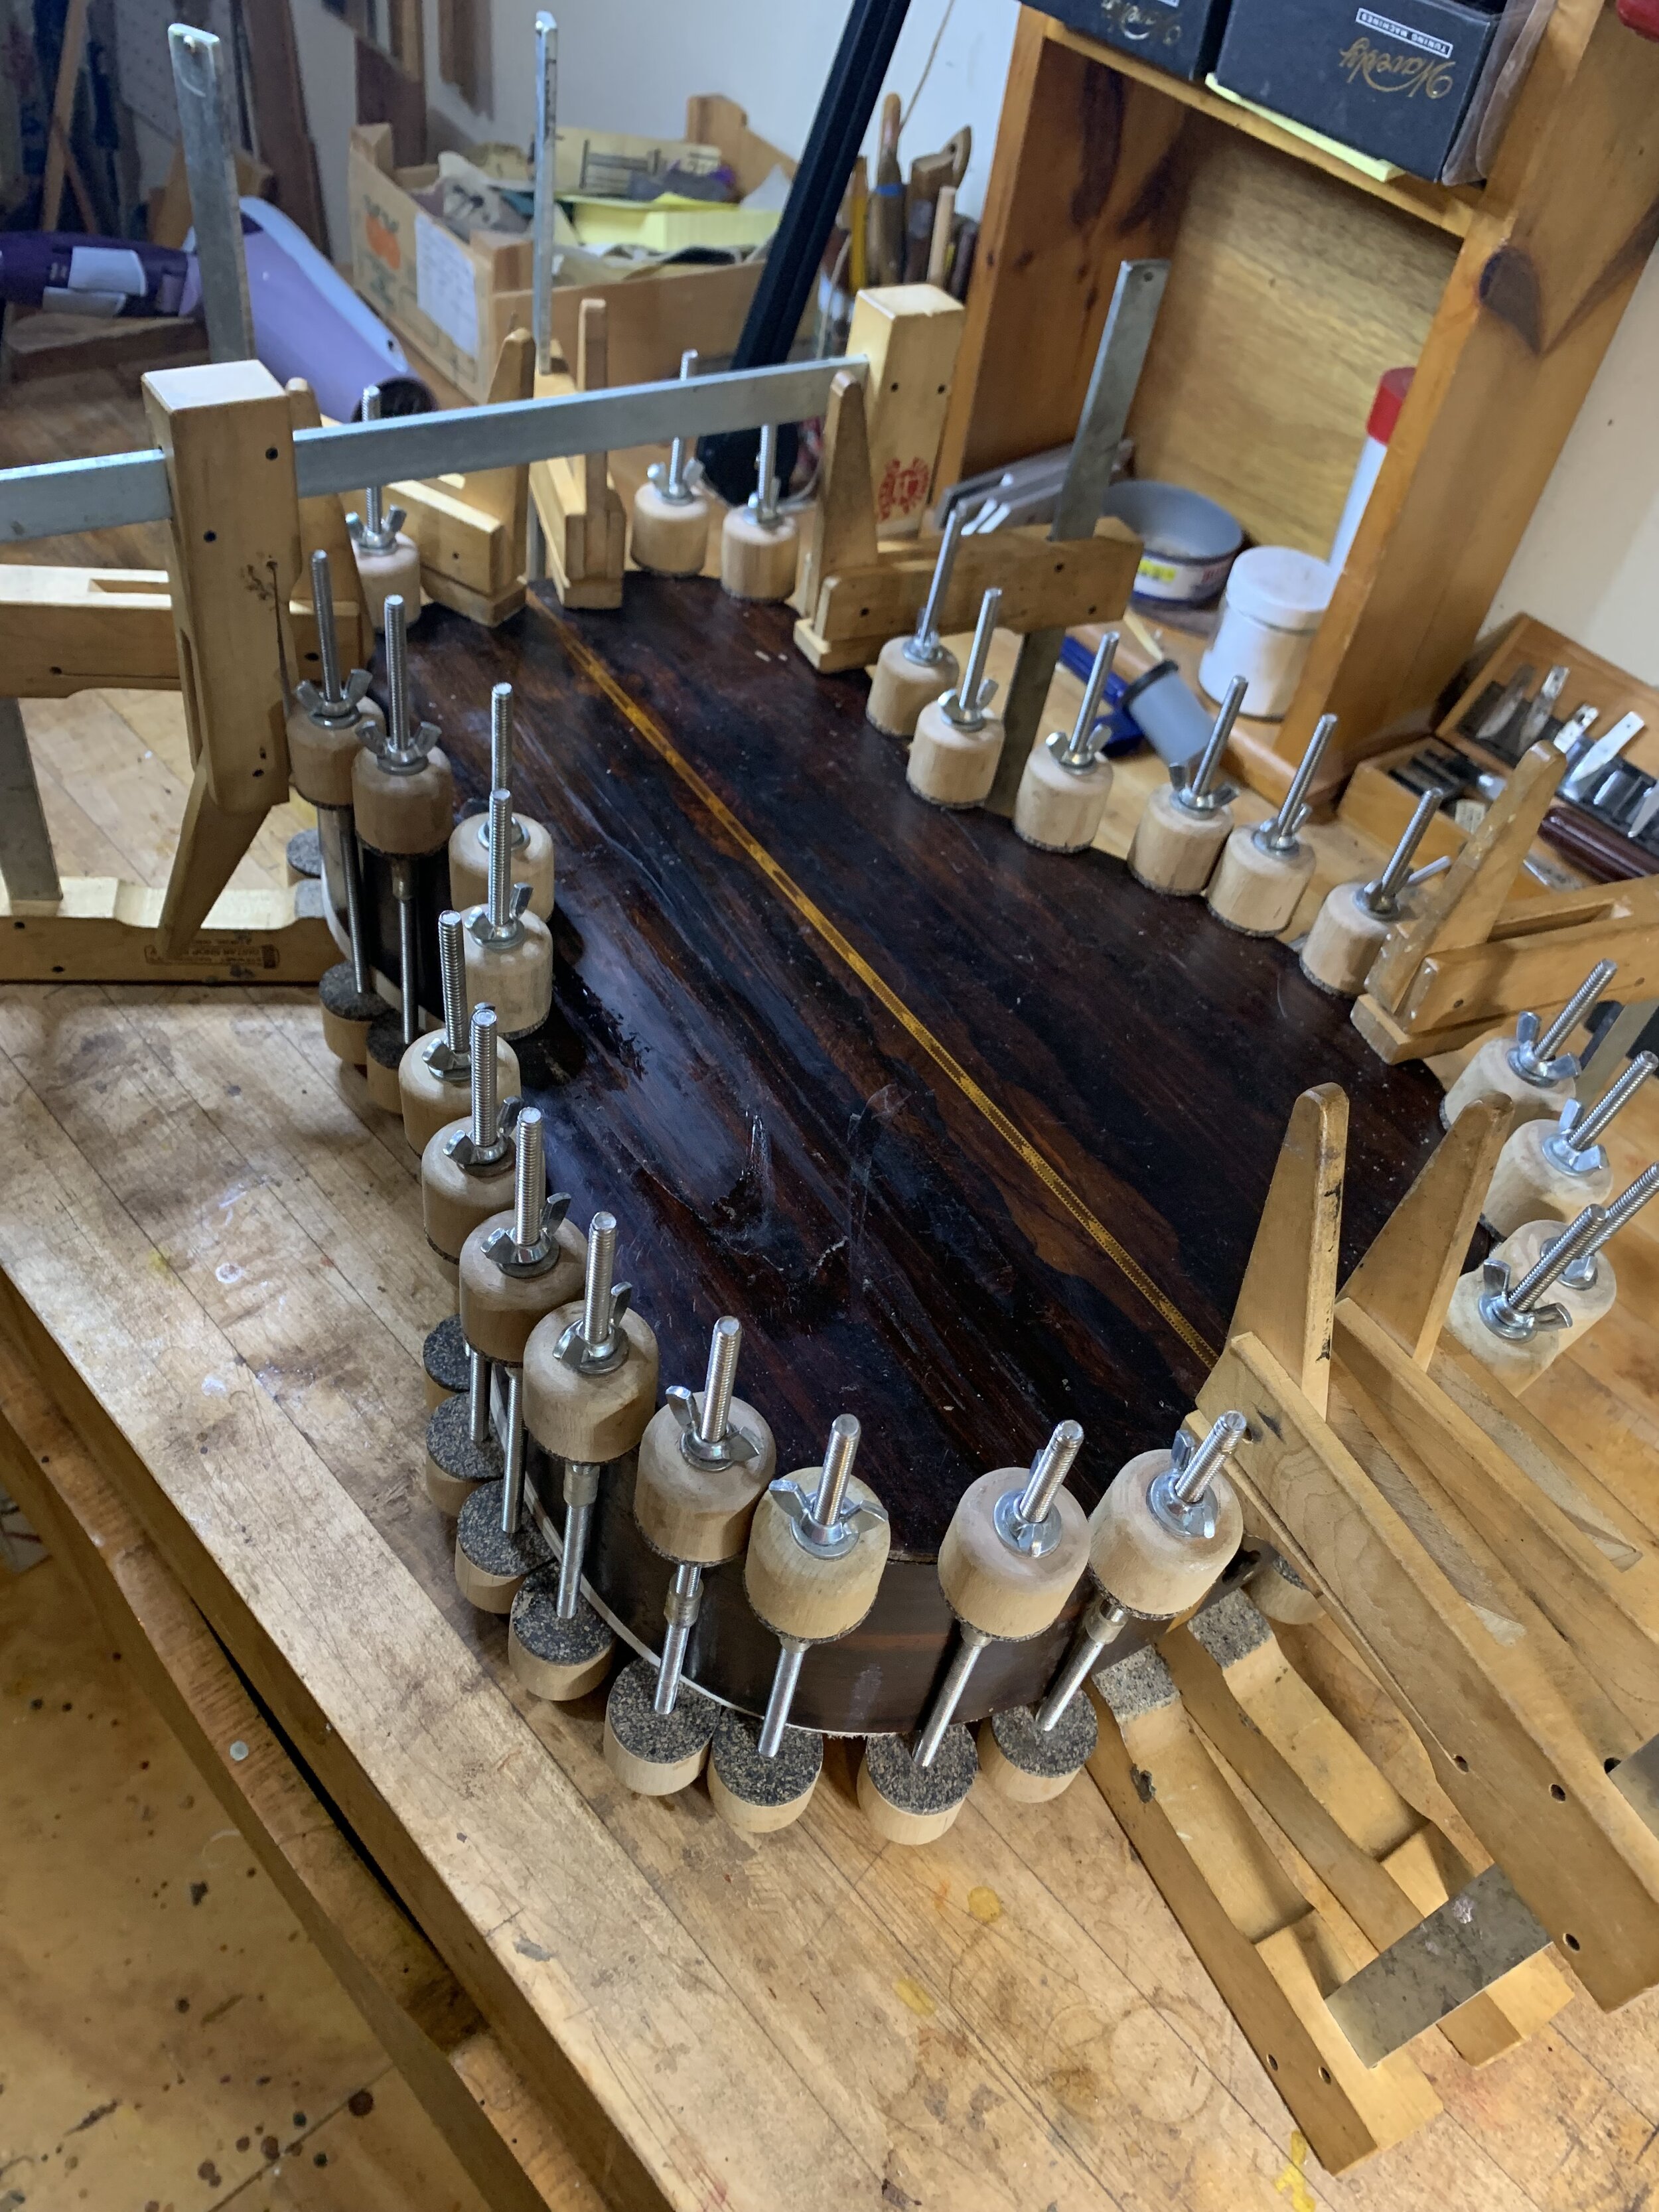
Gluing the back on the Martin Archtop

-
Gluing back the original binding.

-
All done!

-

Before
The top had collapsed and had many cracks.
-
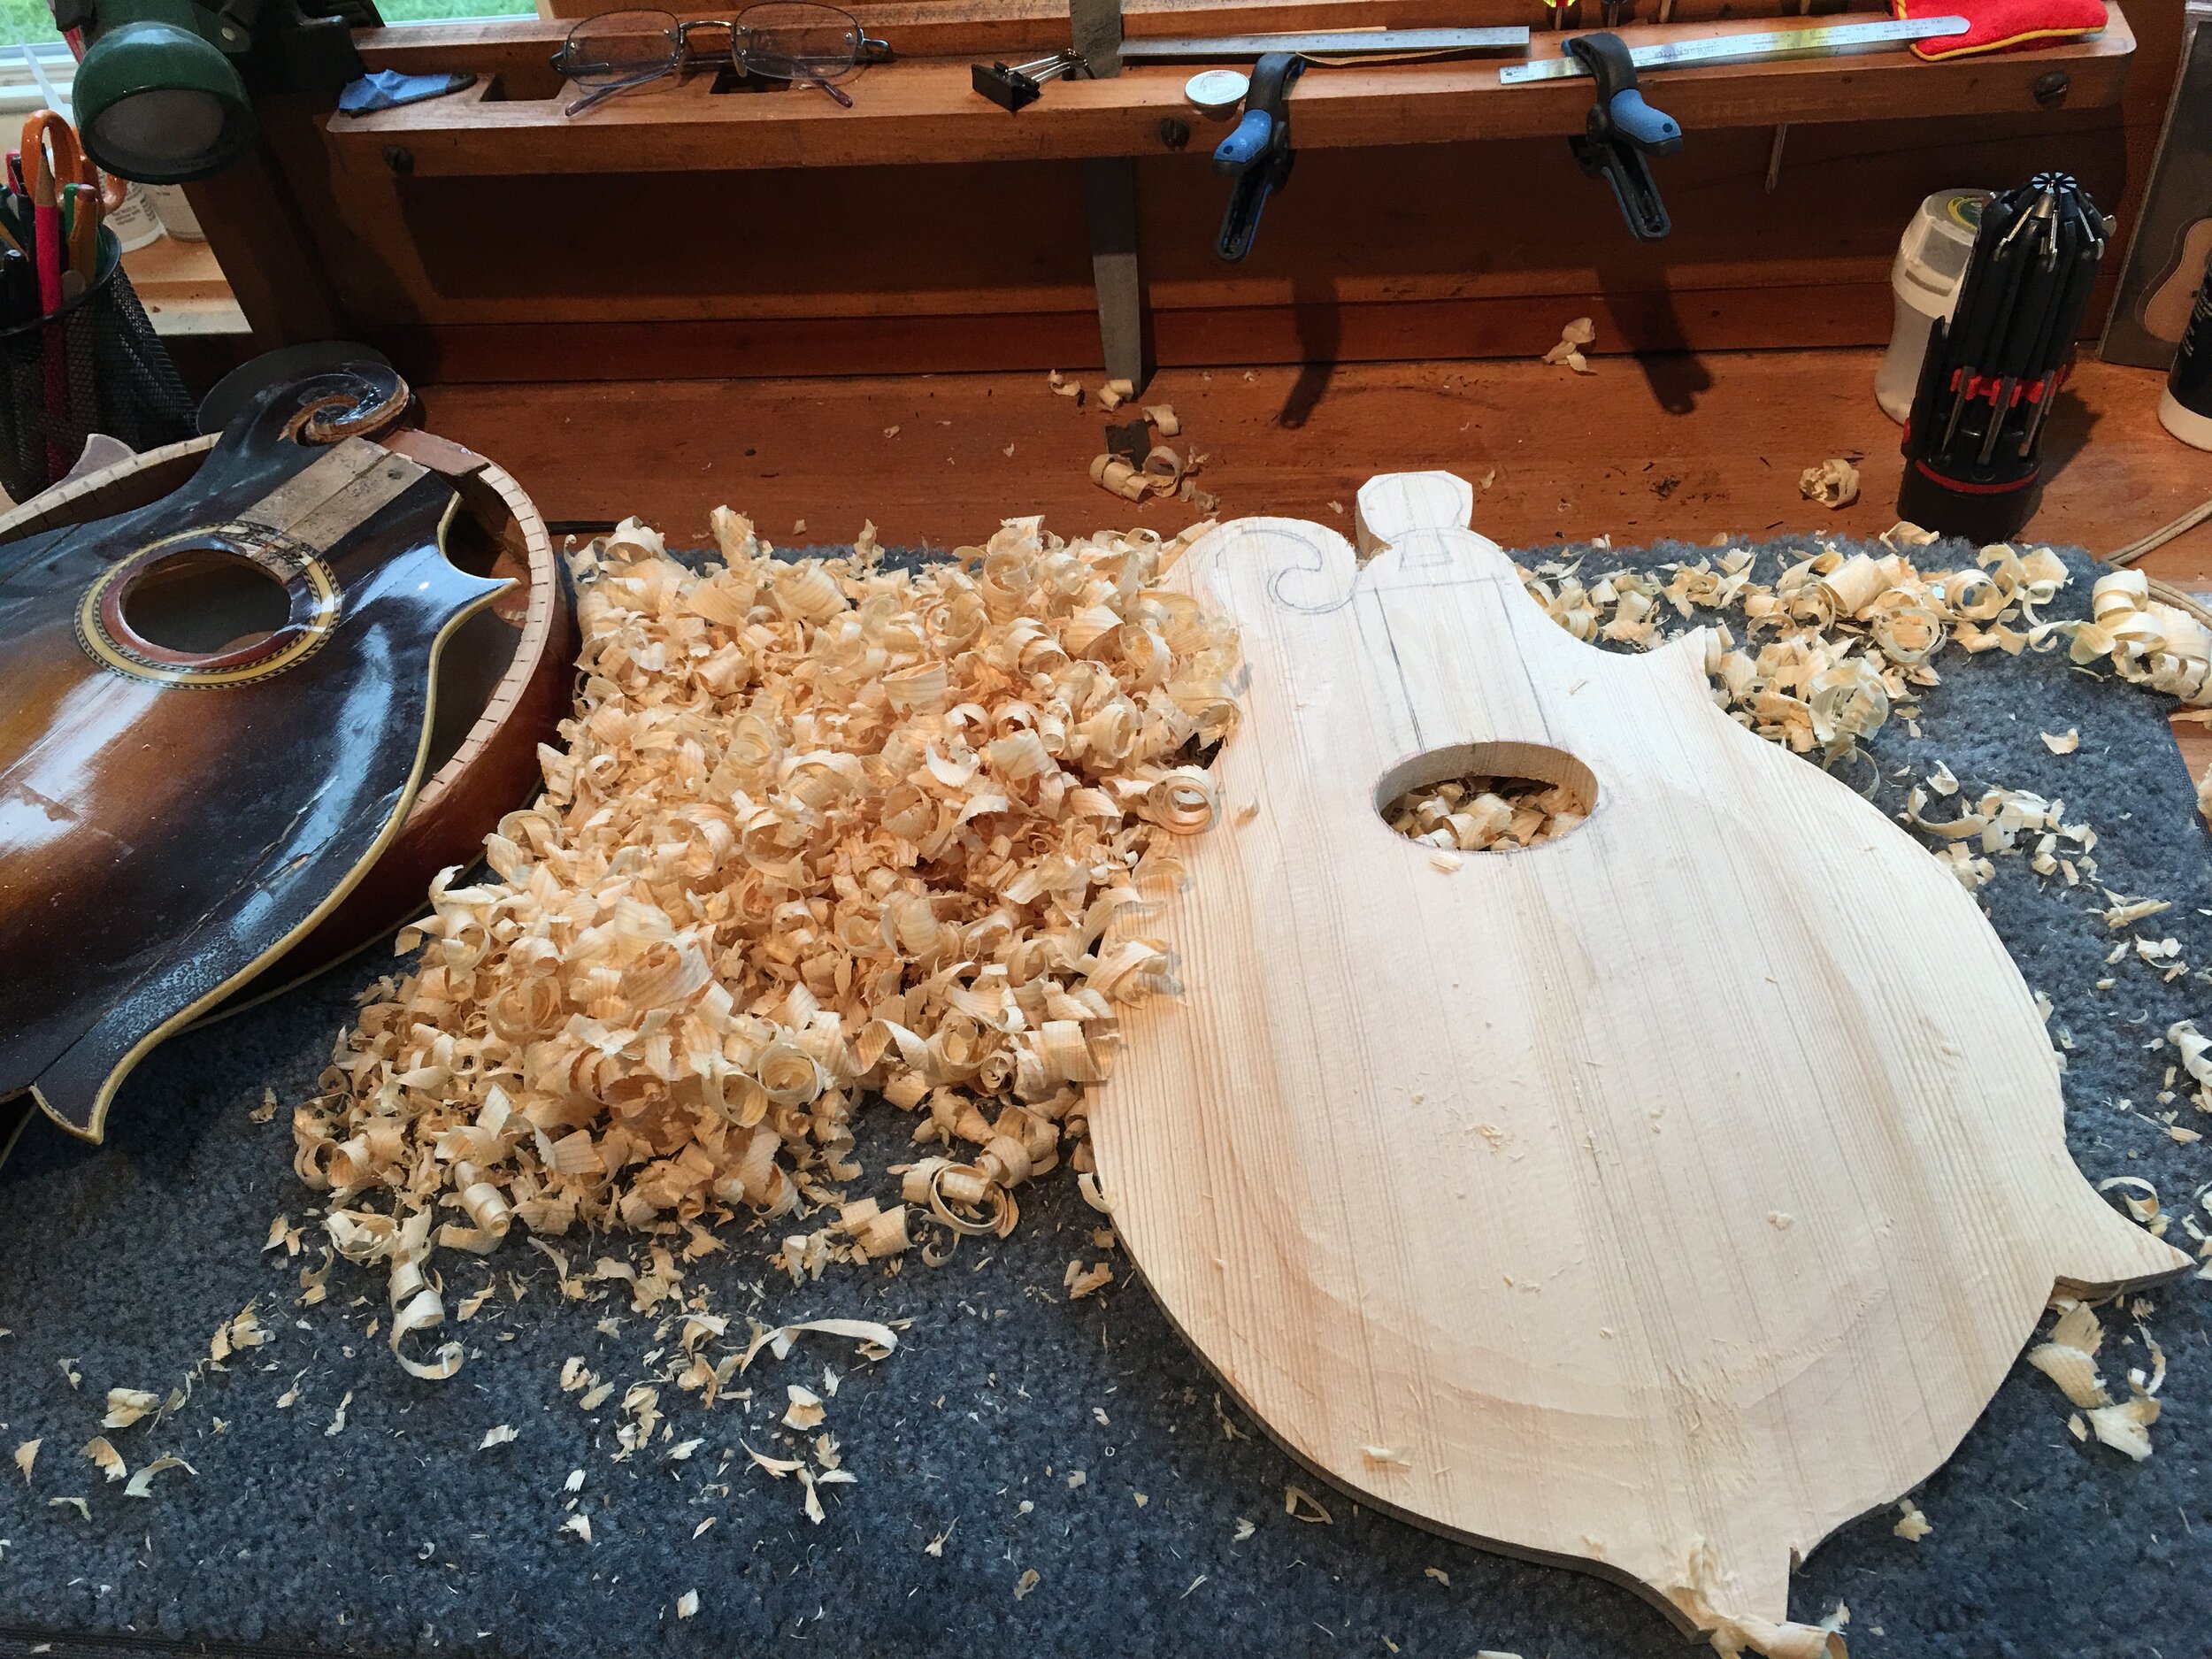
New top carved
Carving the new top.
-

Top Completed
The top is carved and strung up “in the white”. before spraying the Sunburst.
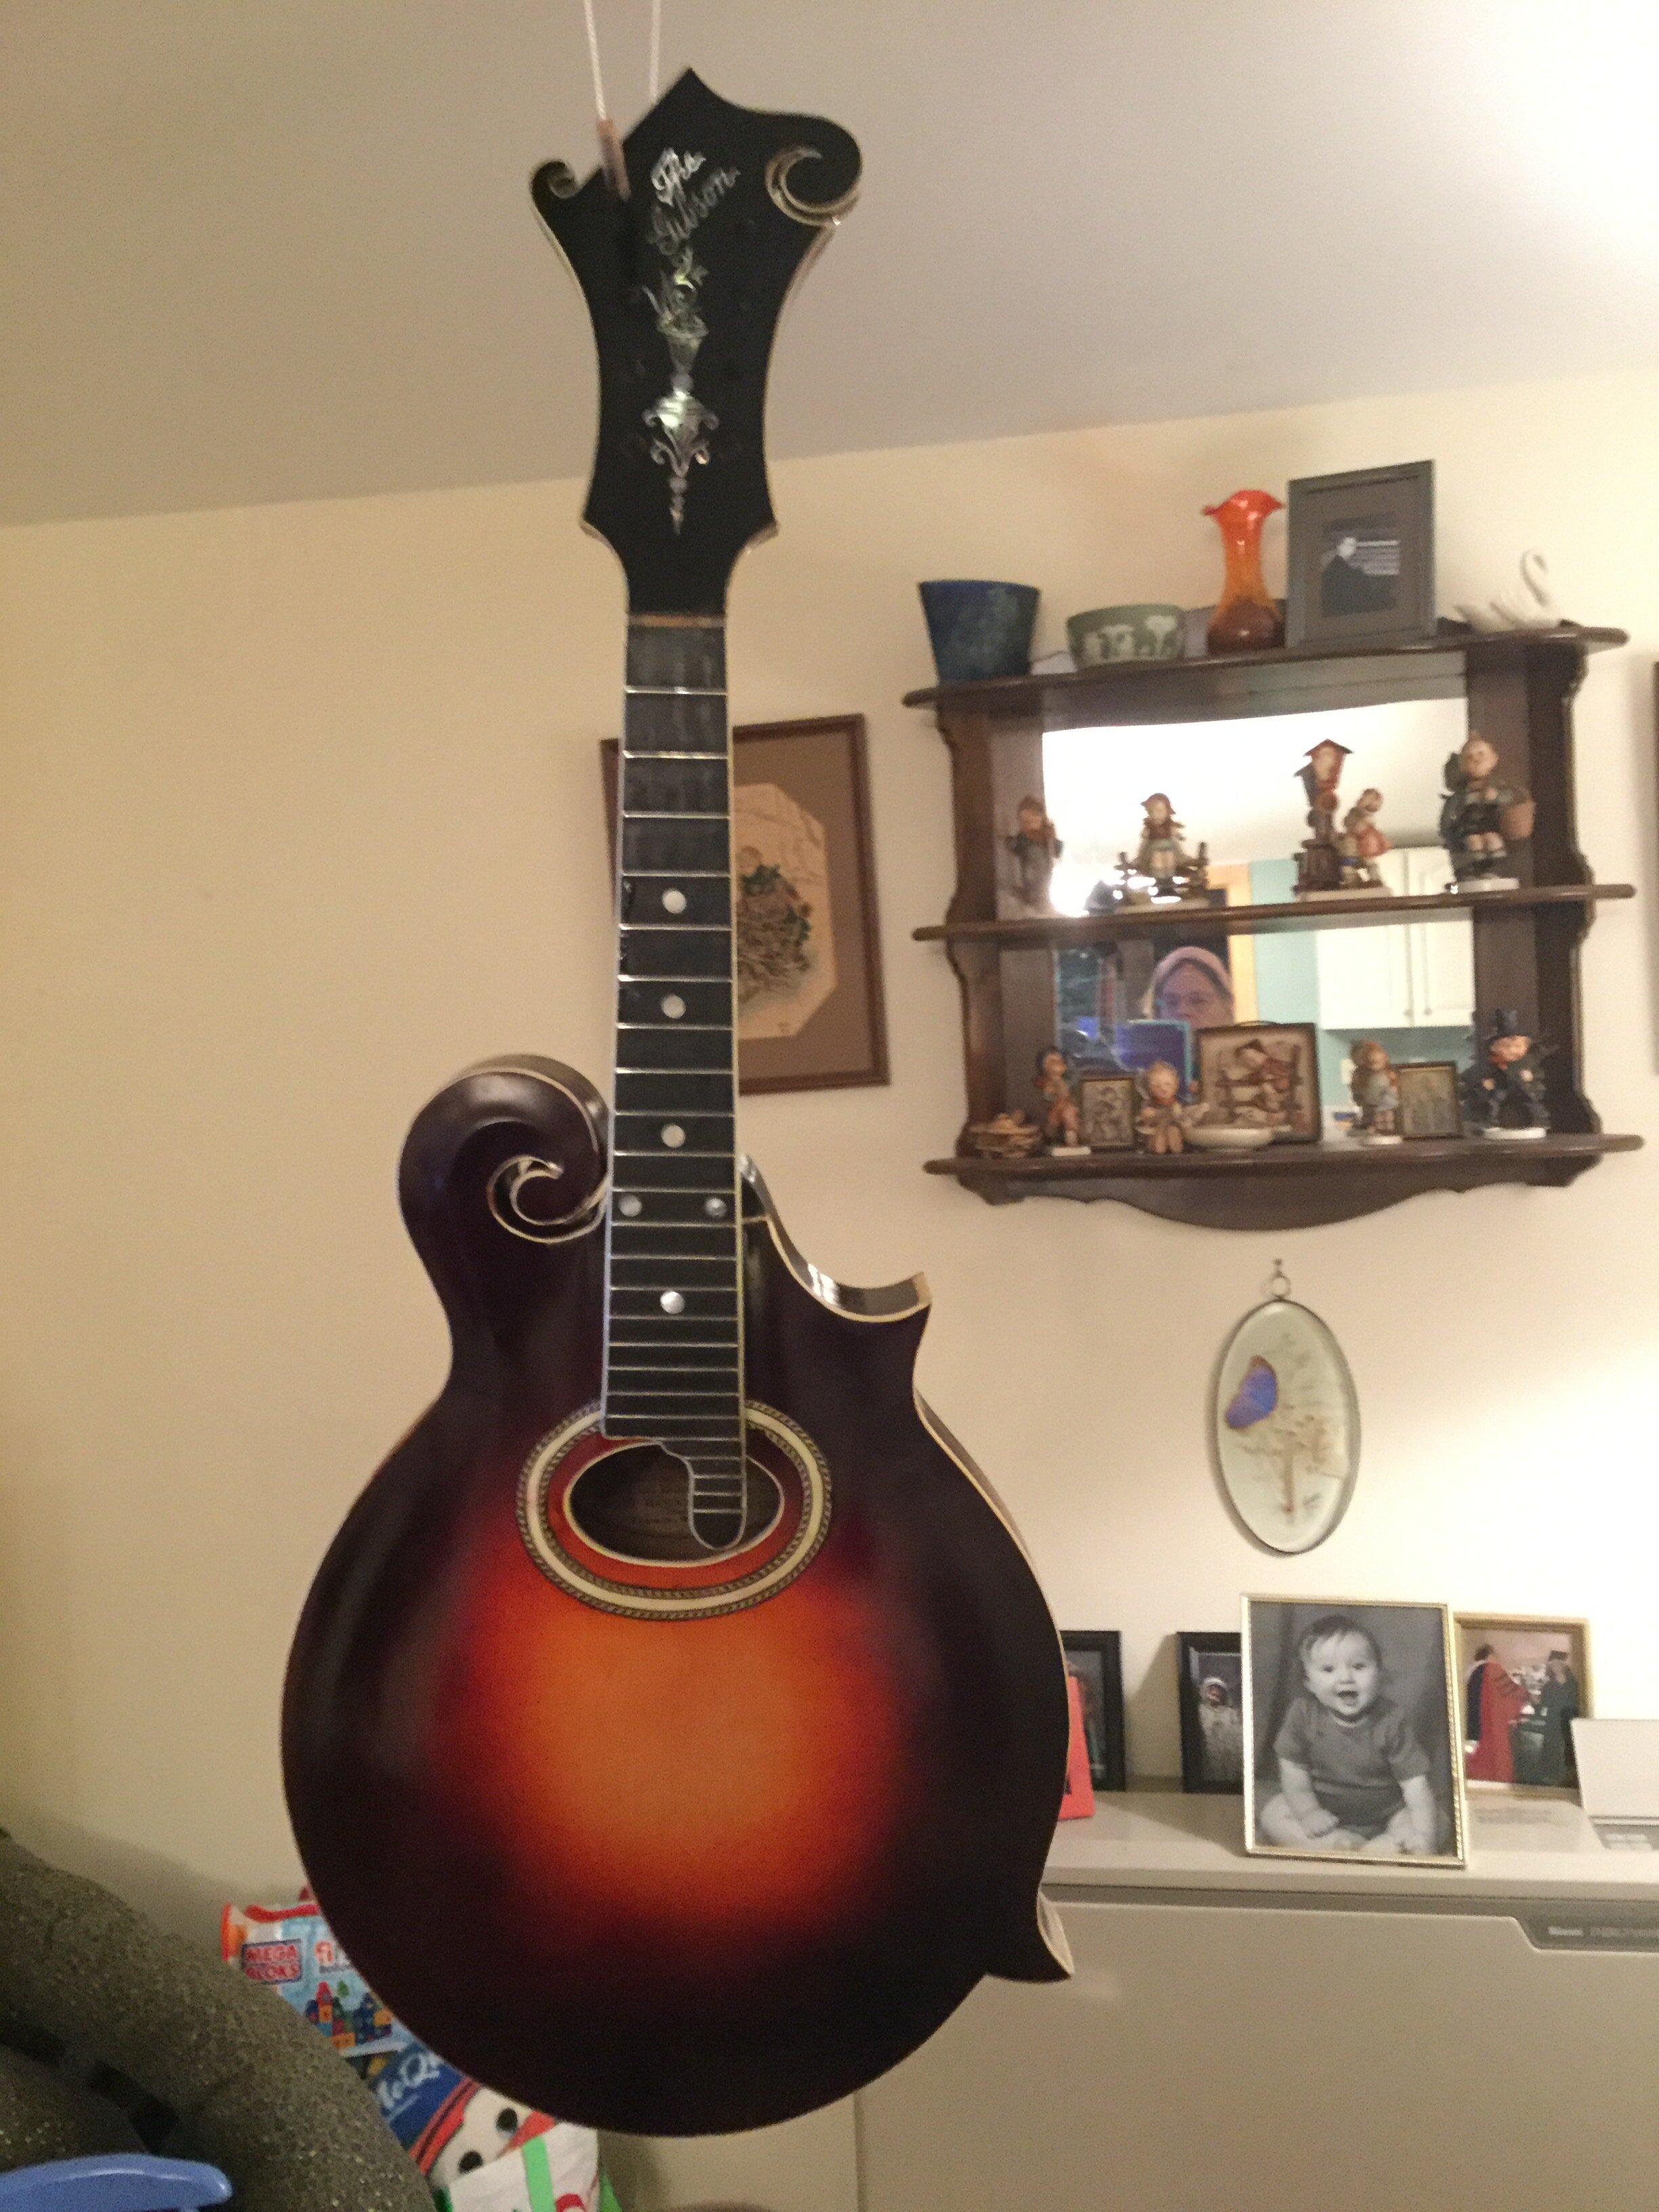
Sunburst sprayed and polished!
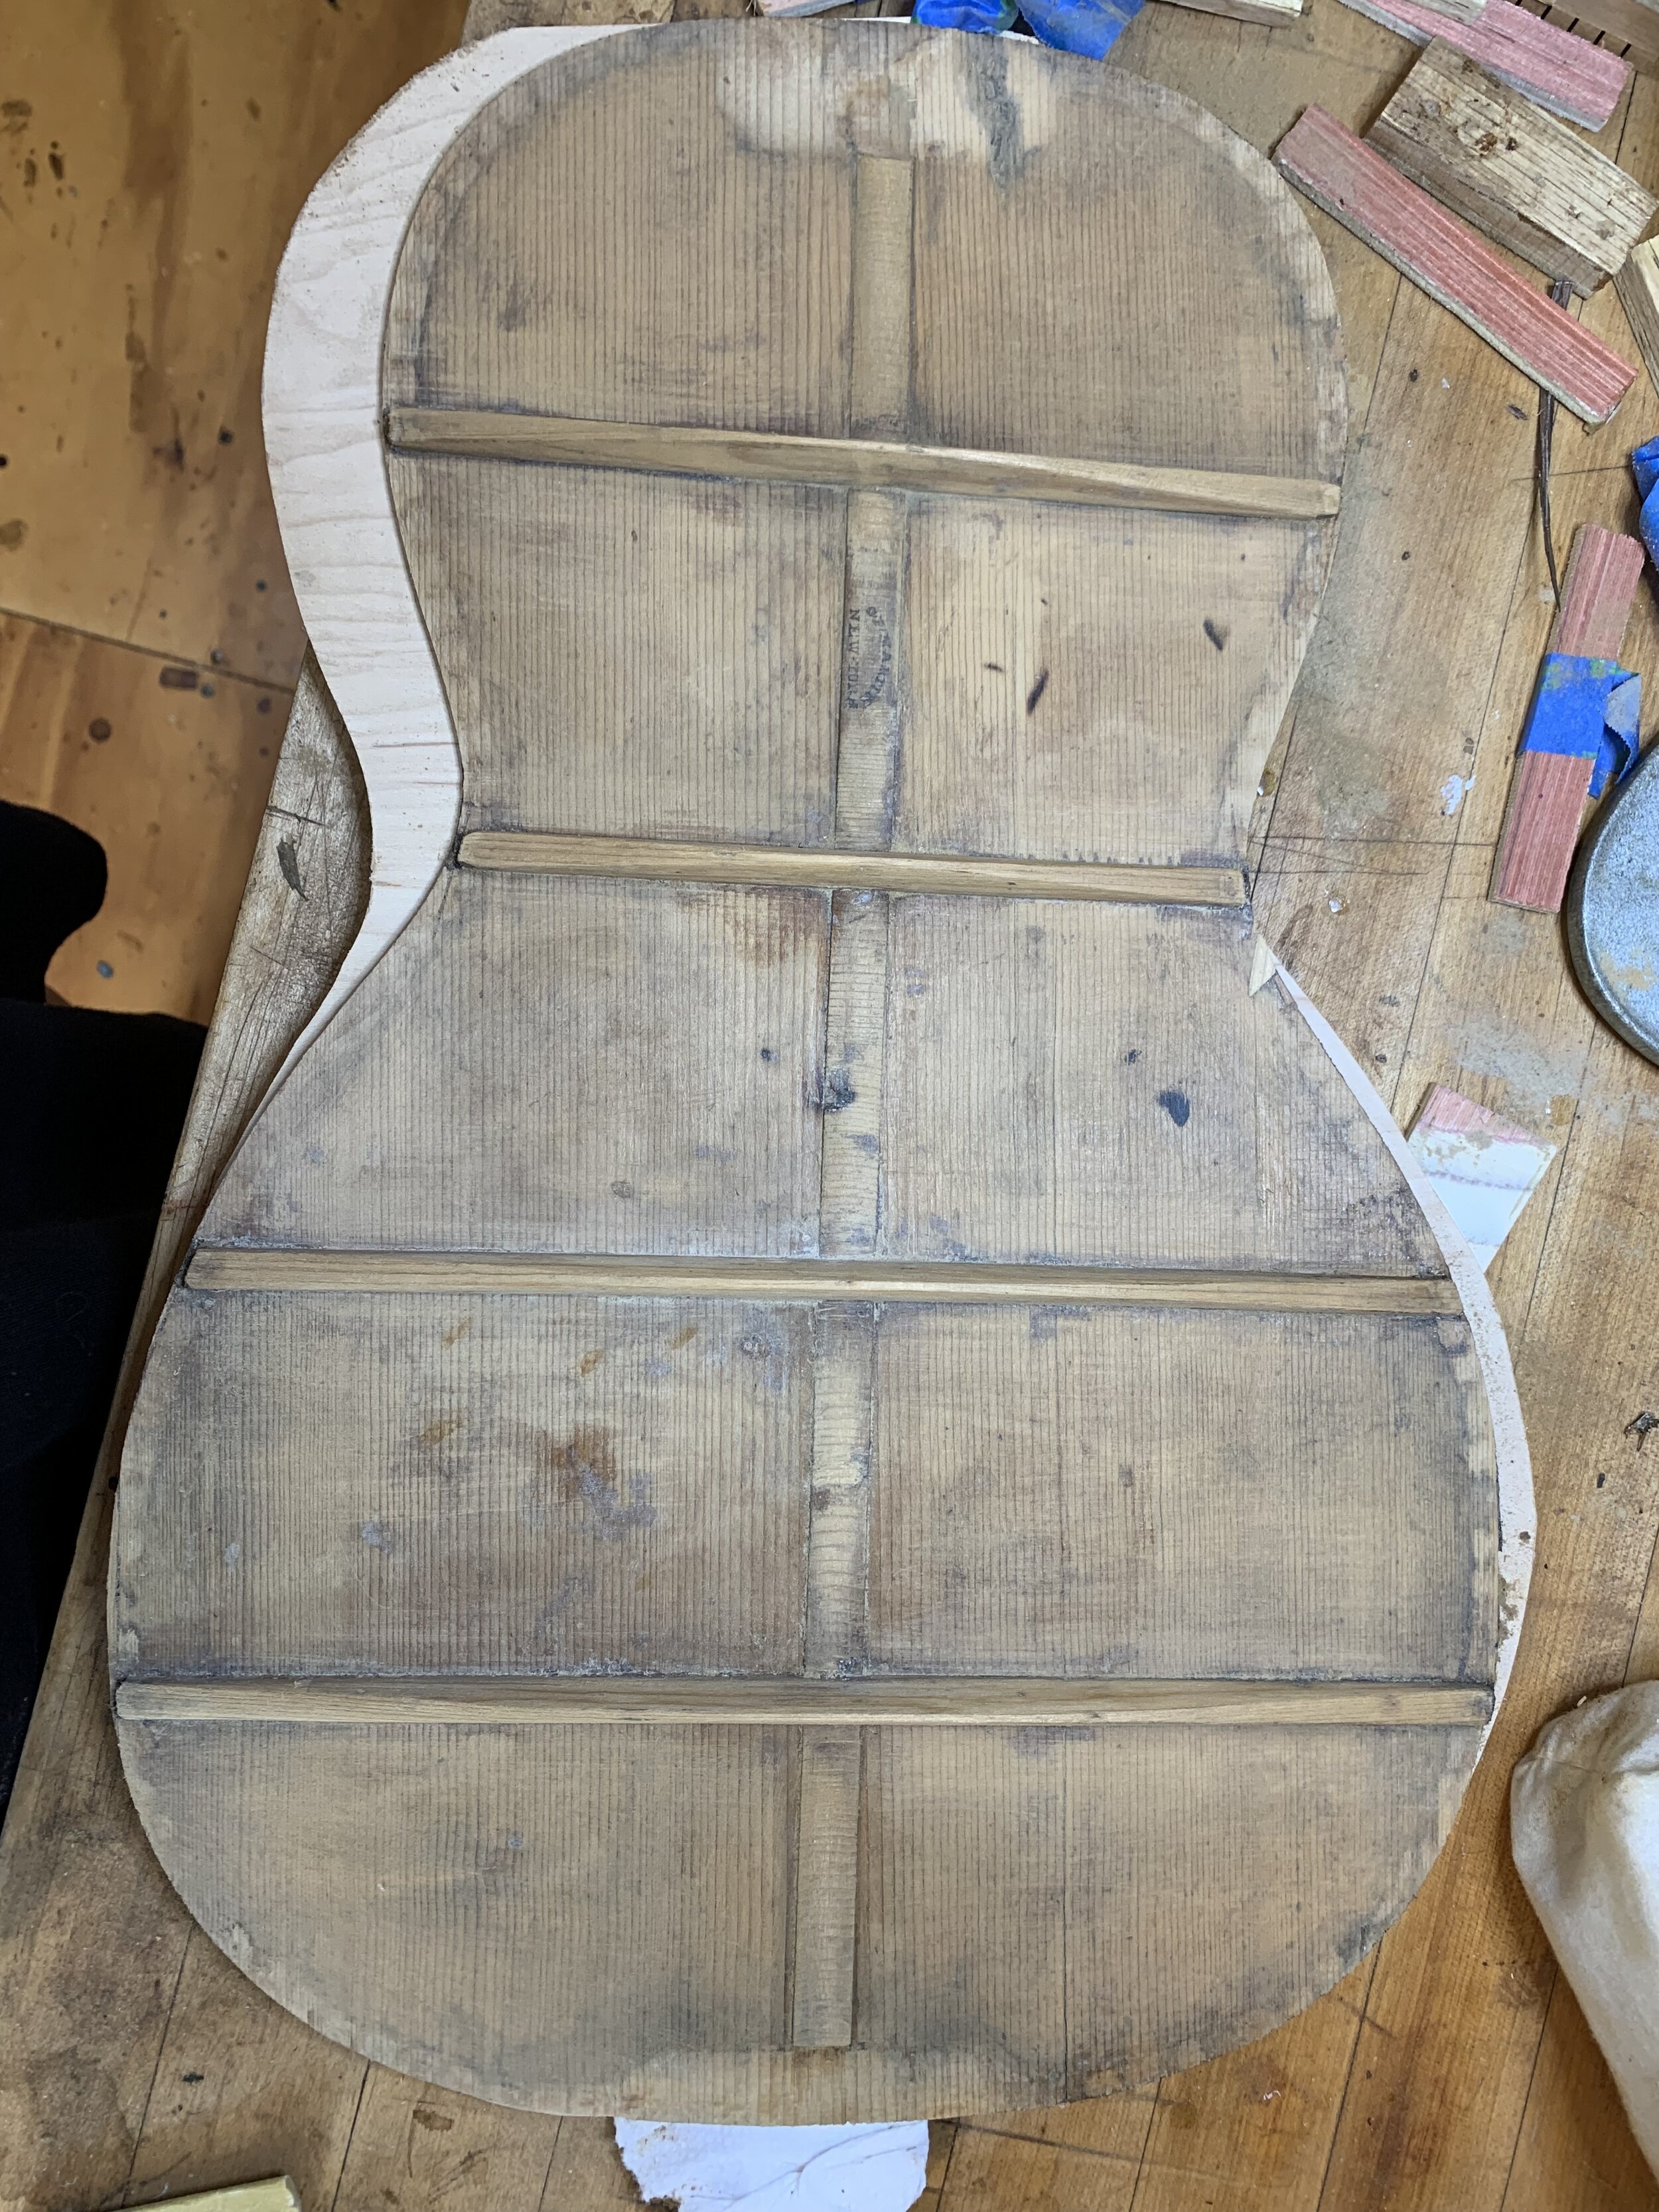
My most challenging repair.
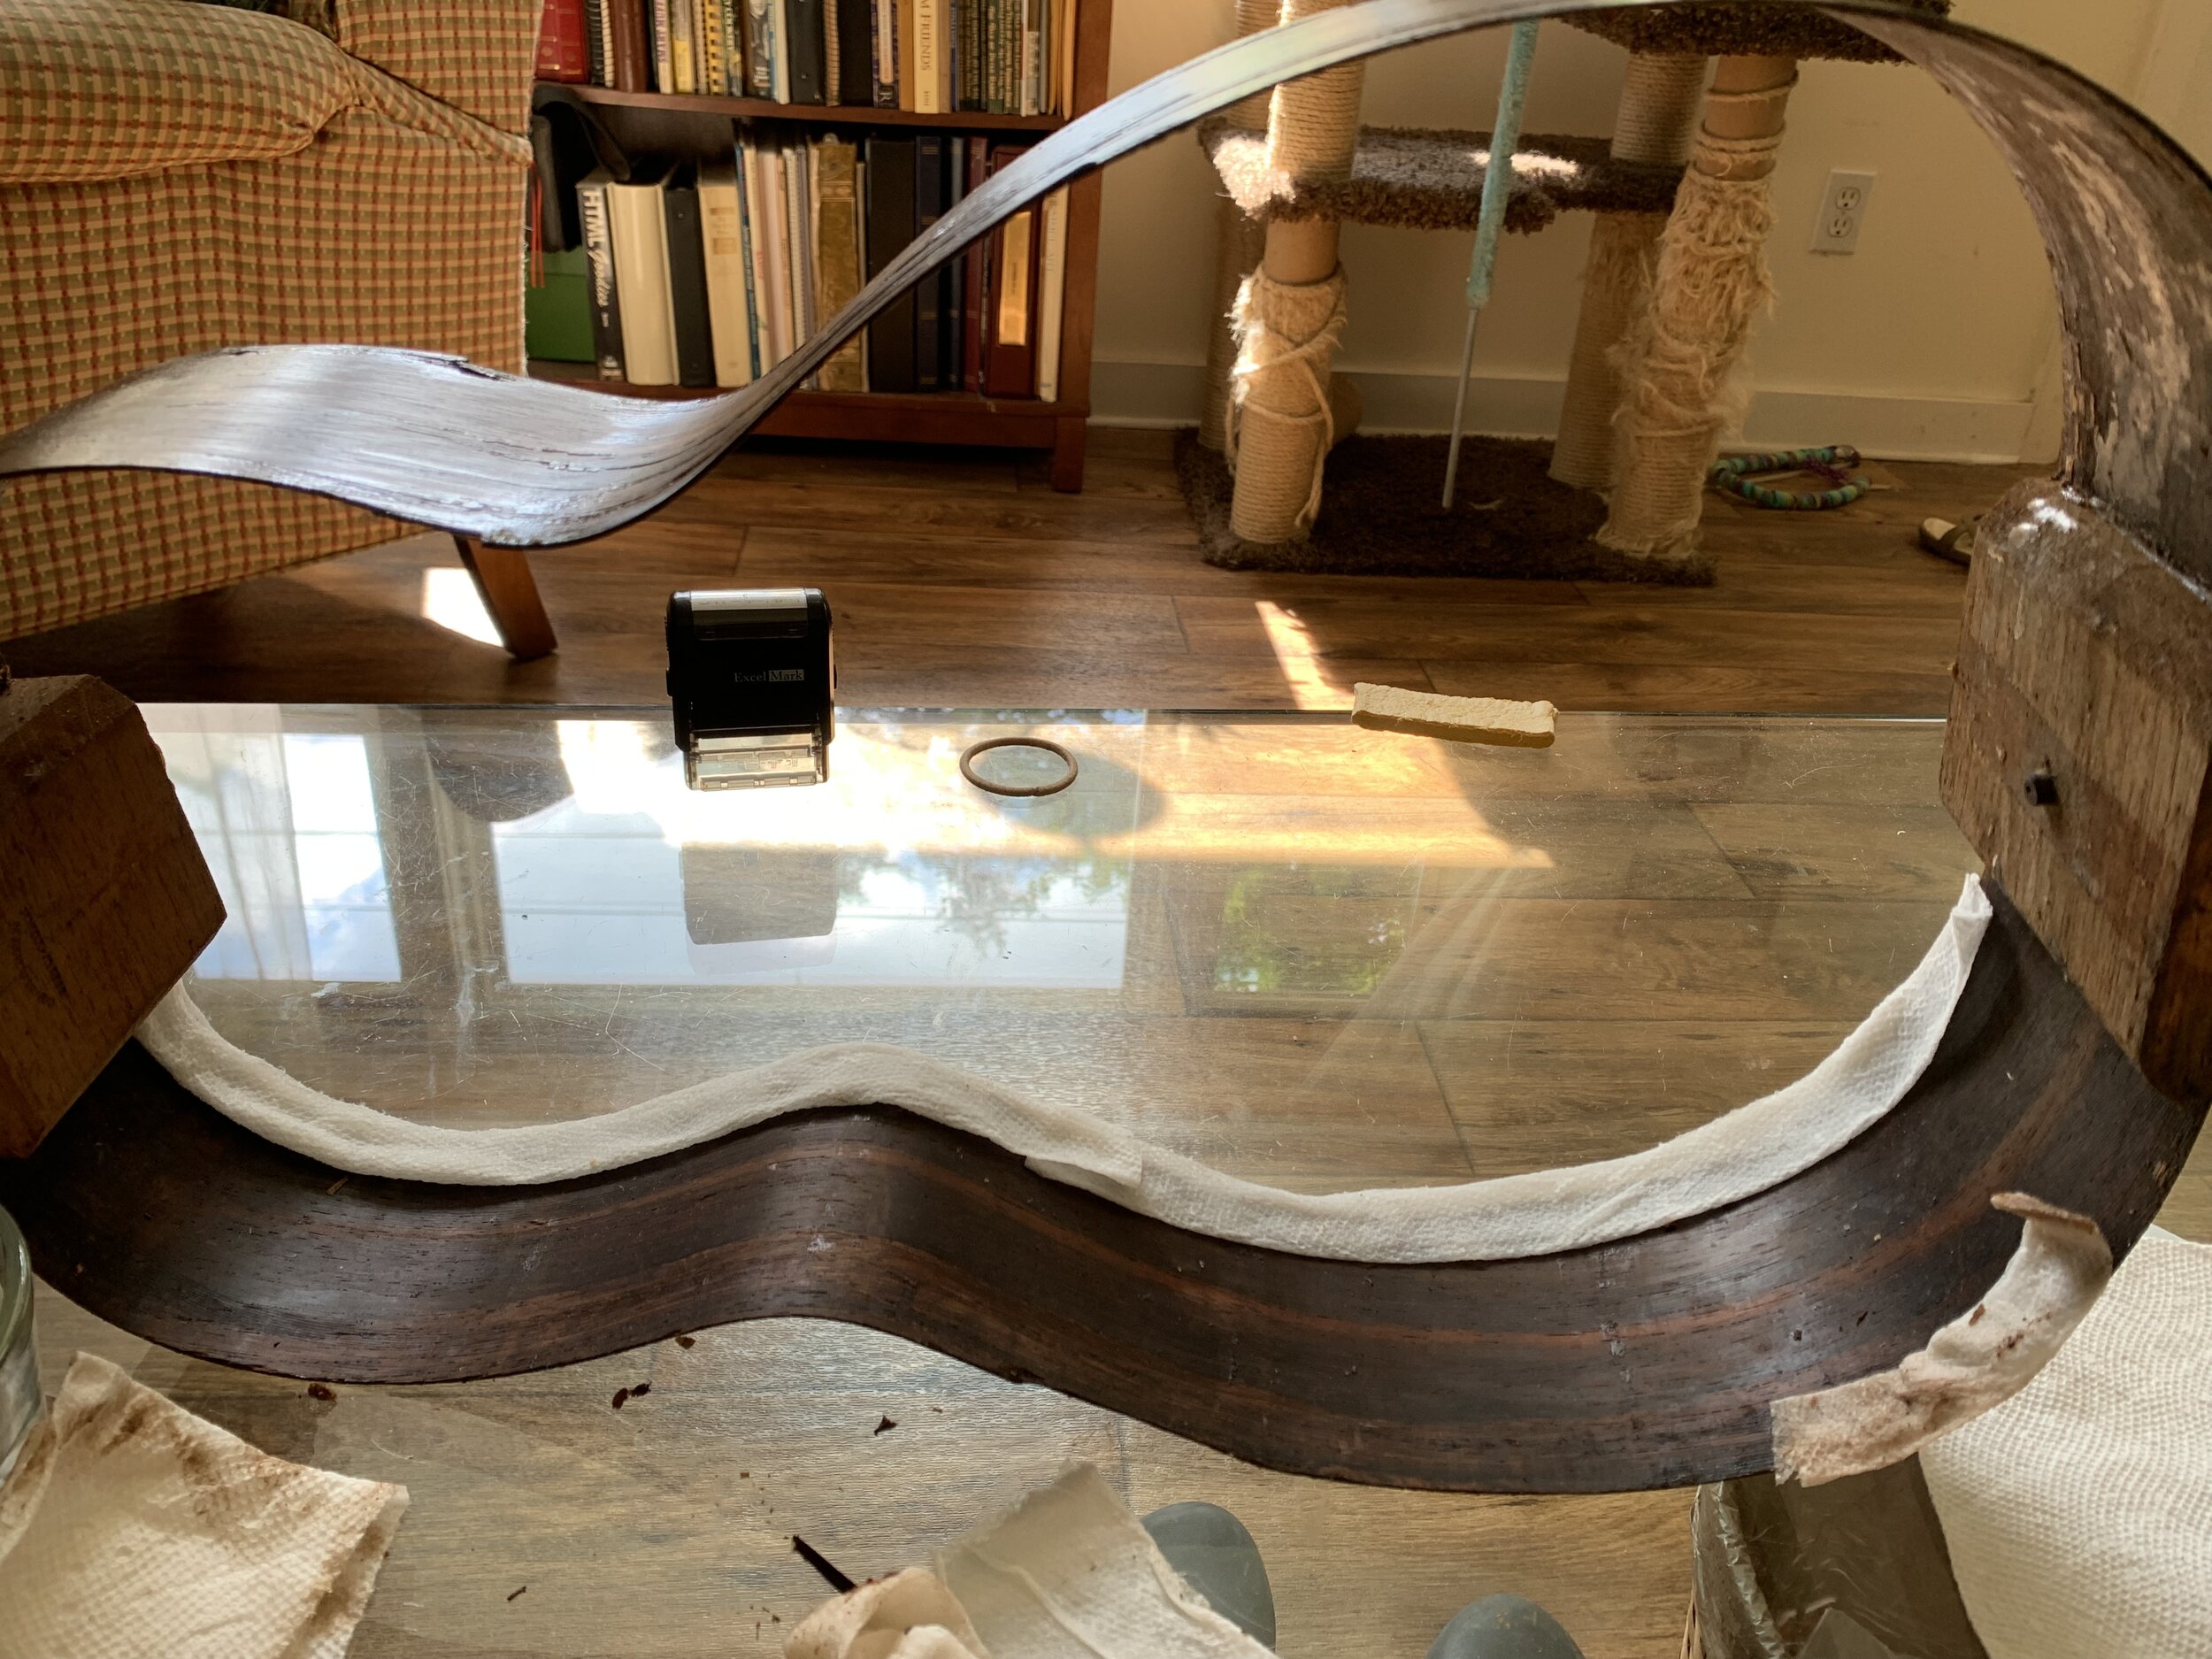
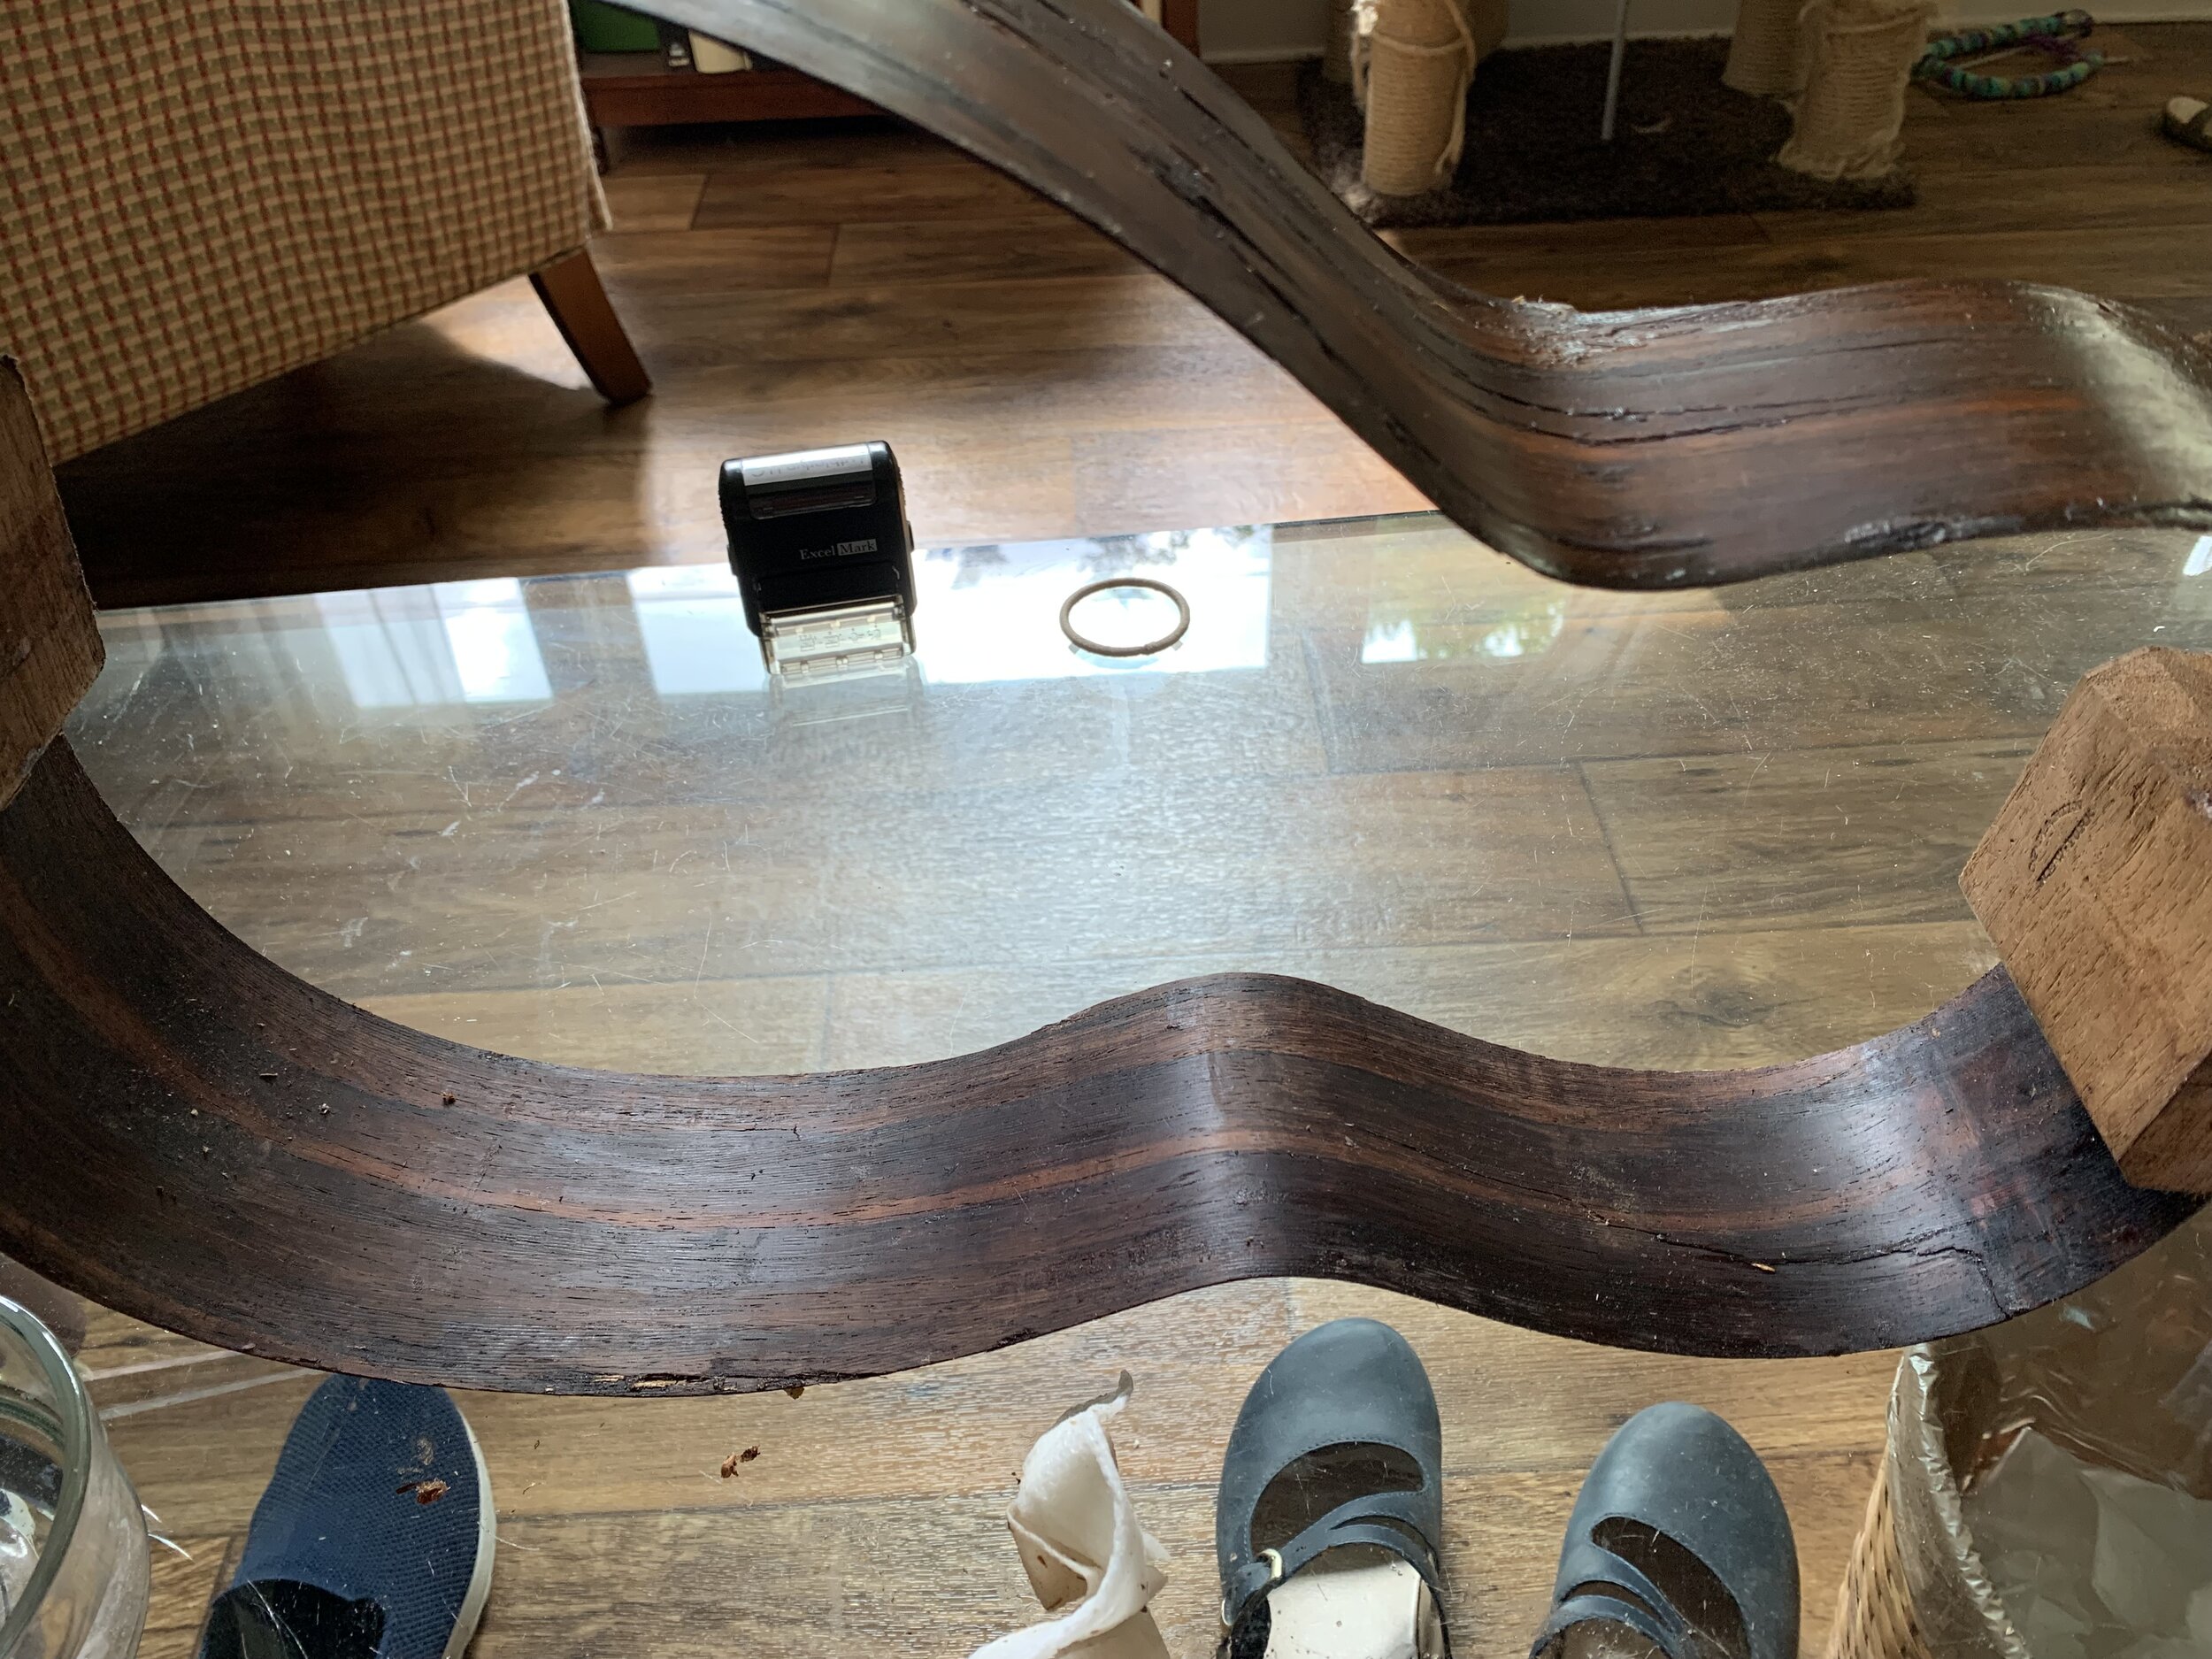
This is an 1850’s Martin #2 Parlor Guitar, found in an attic. The owner said someone sat on it. That’s not the half of it!


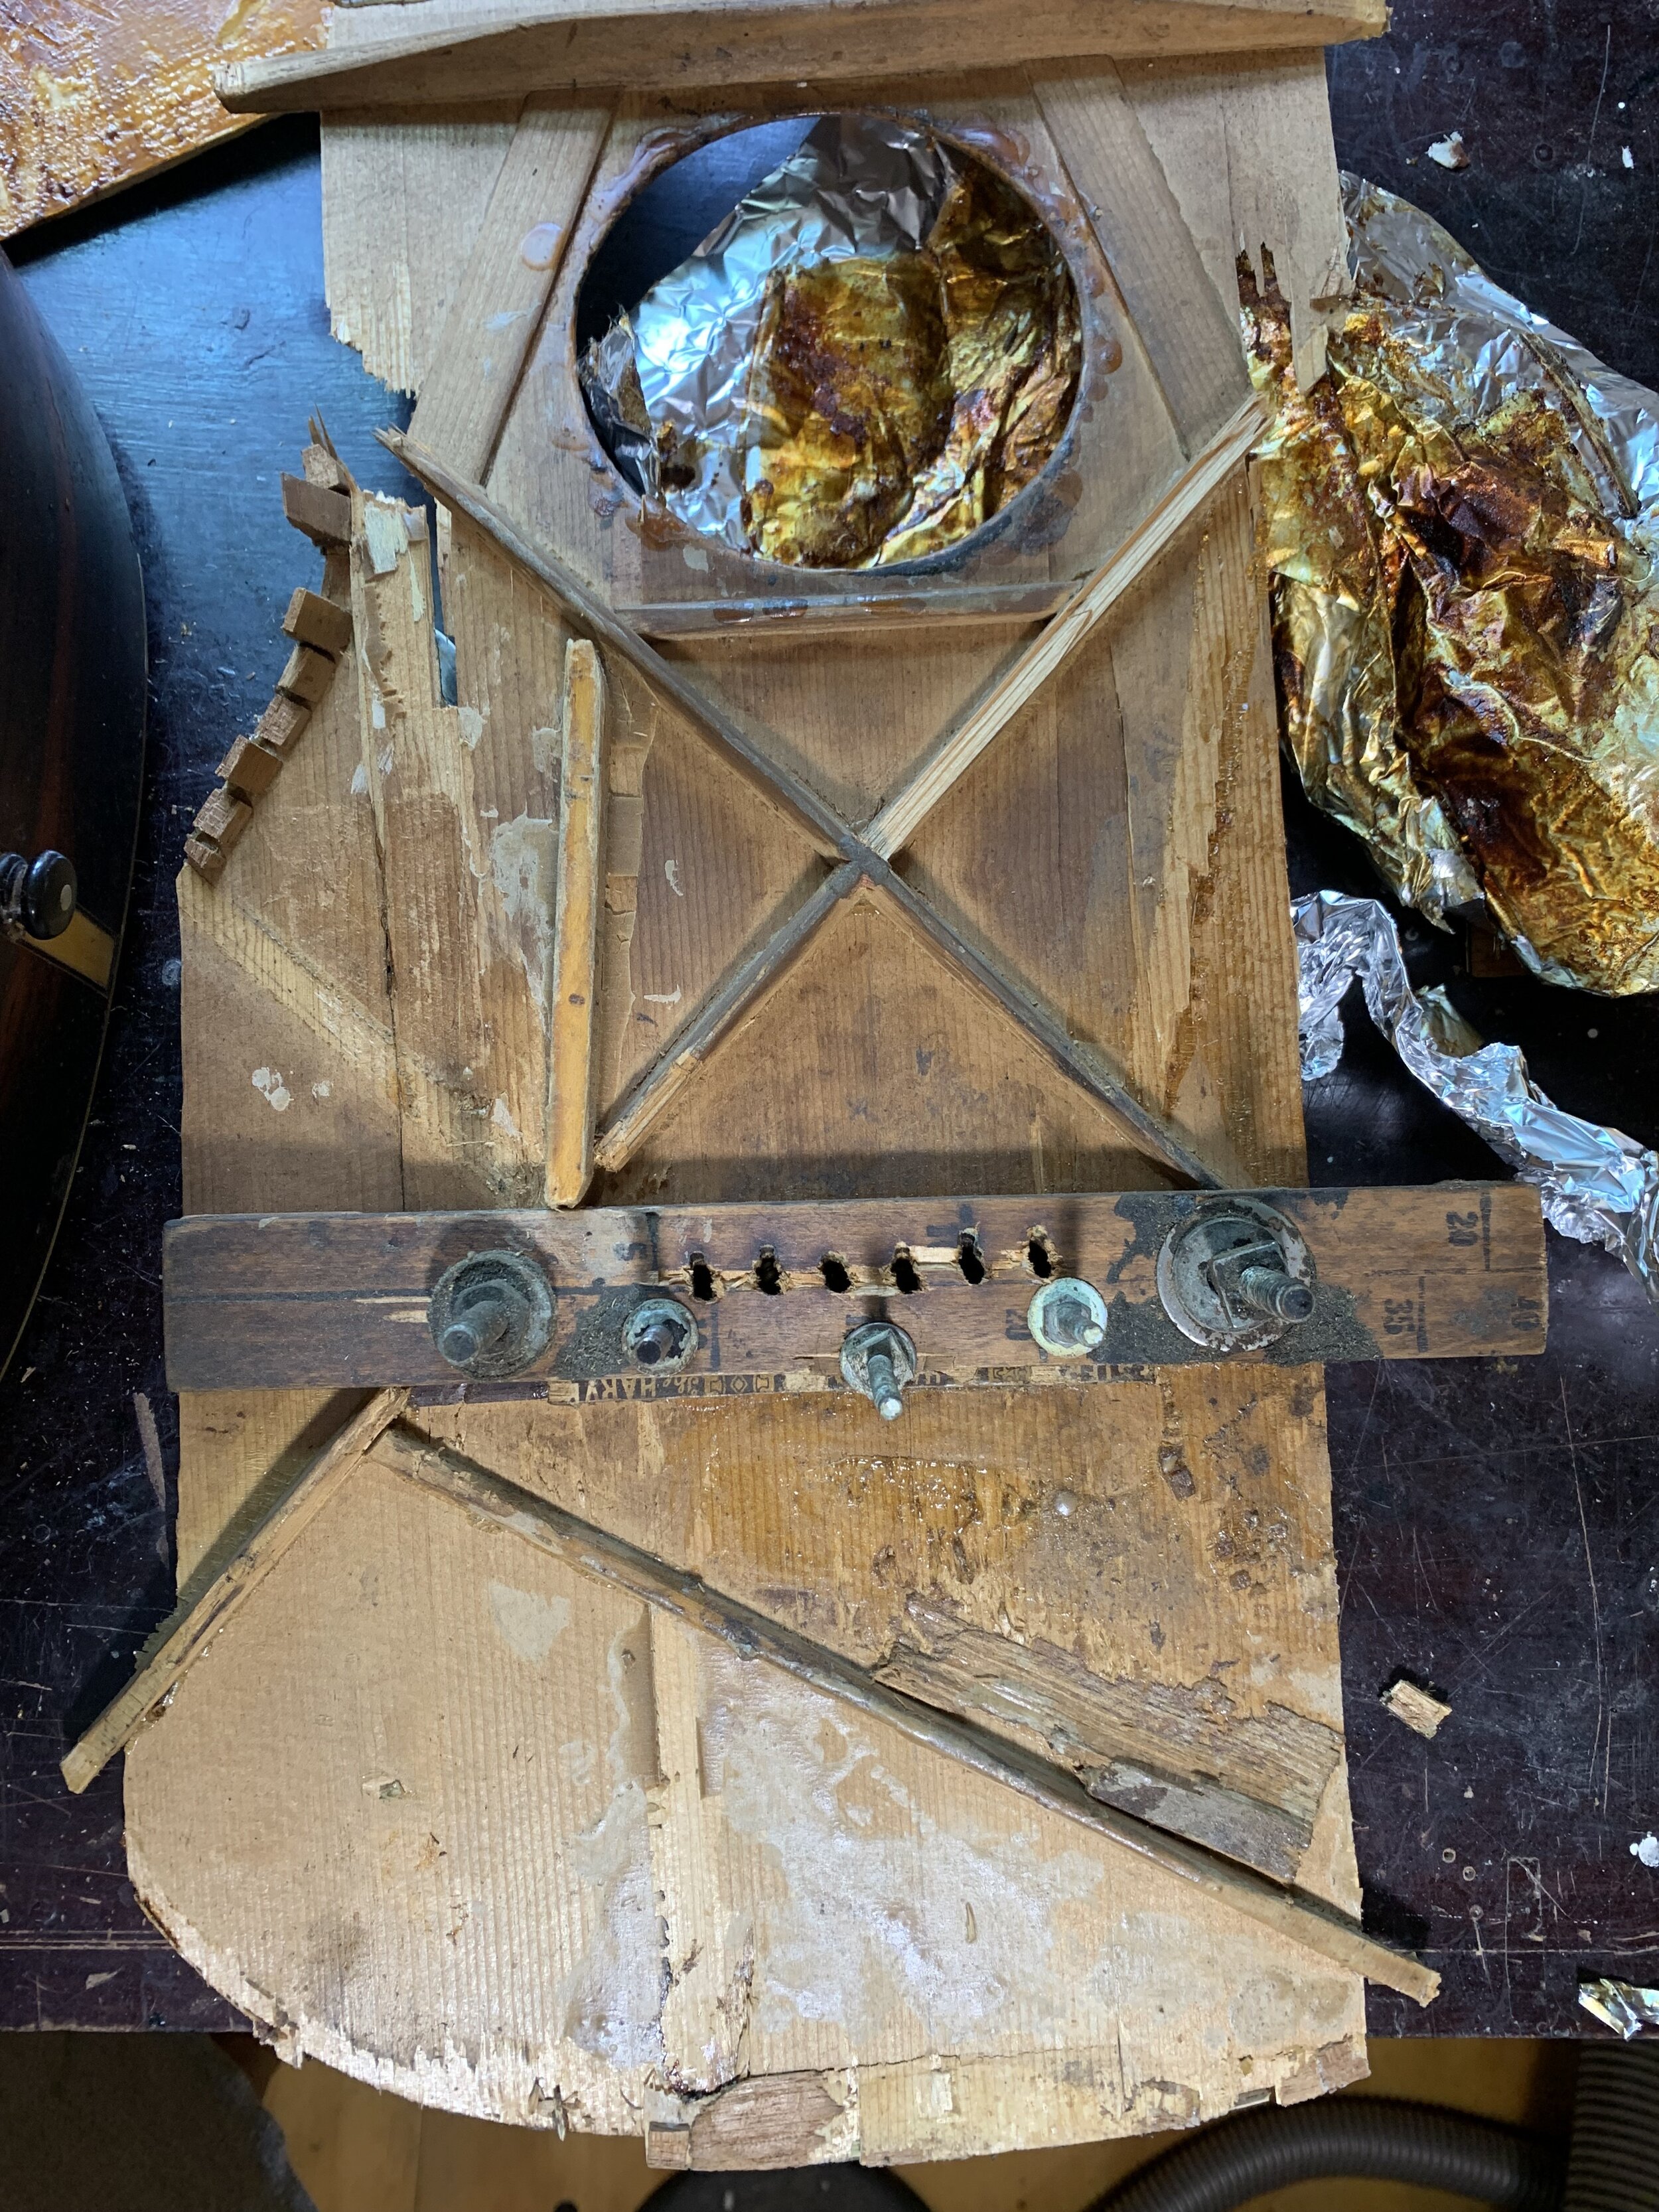
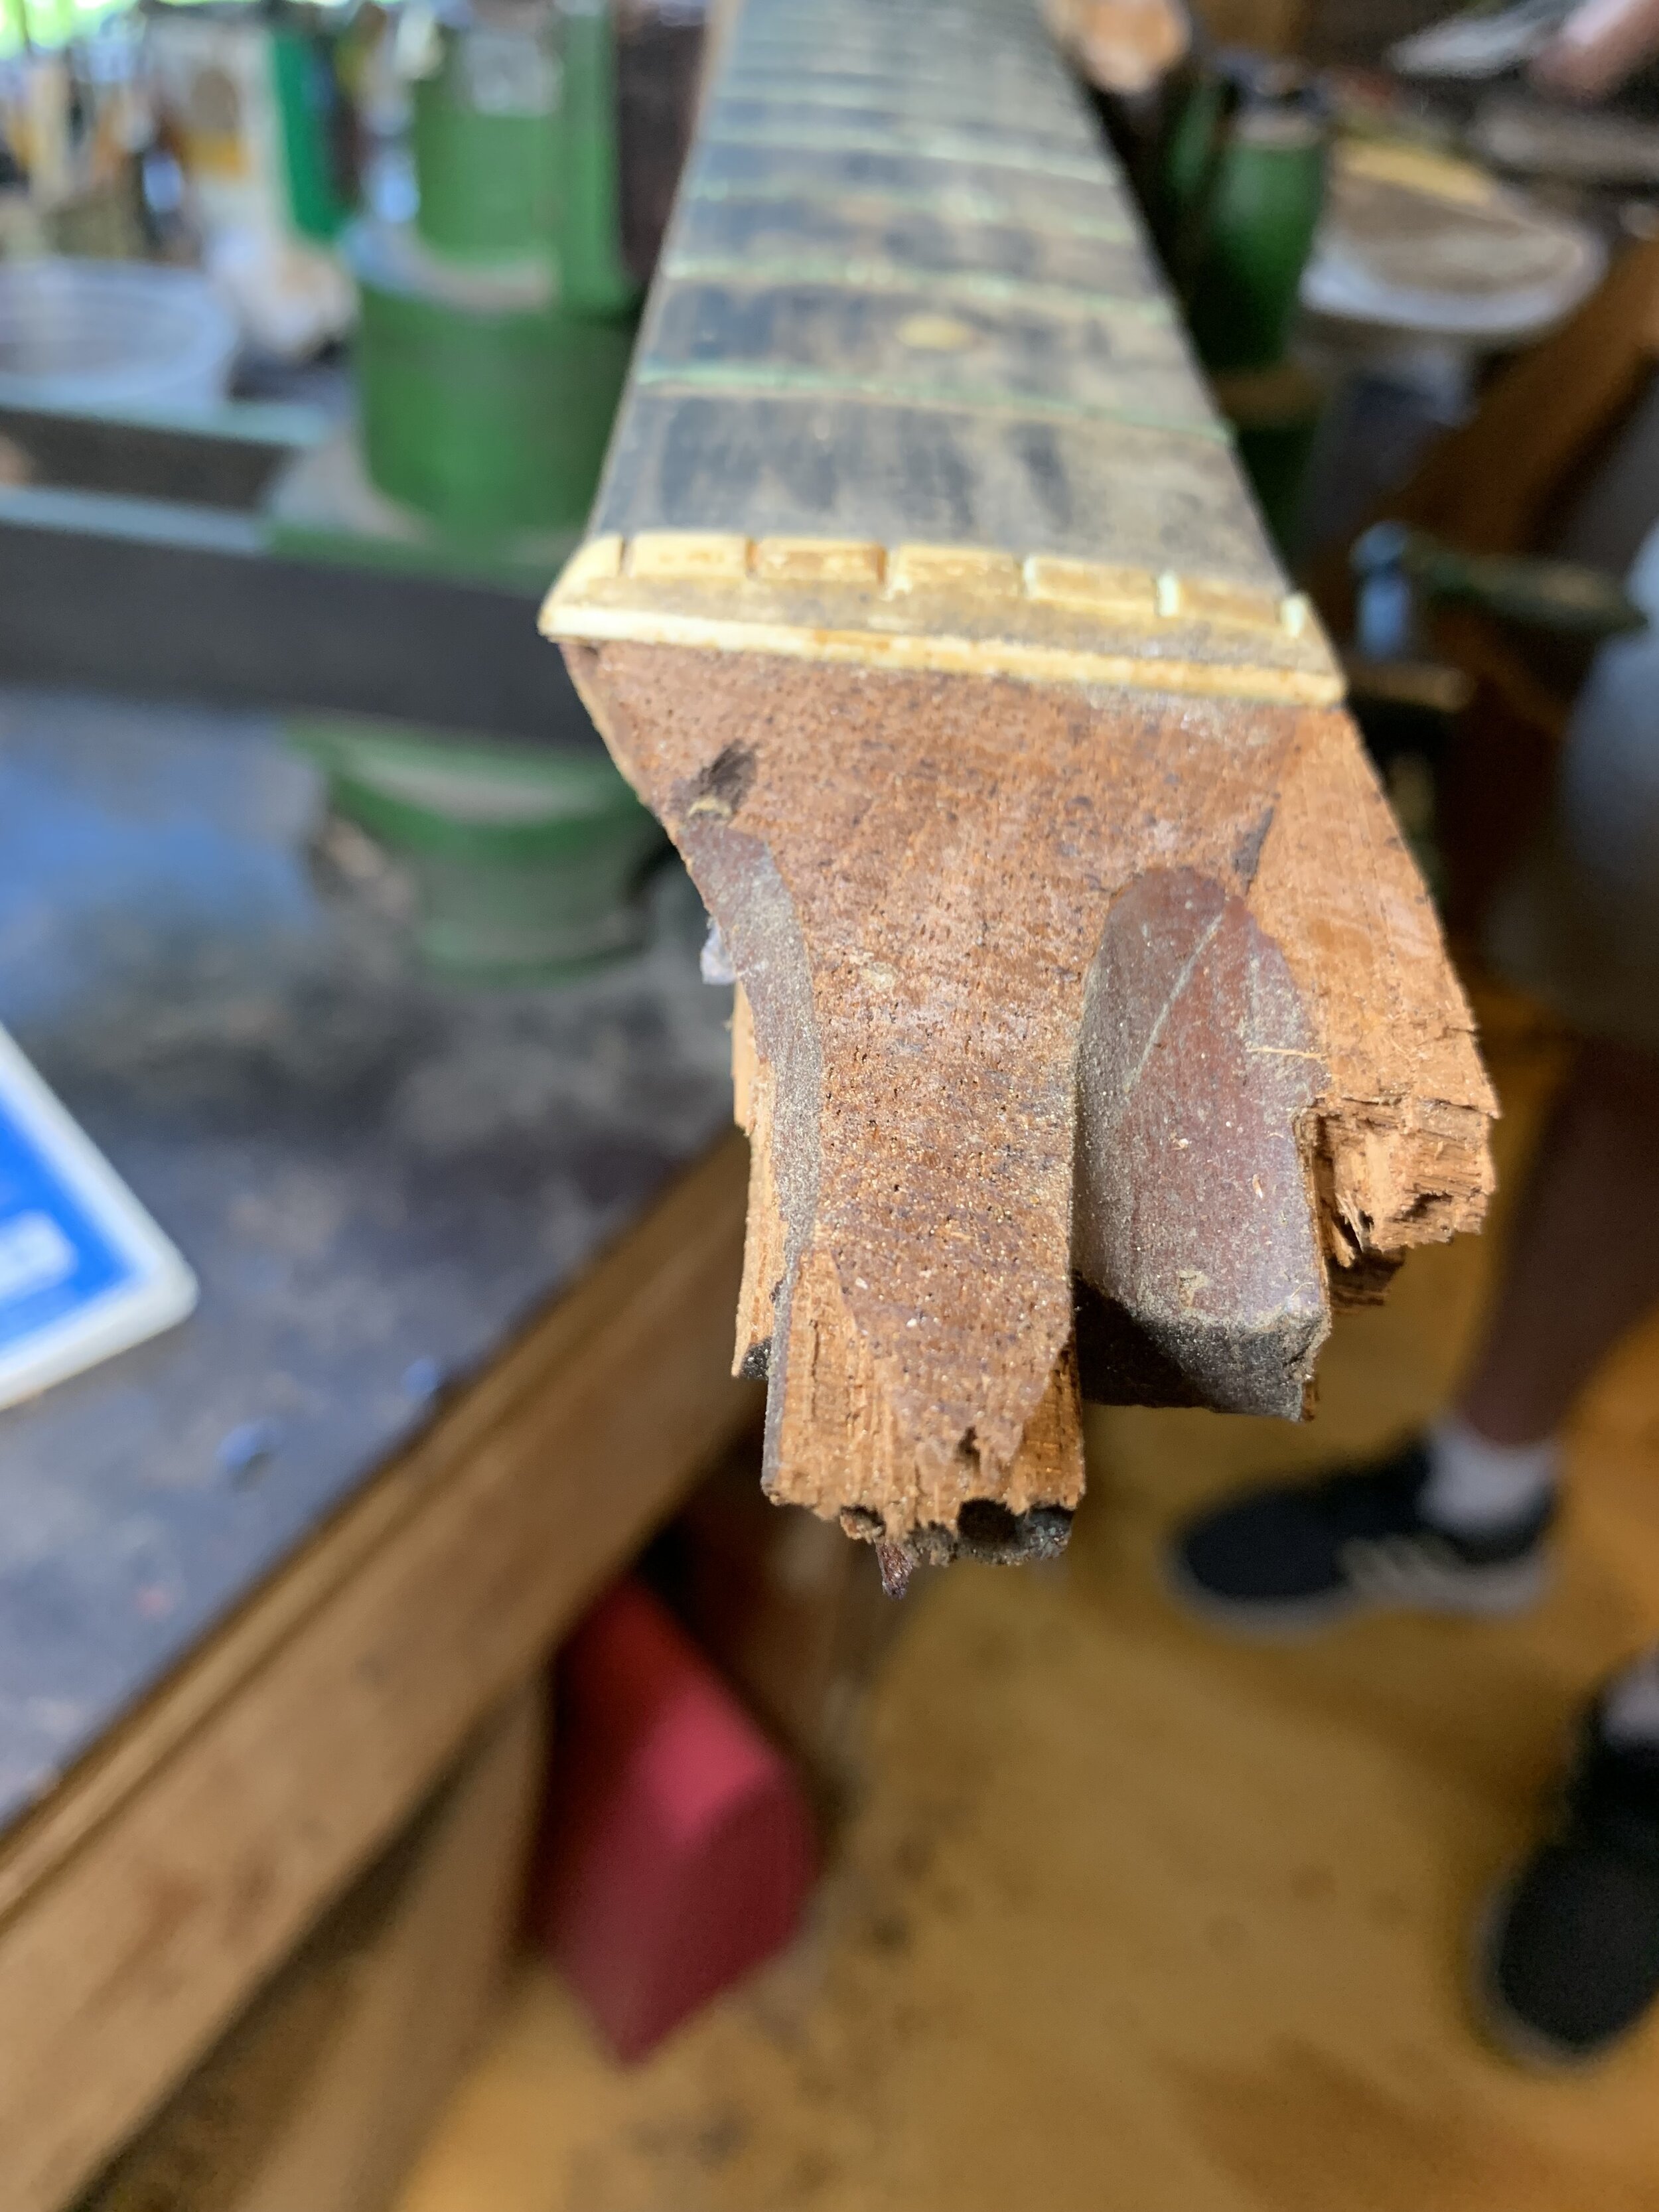
The headstock is broken. And look what I found inside when I took the top off.
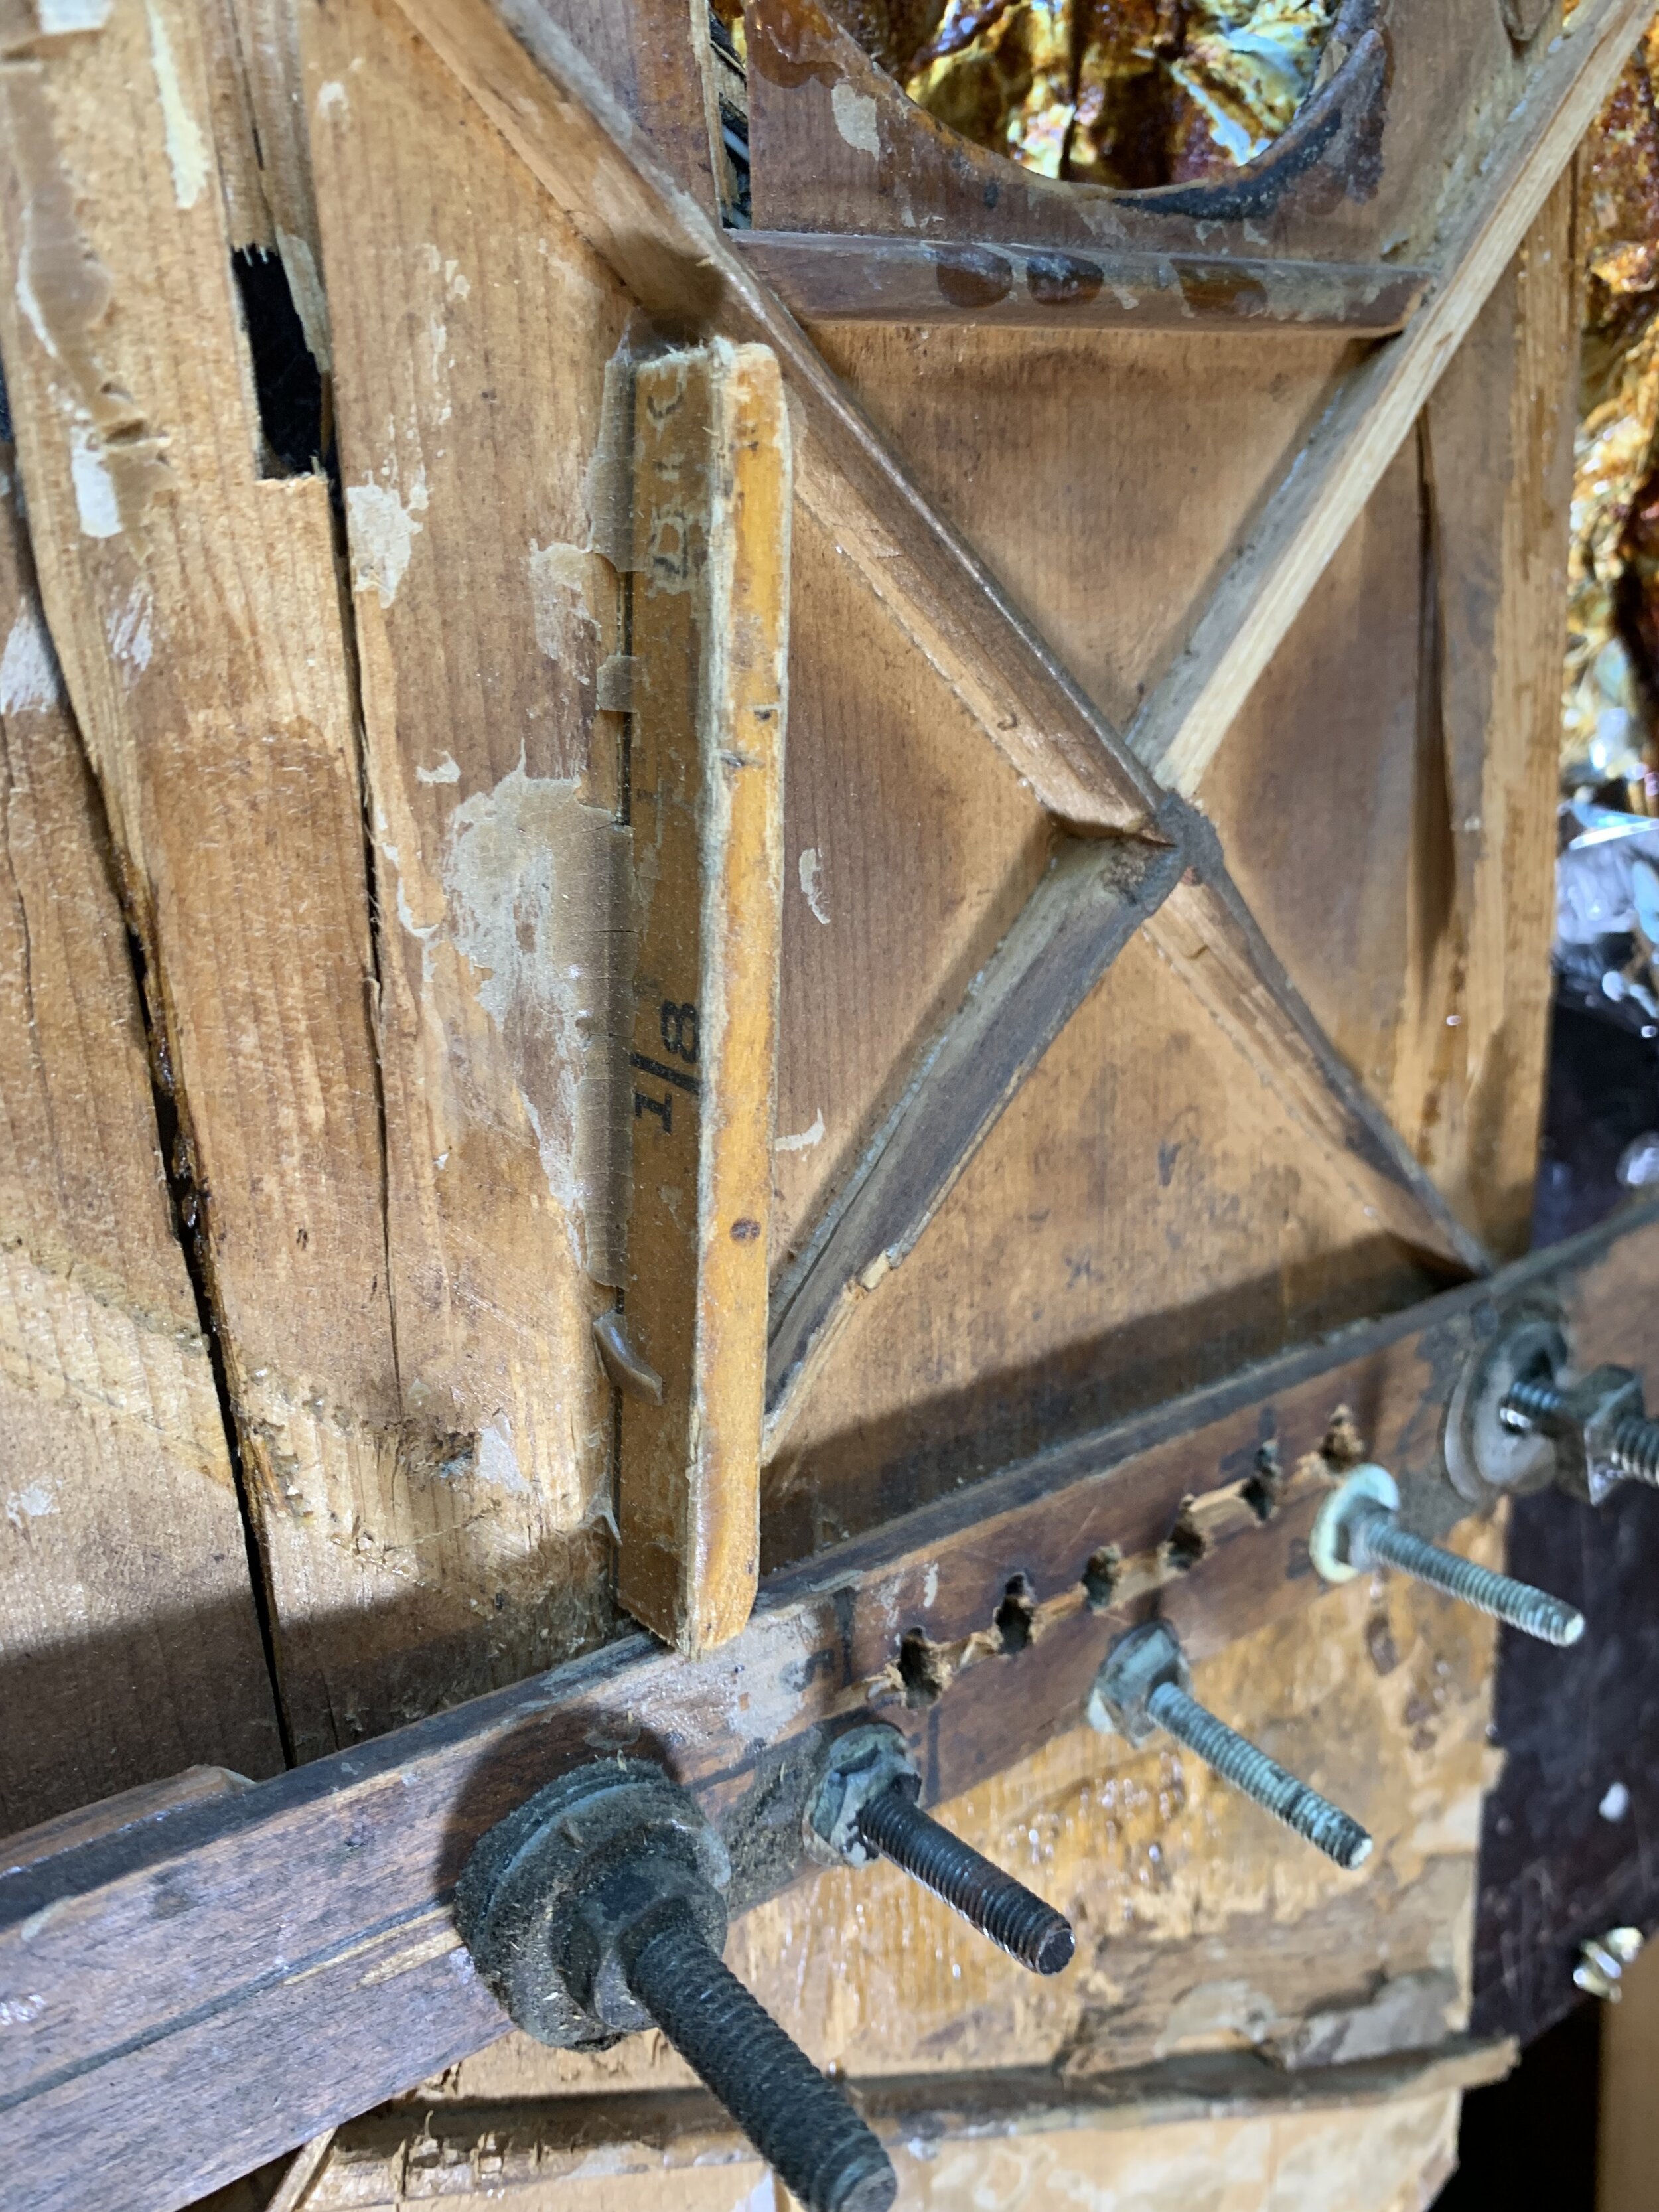
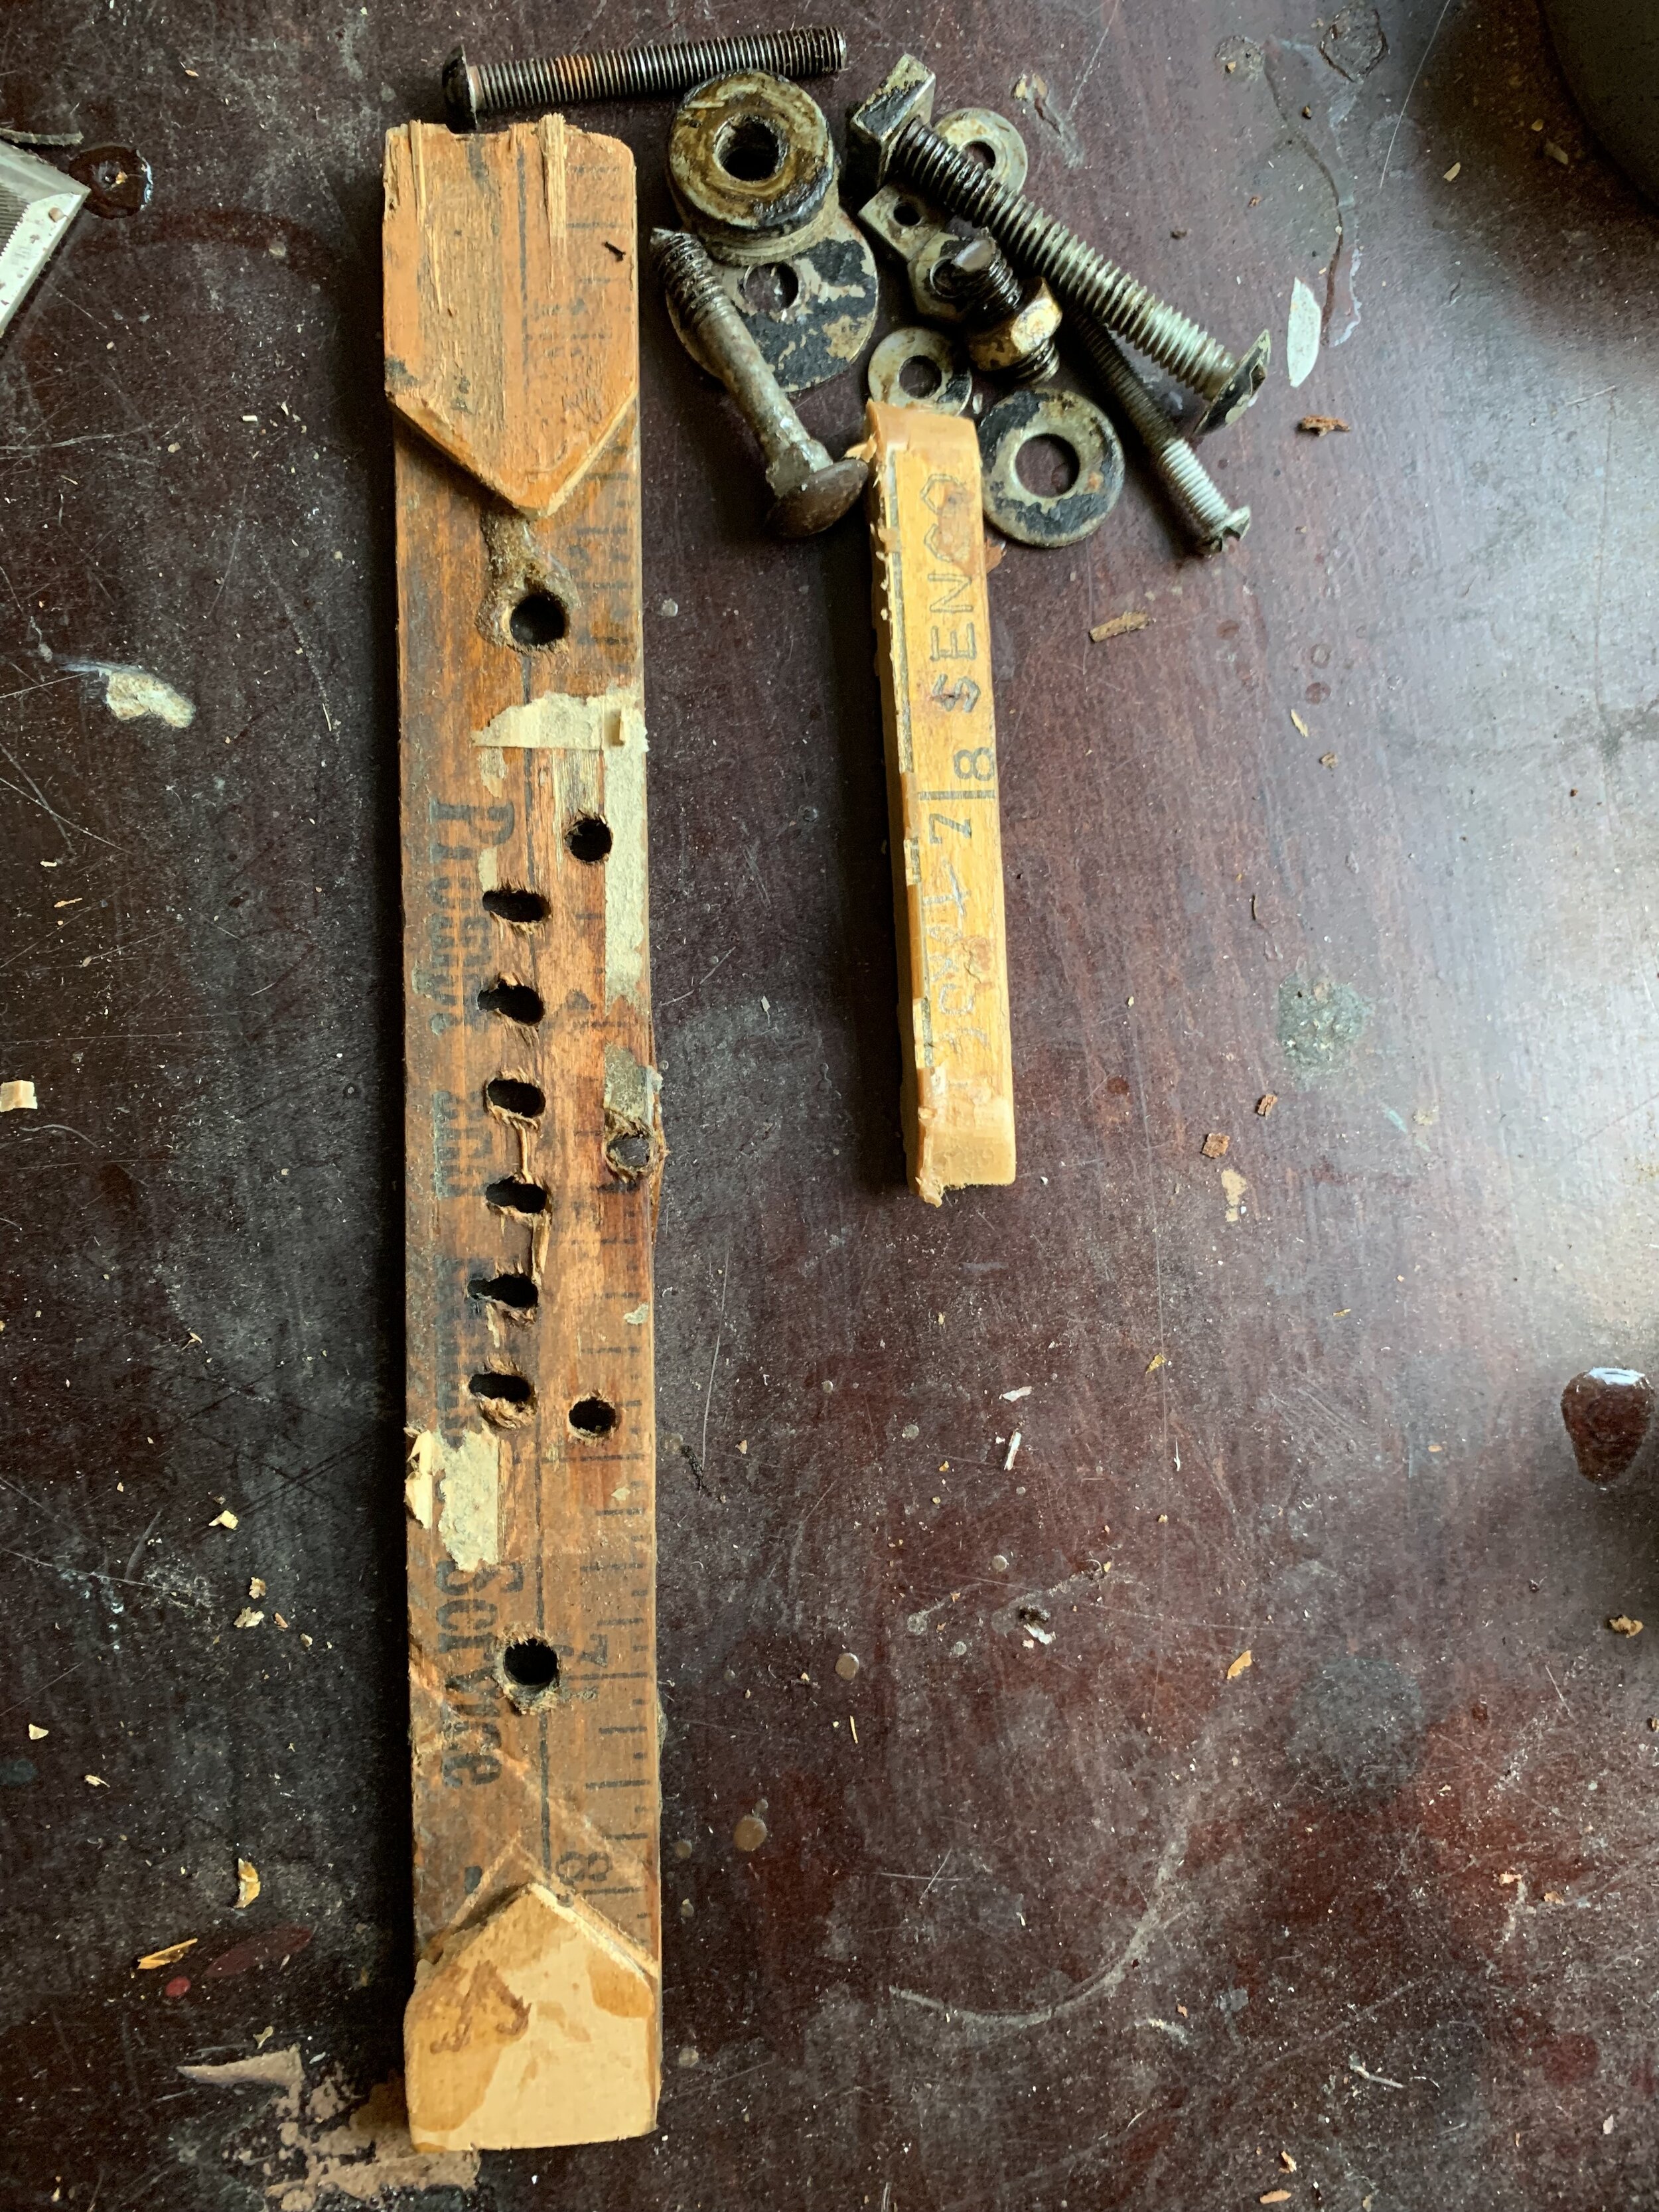
Someone (probably Grandpa) decided to make sure the bridge would stay glued to the top by putting five huge machine screws through the top and adding a piece of a wooden ruler across the x-brace for extra support. I guess?
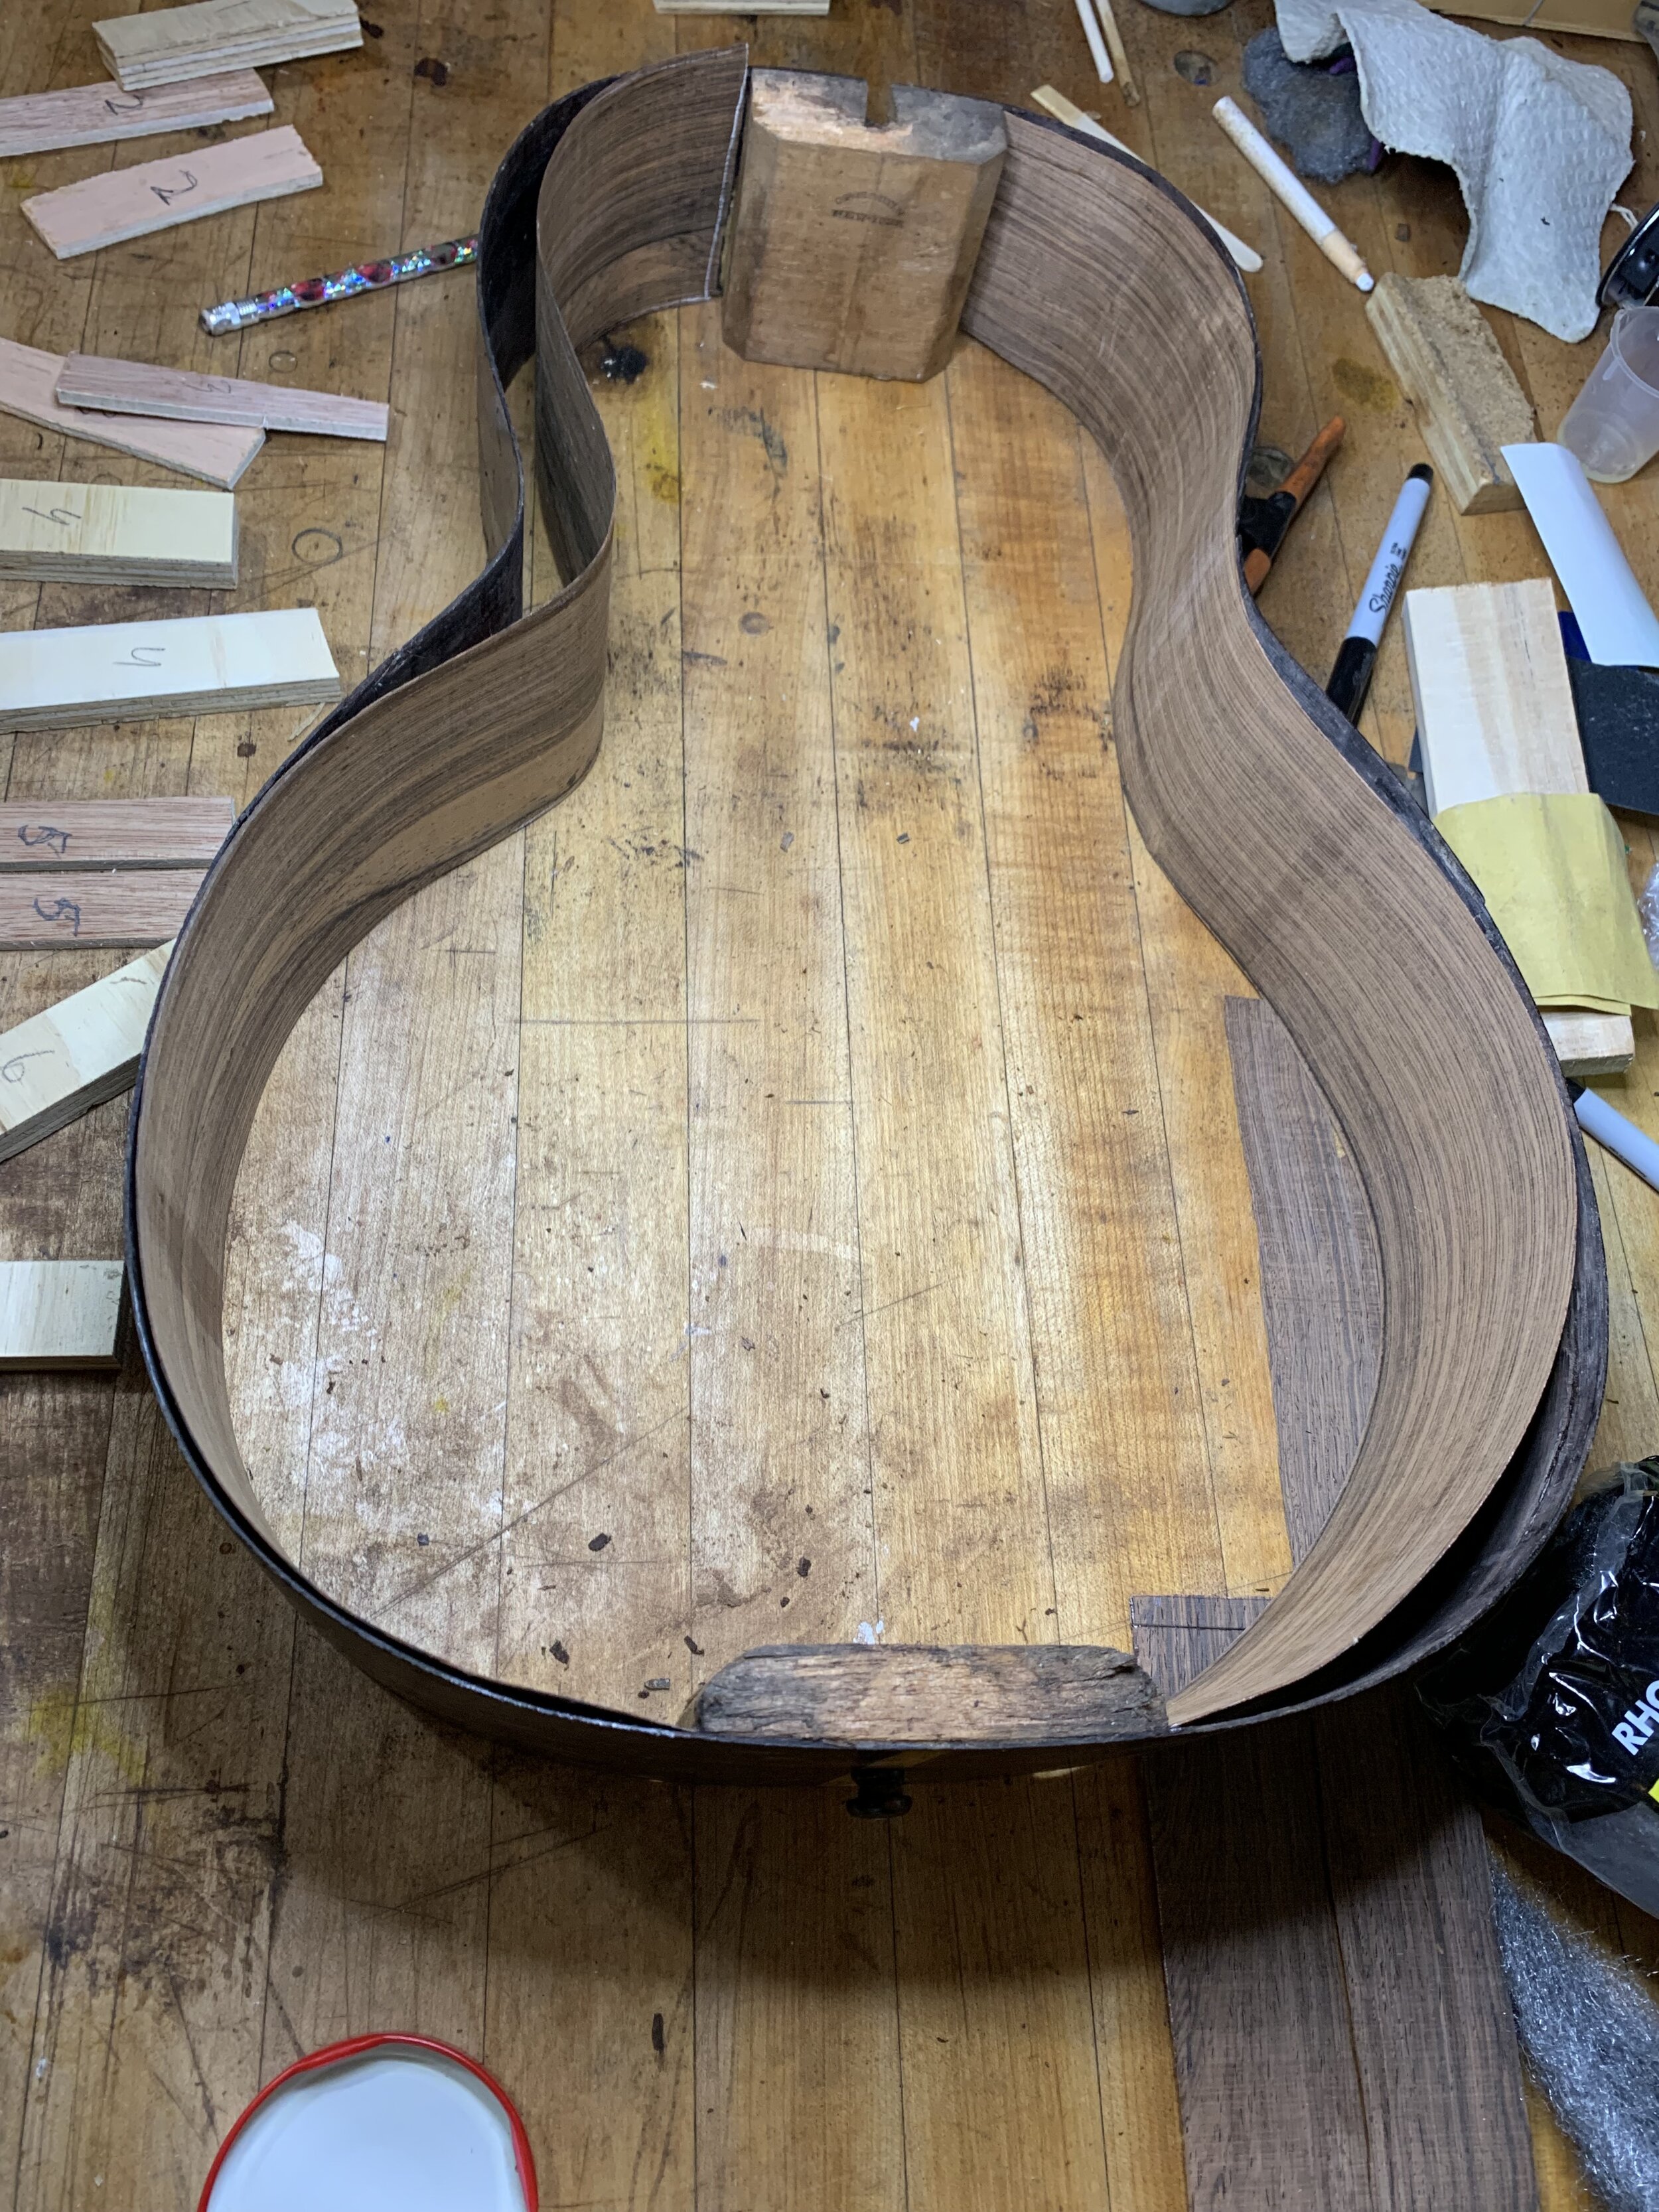
Also, the entire guitar body had been sanded and refinished with Spar Varnish. So, not only were the sides broken, but they were dangerously thin.
Someone had also tried to fix a side crack using canvas and glue.

Luckily, the peg head fit together nicely.
It took a while to soak off the old kerfing and clean up the inside of the sides.
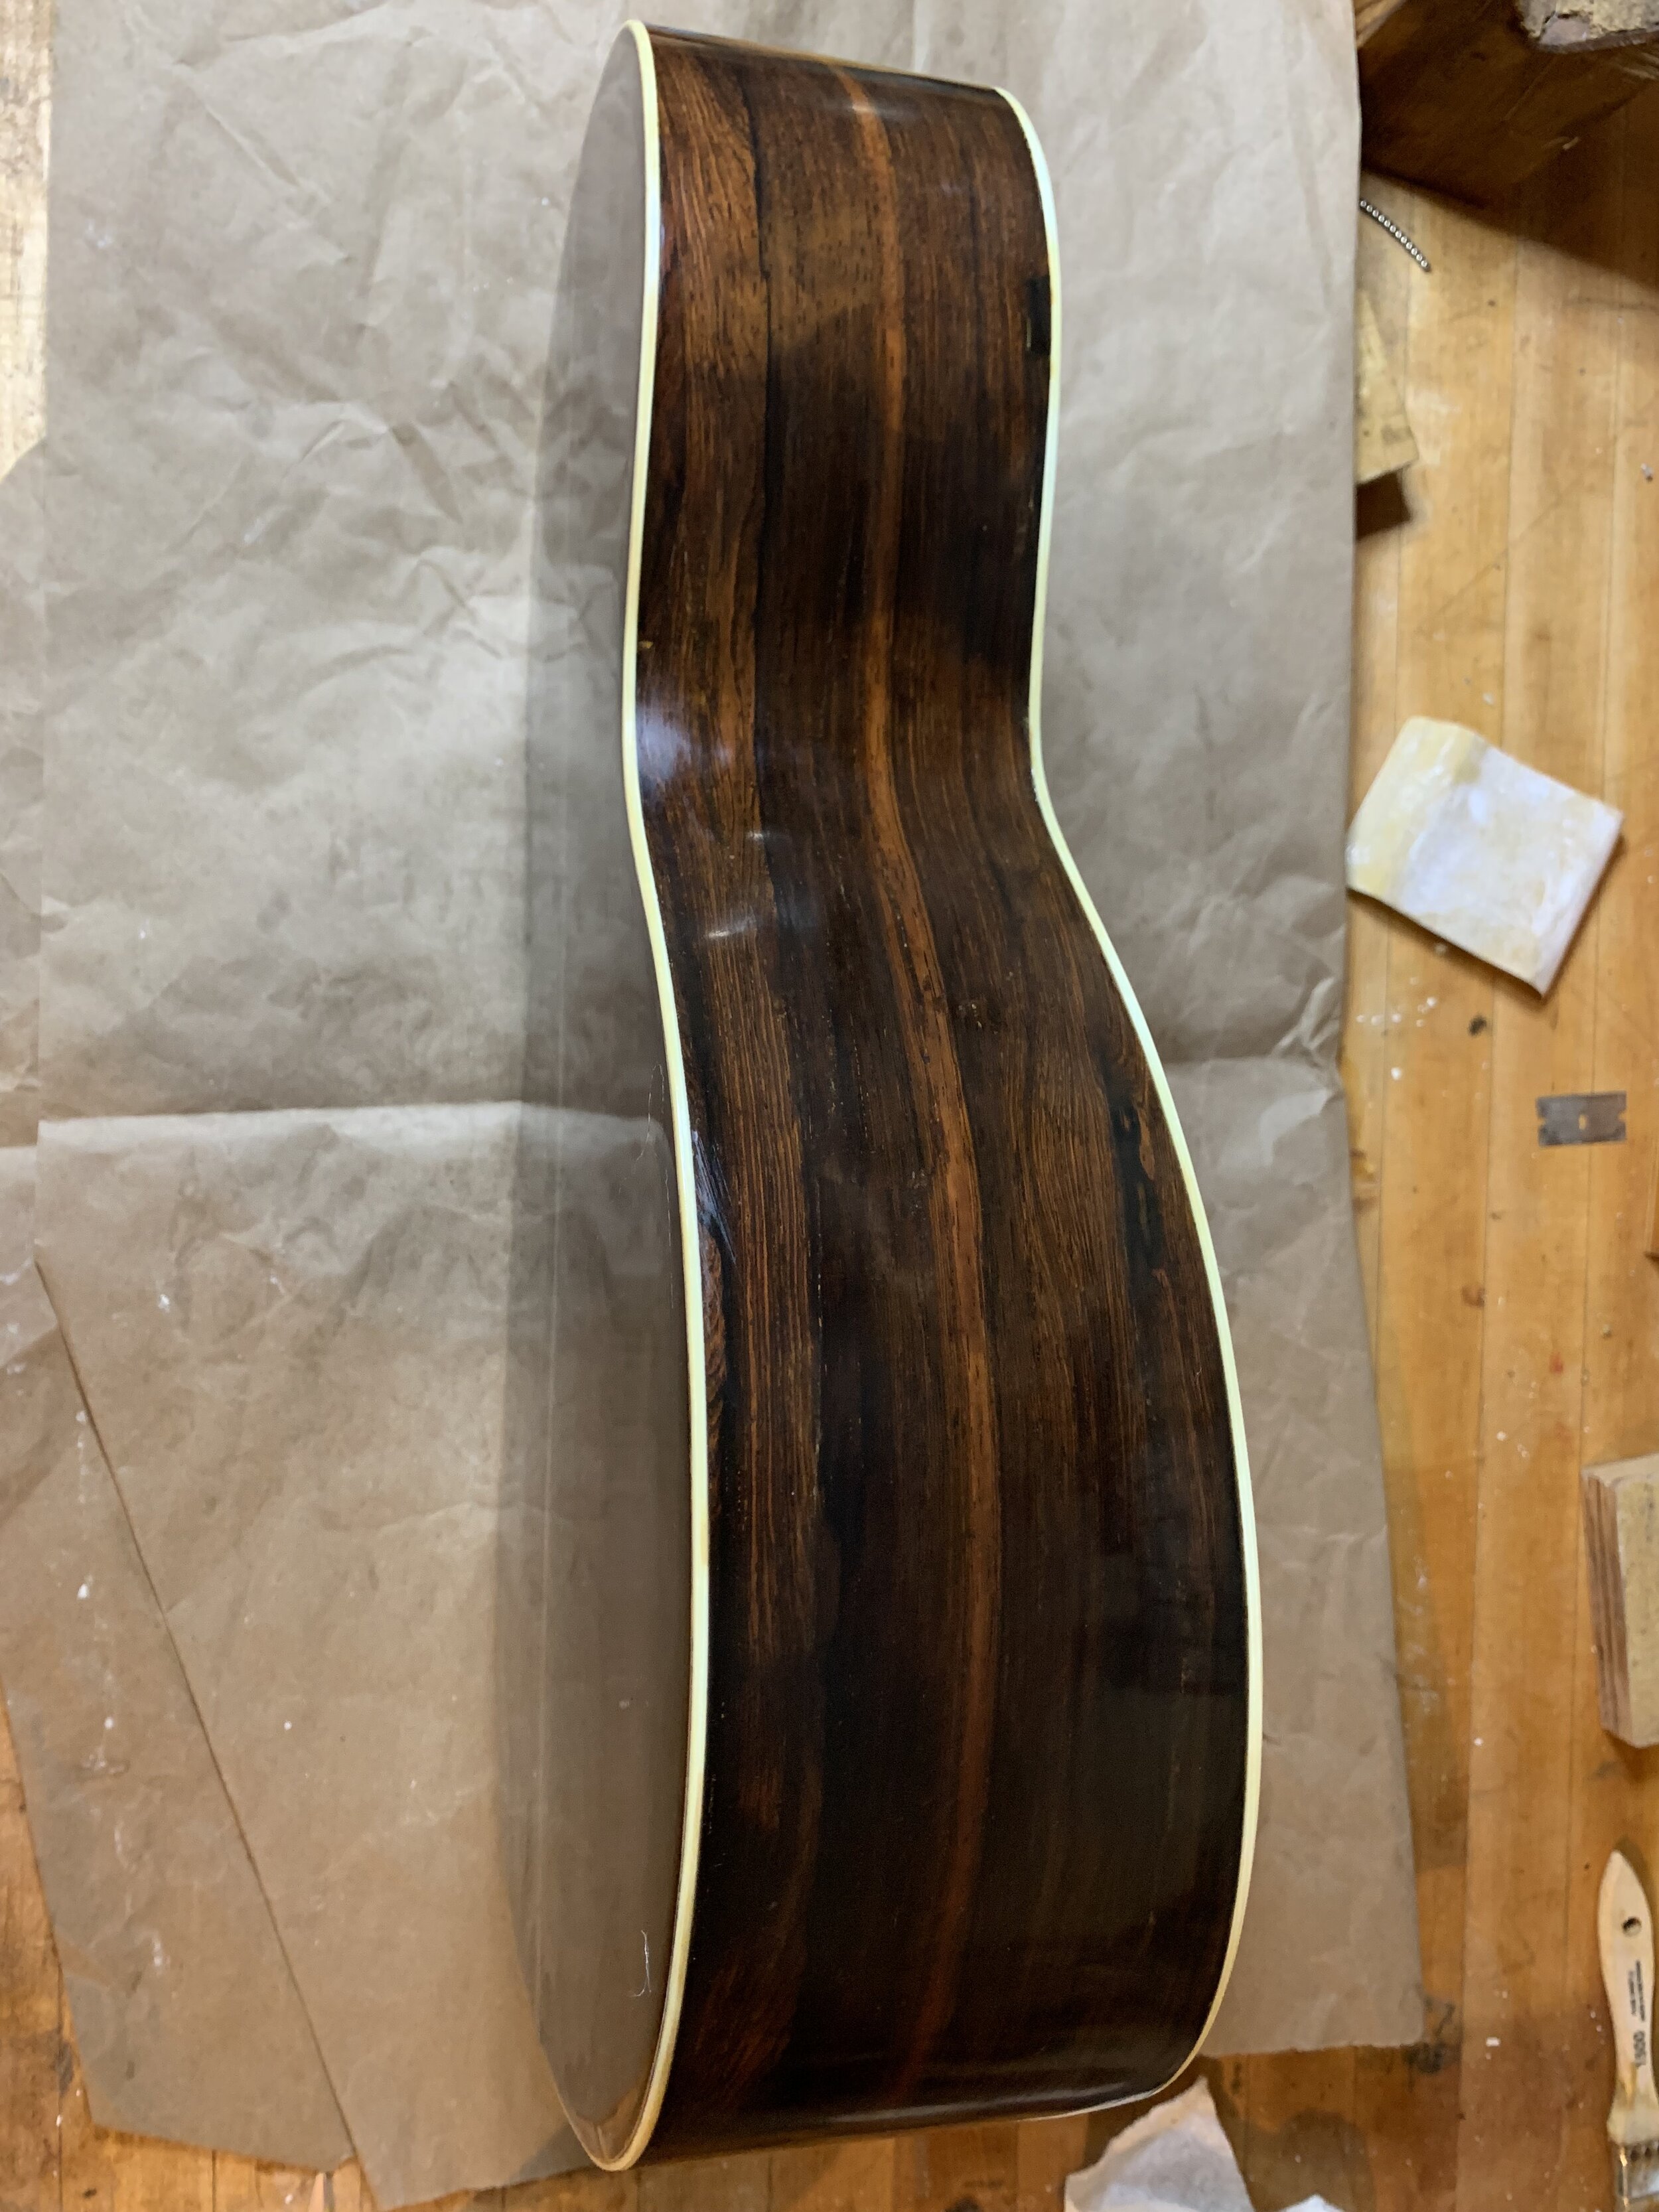
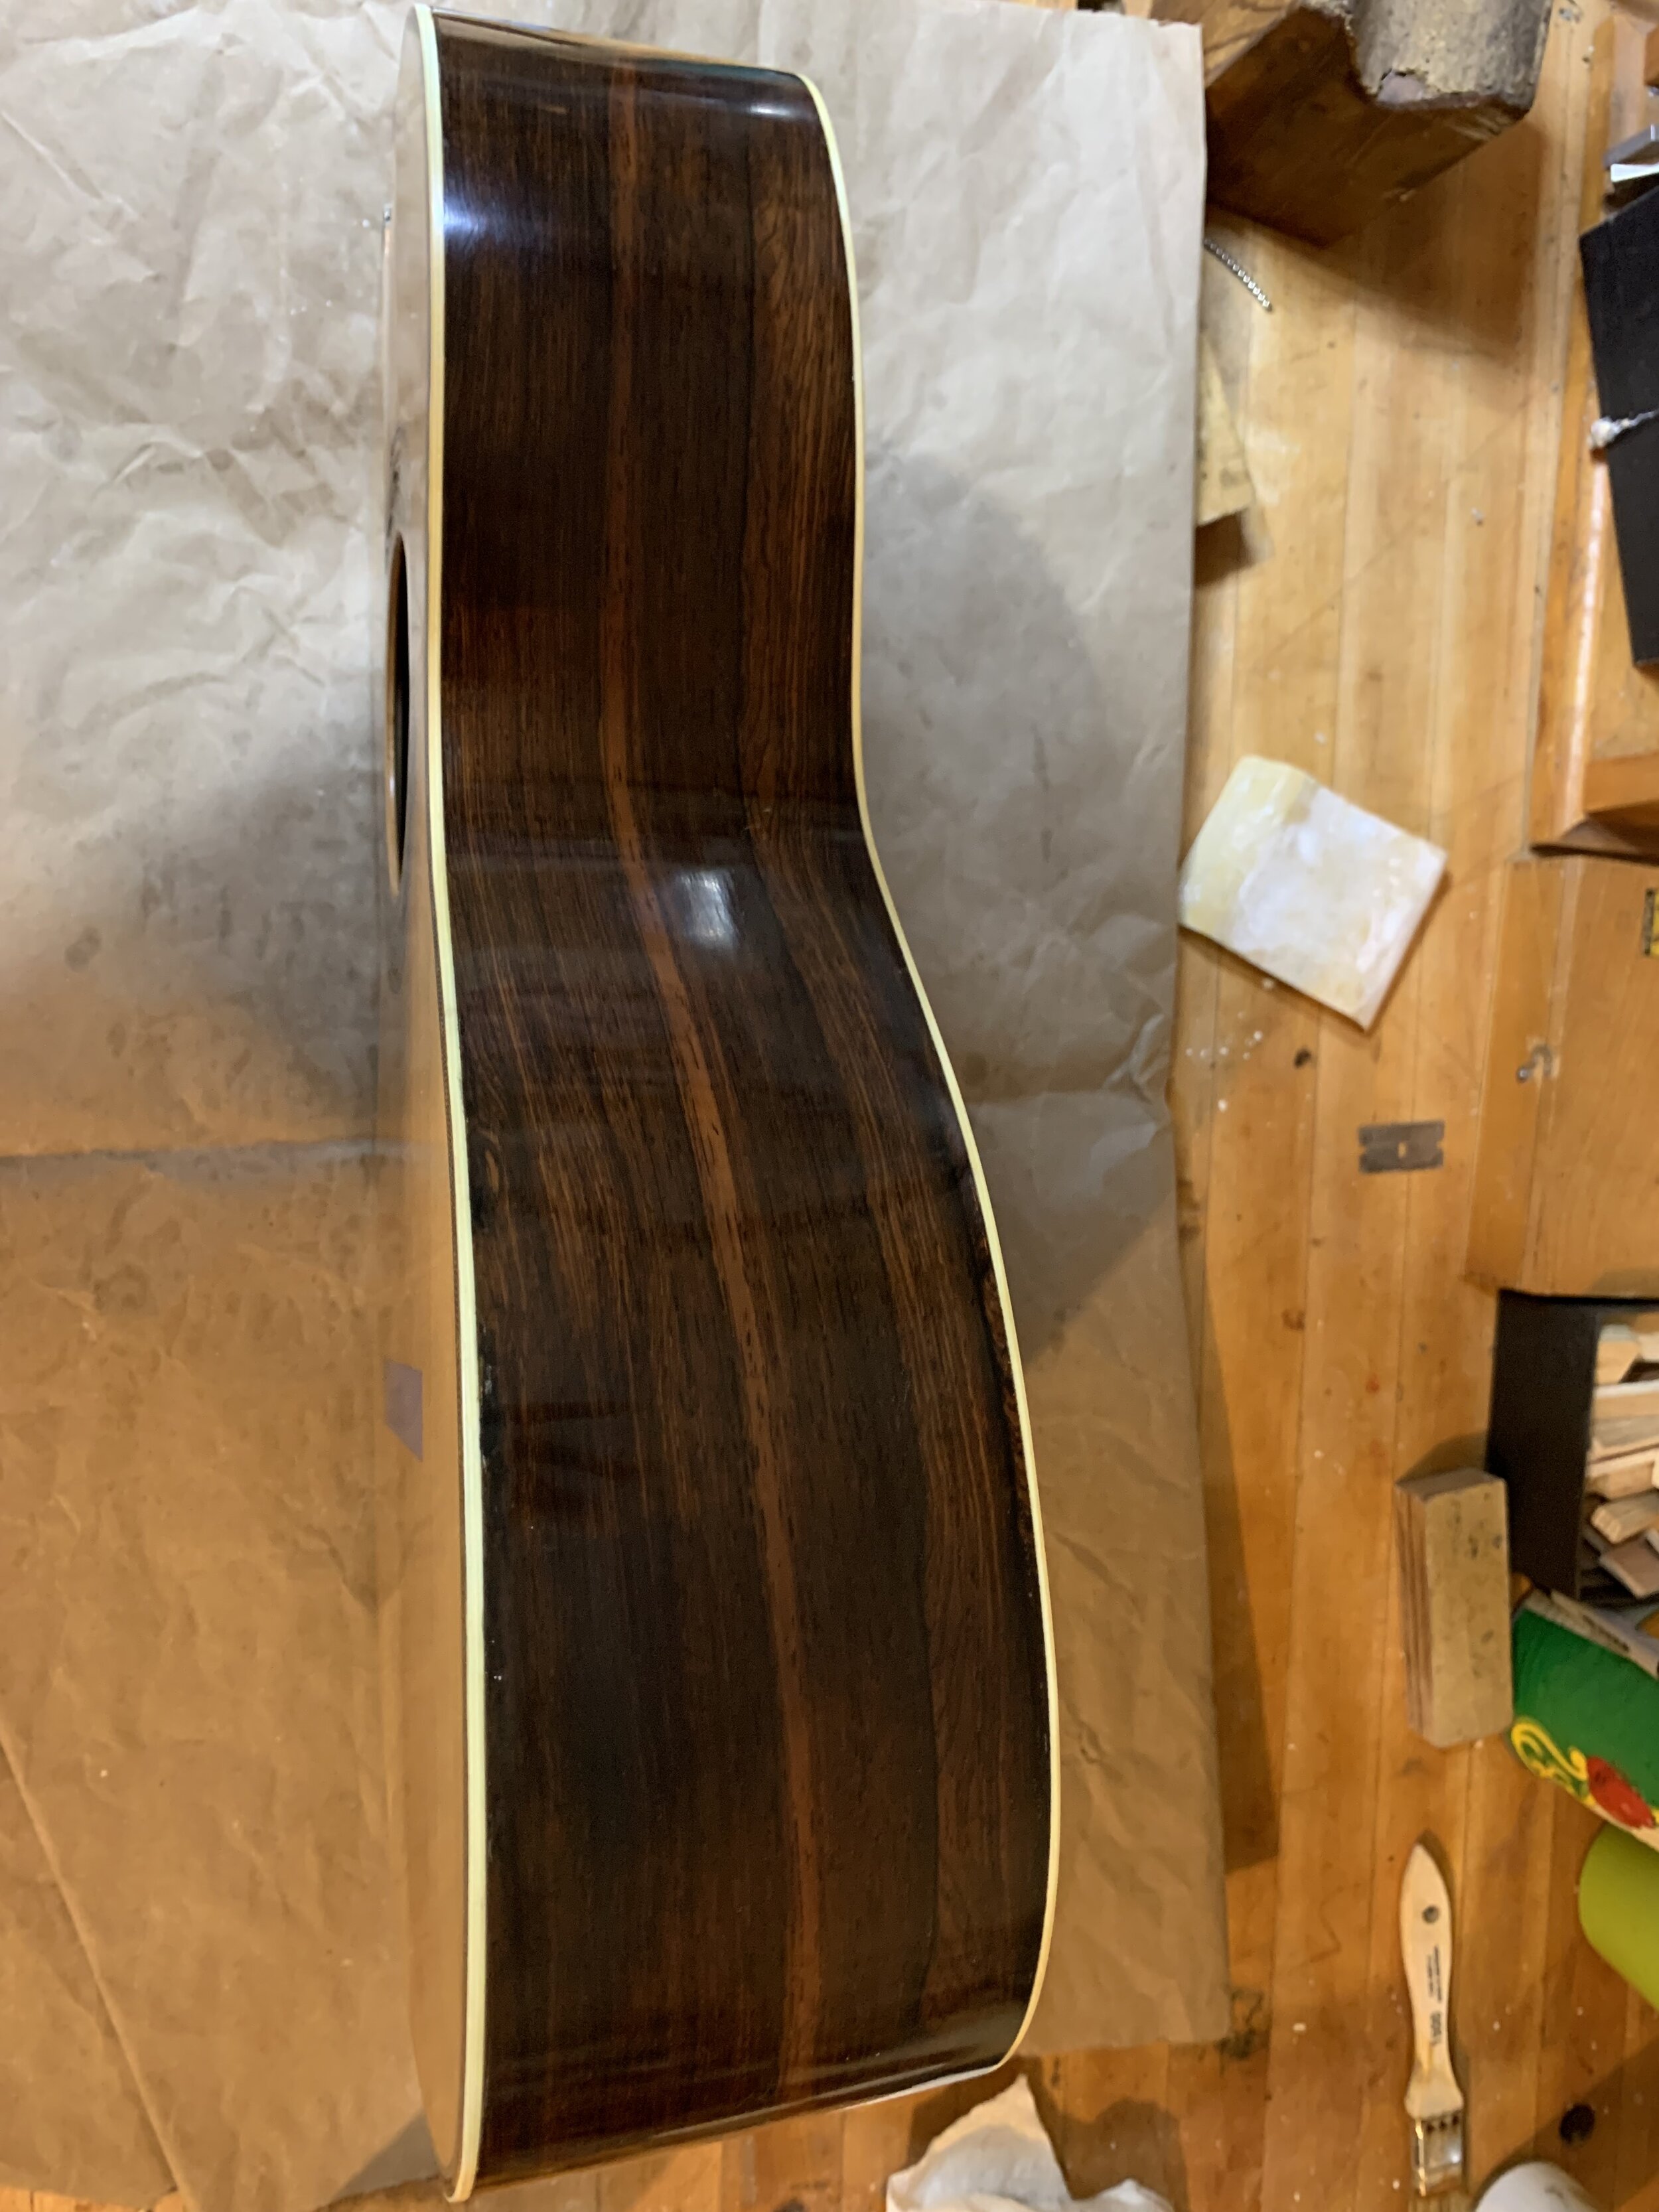
I managed to put the crushed side together, but you could see daylight through some of the cracks, so I decided to reenforce the sides with some Brazilian rosewood veneer (supplied by my pal Alex Frankel).
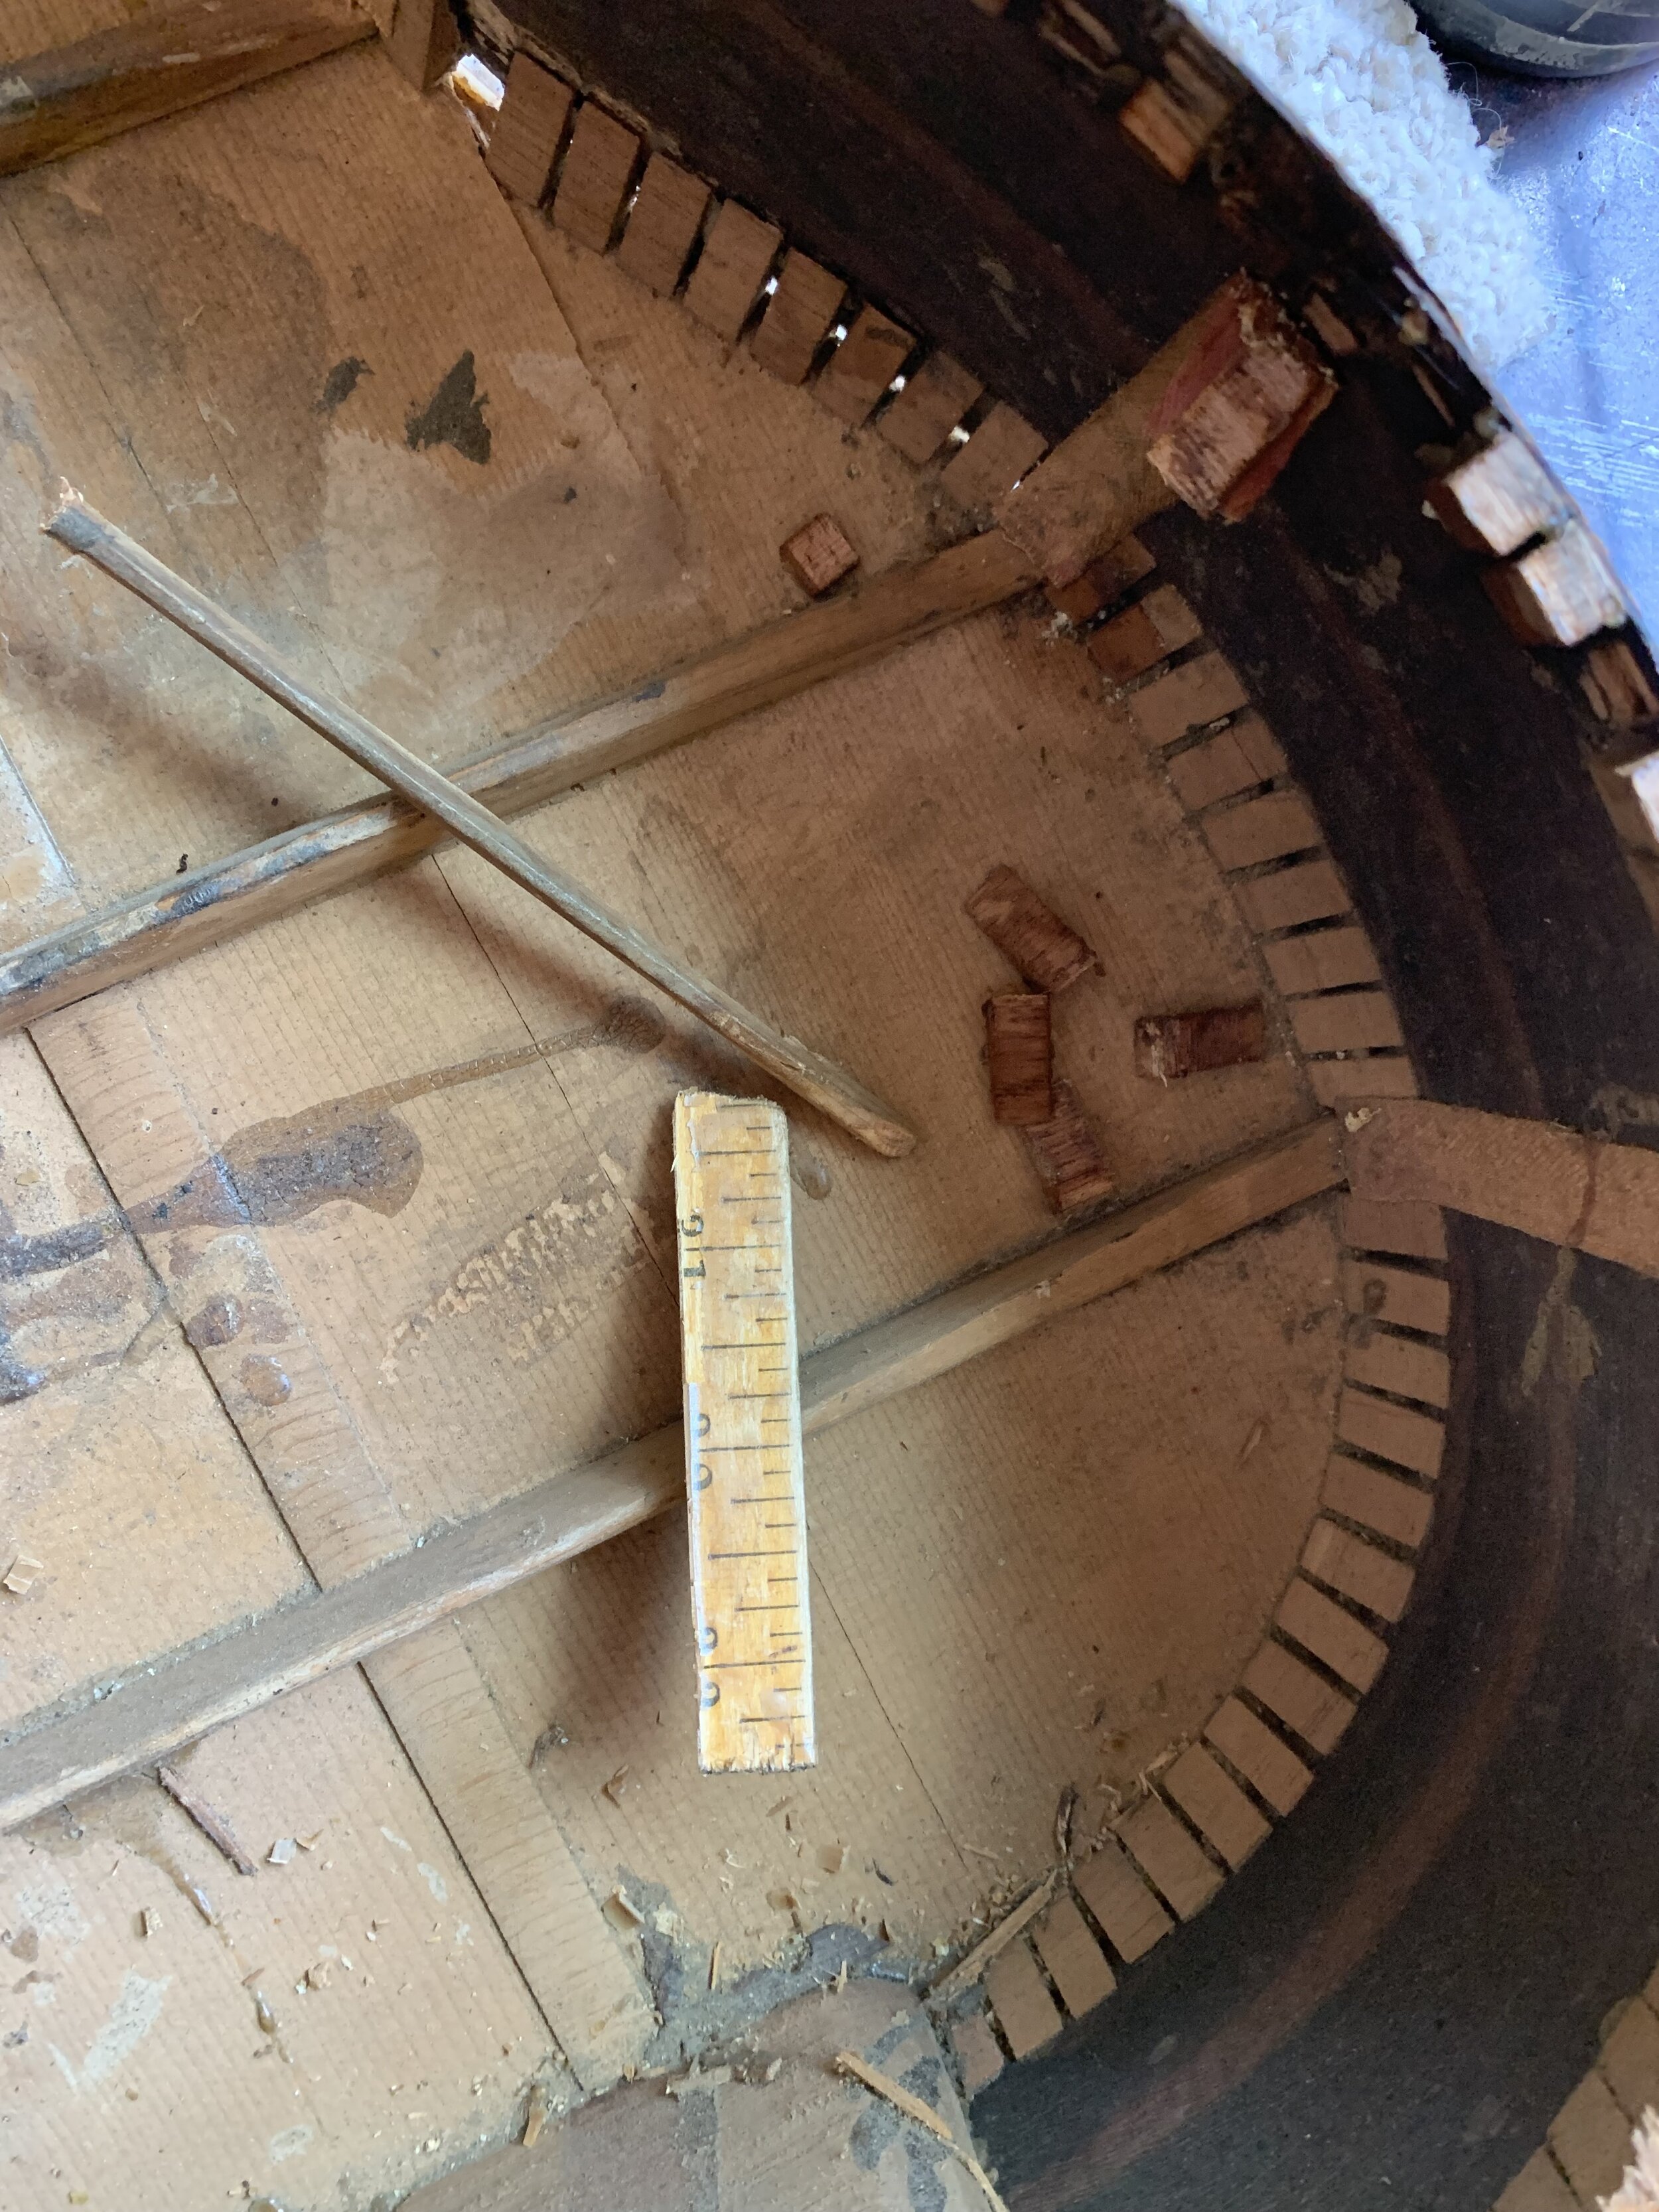
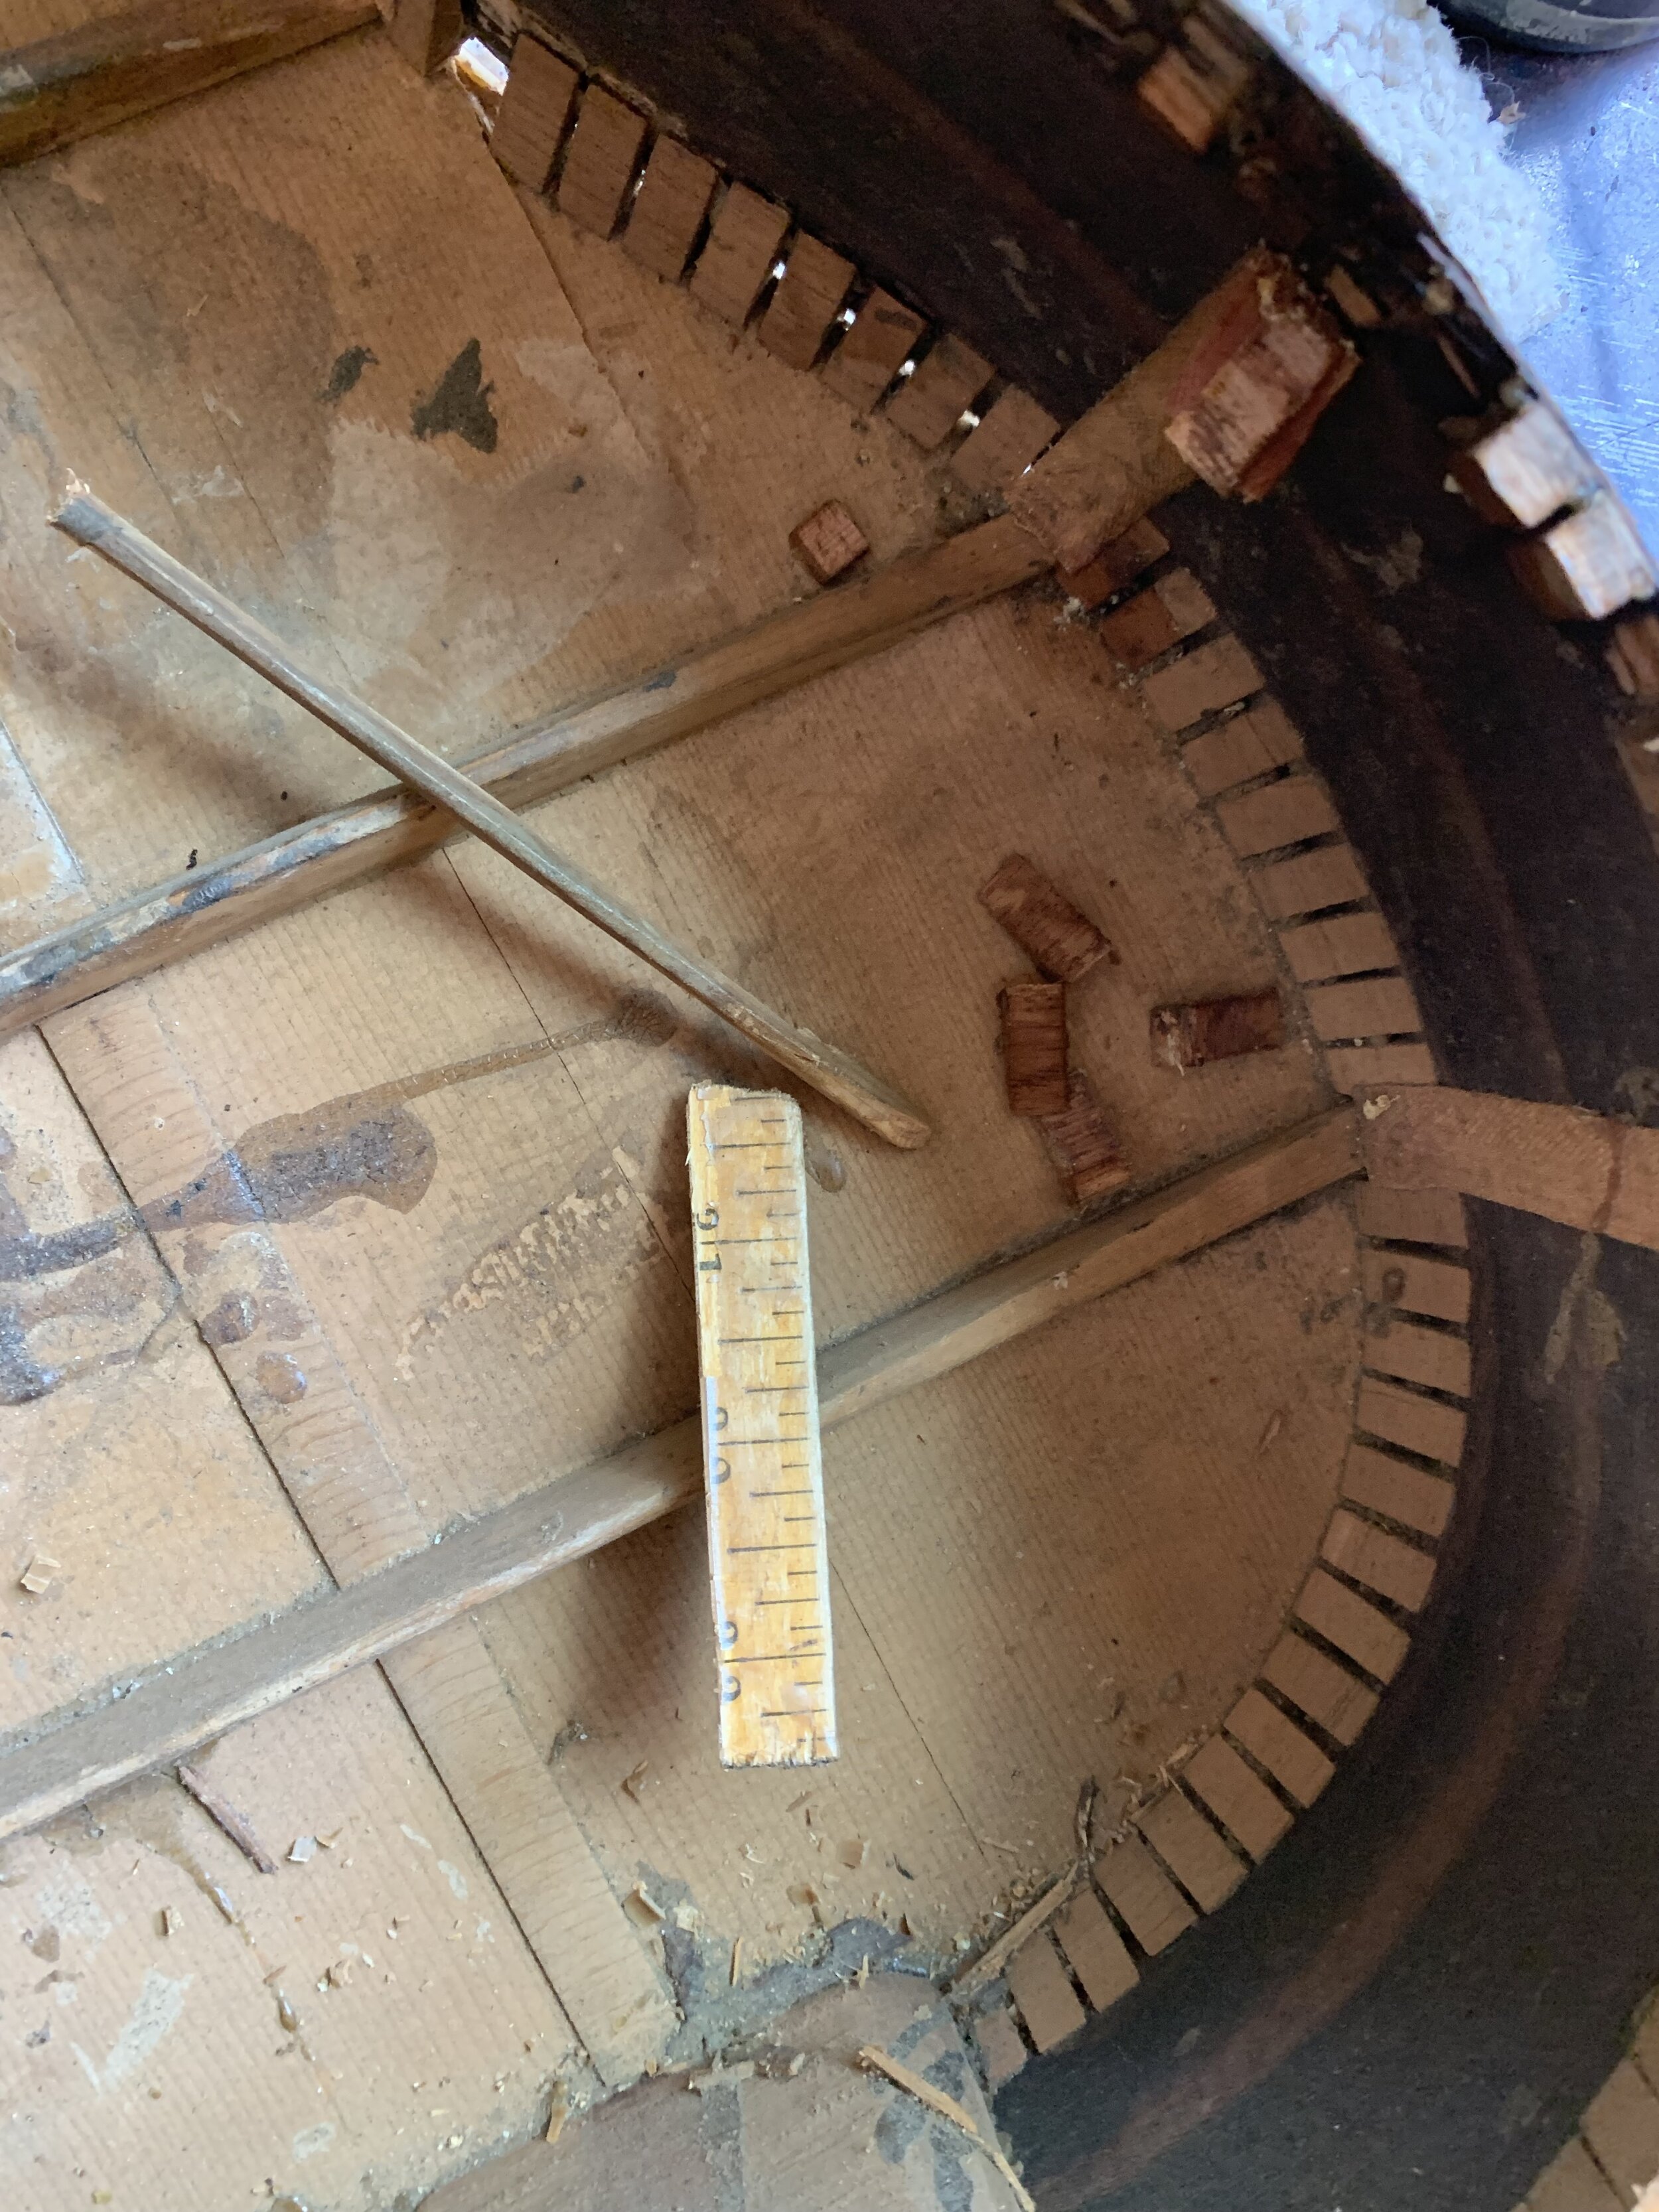
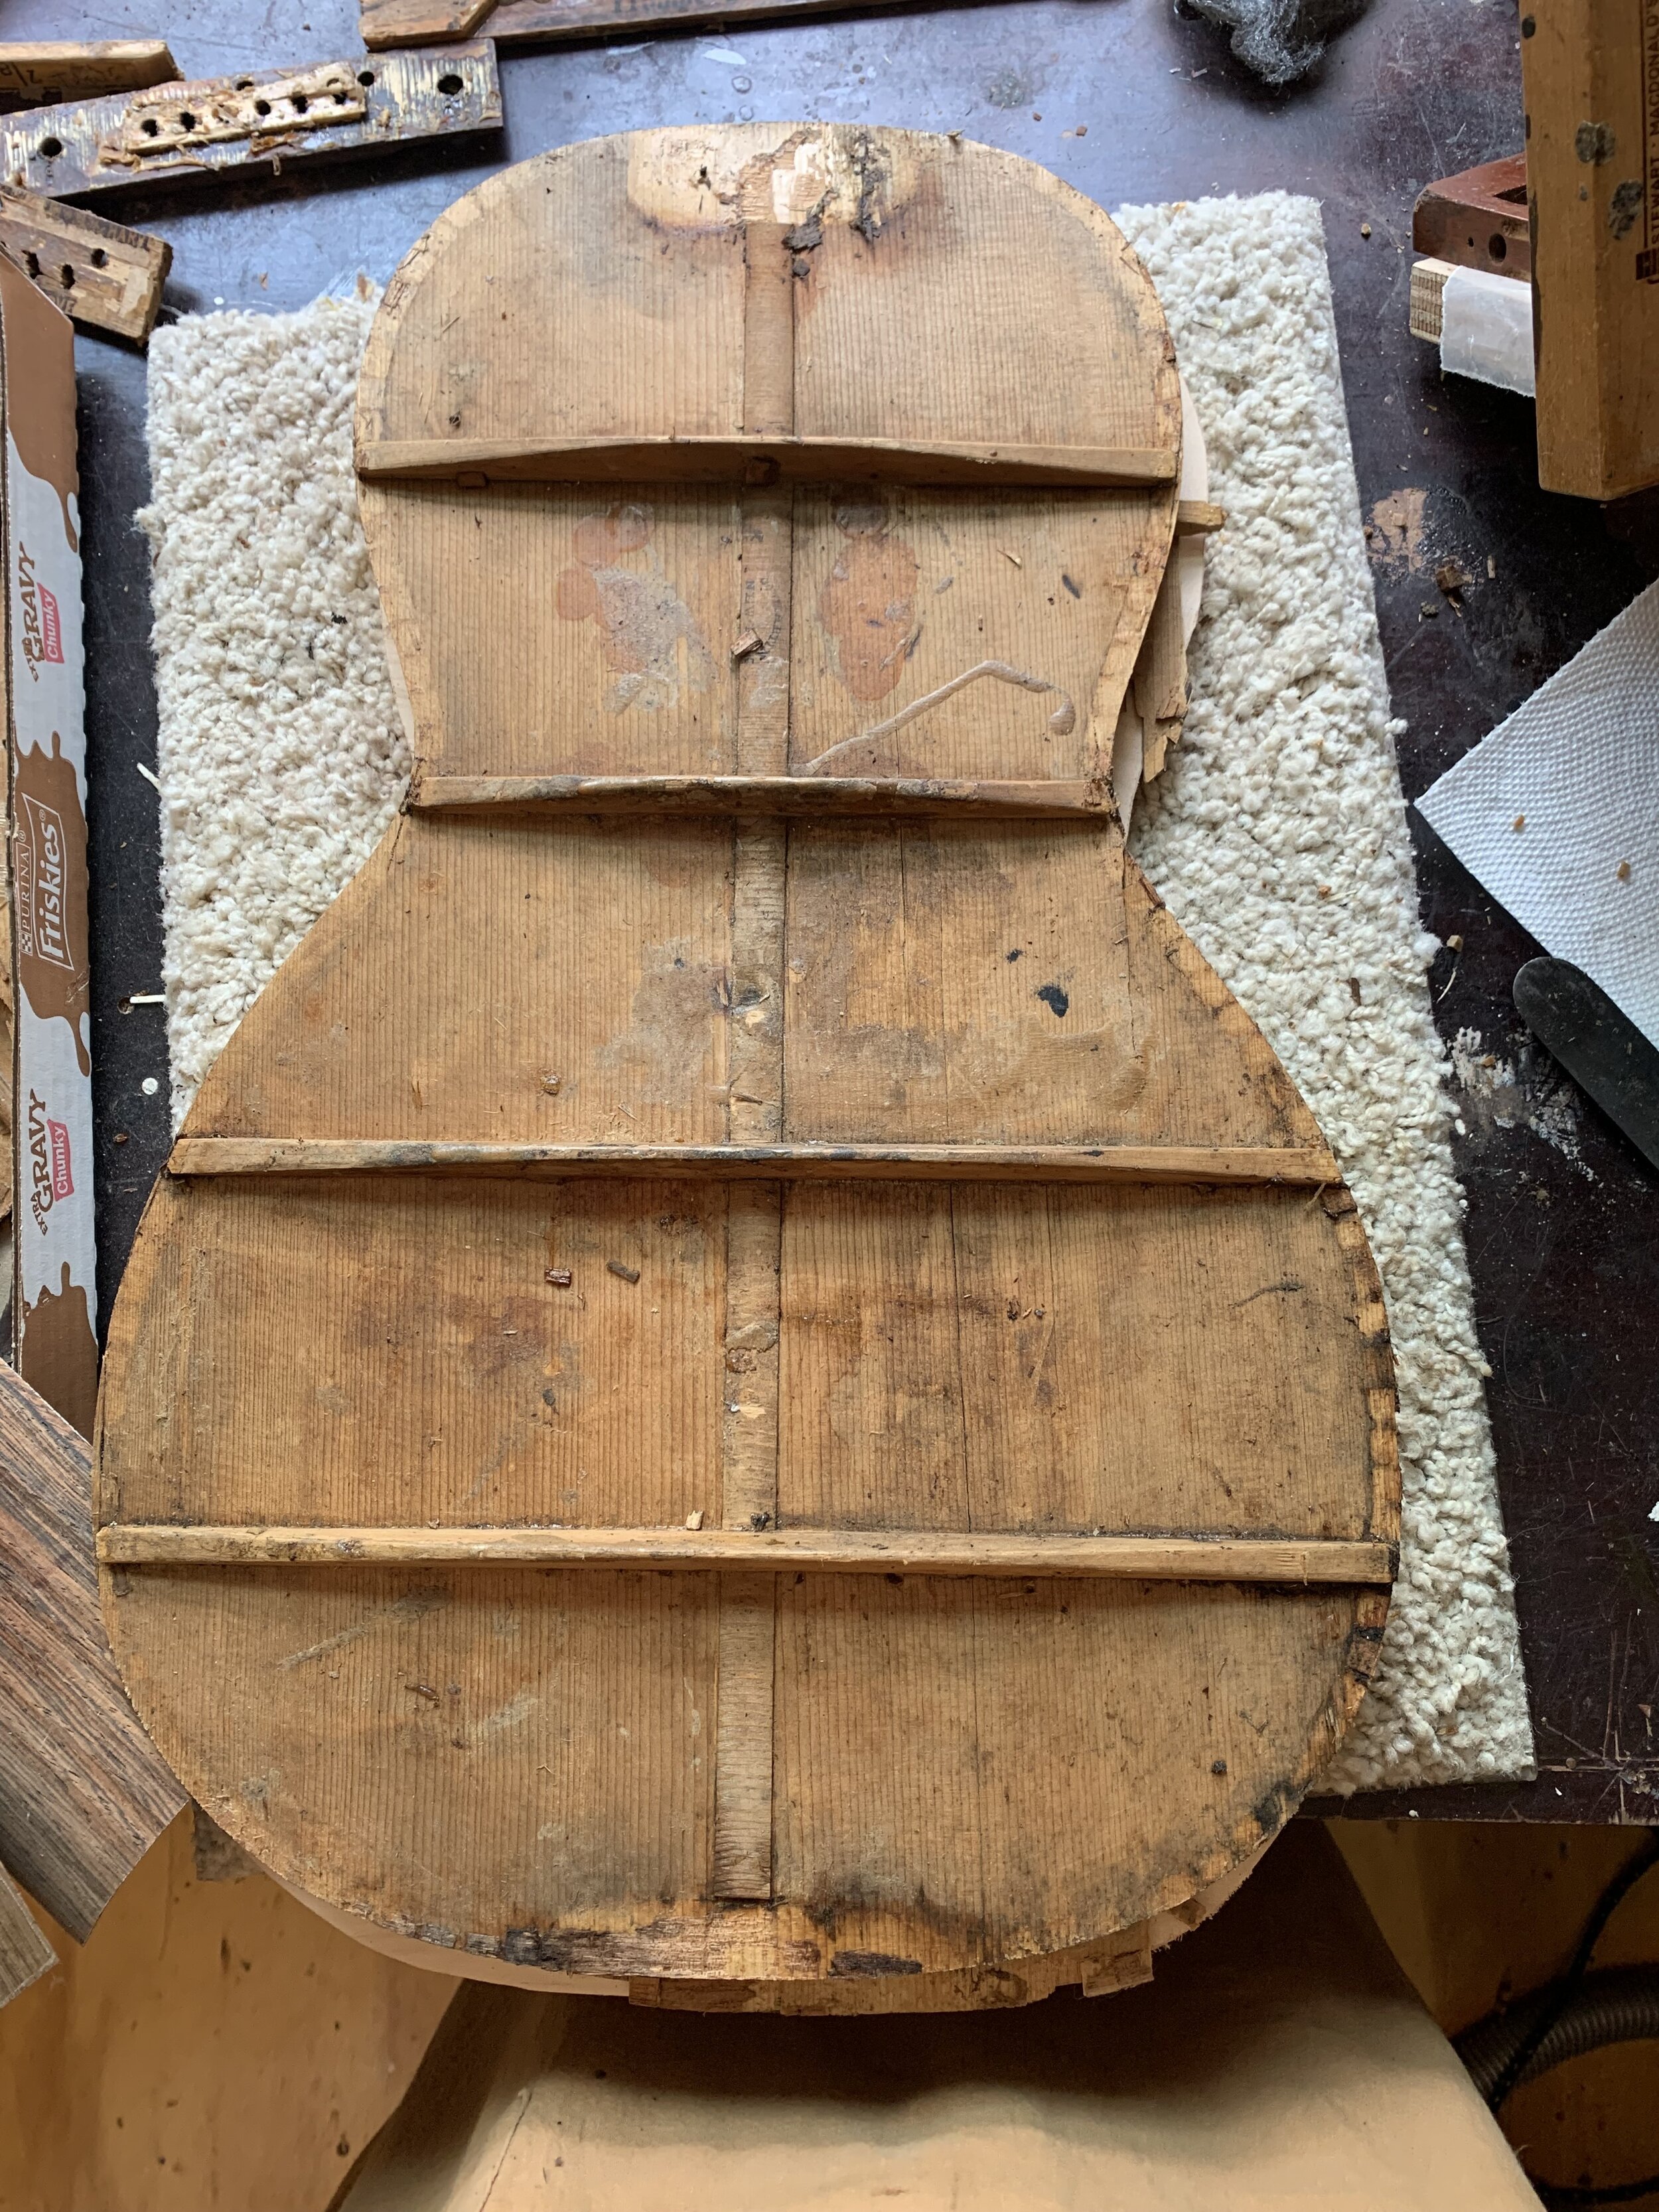
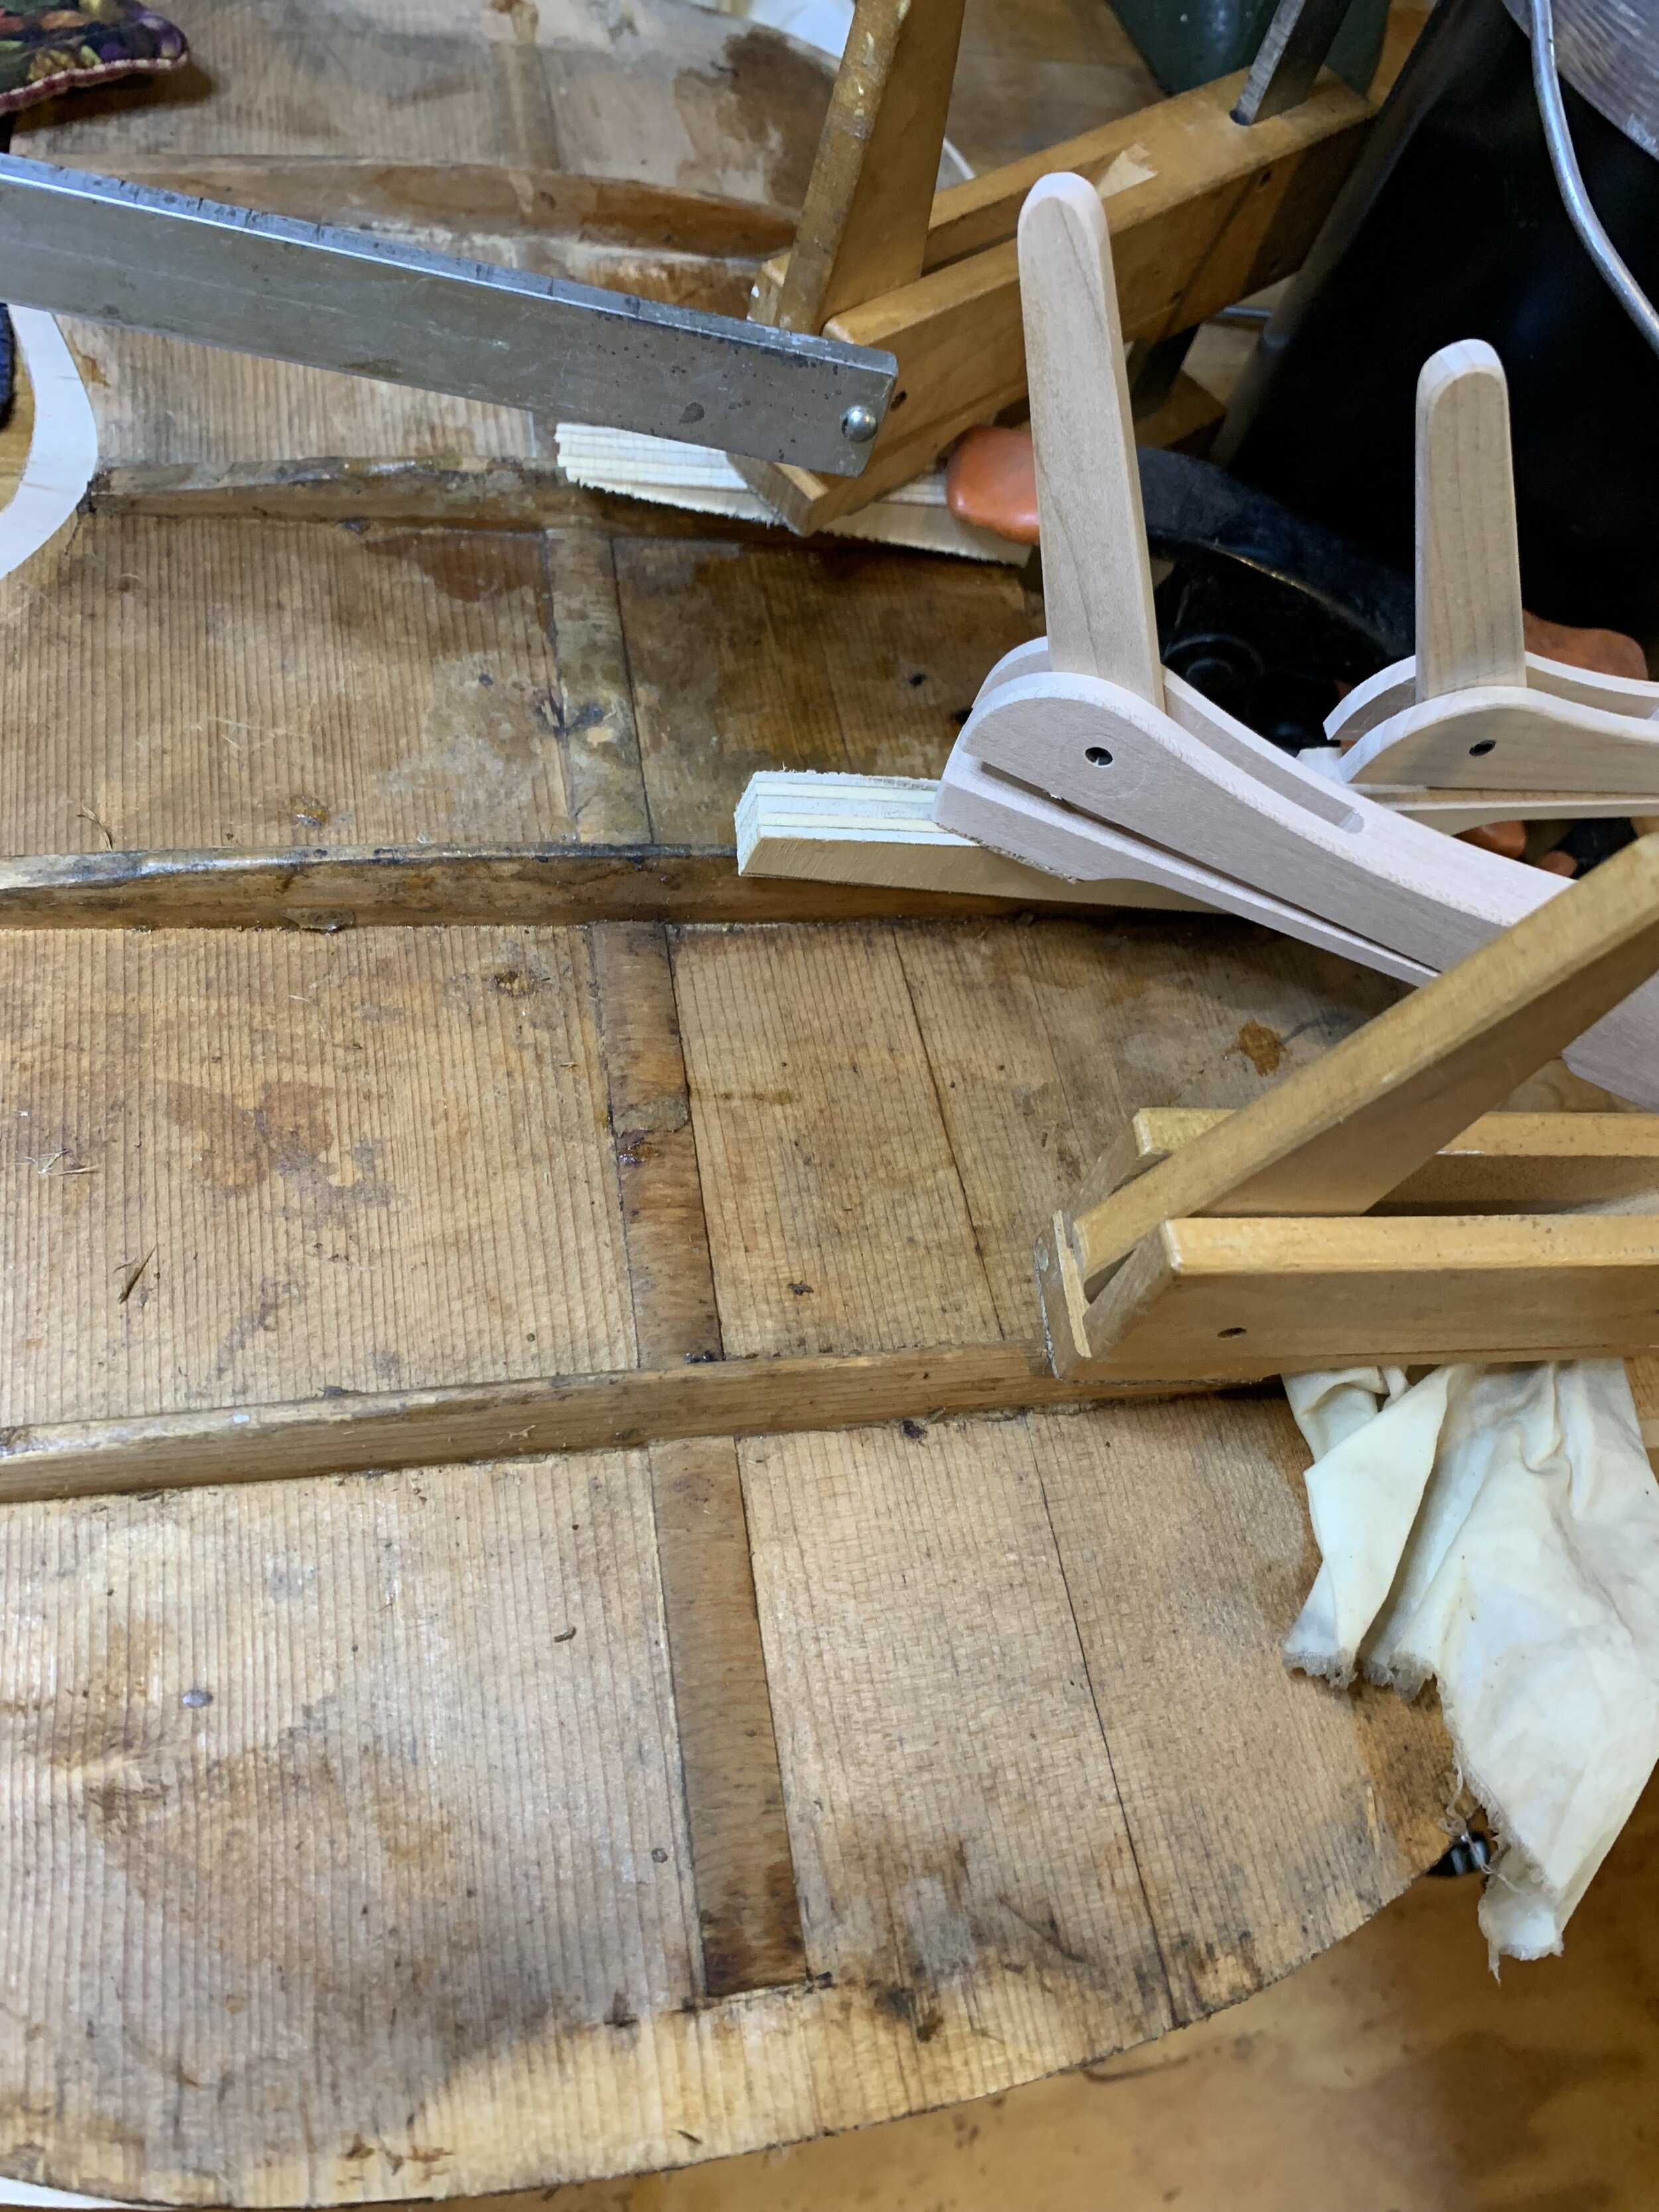
I also had to glue some back brace ends back down and clean up the old glue globs on the inside of the back, which as you can see is lined with spruce.
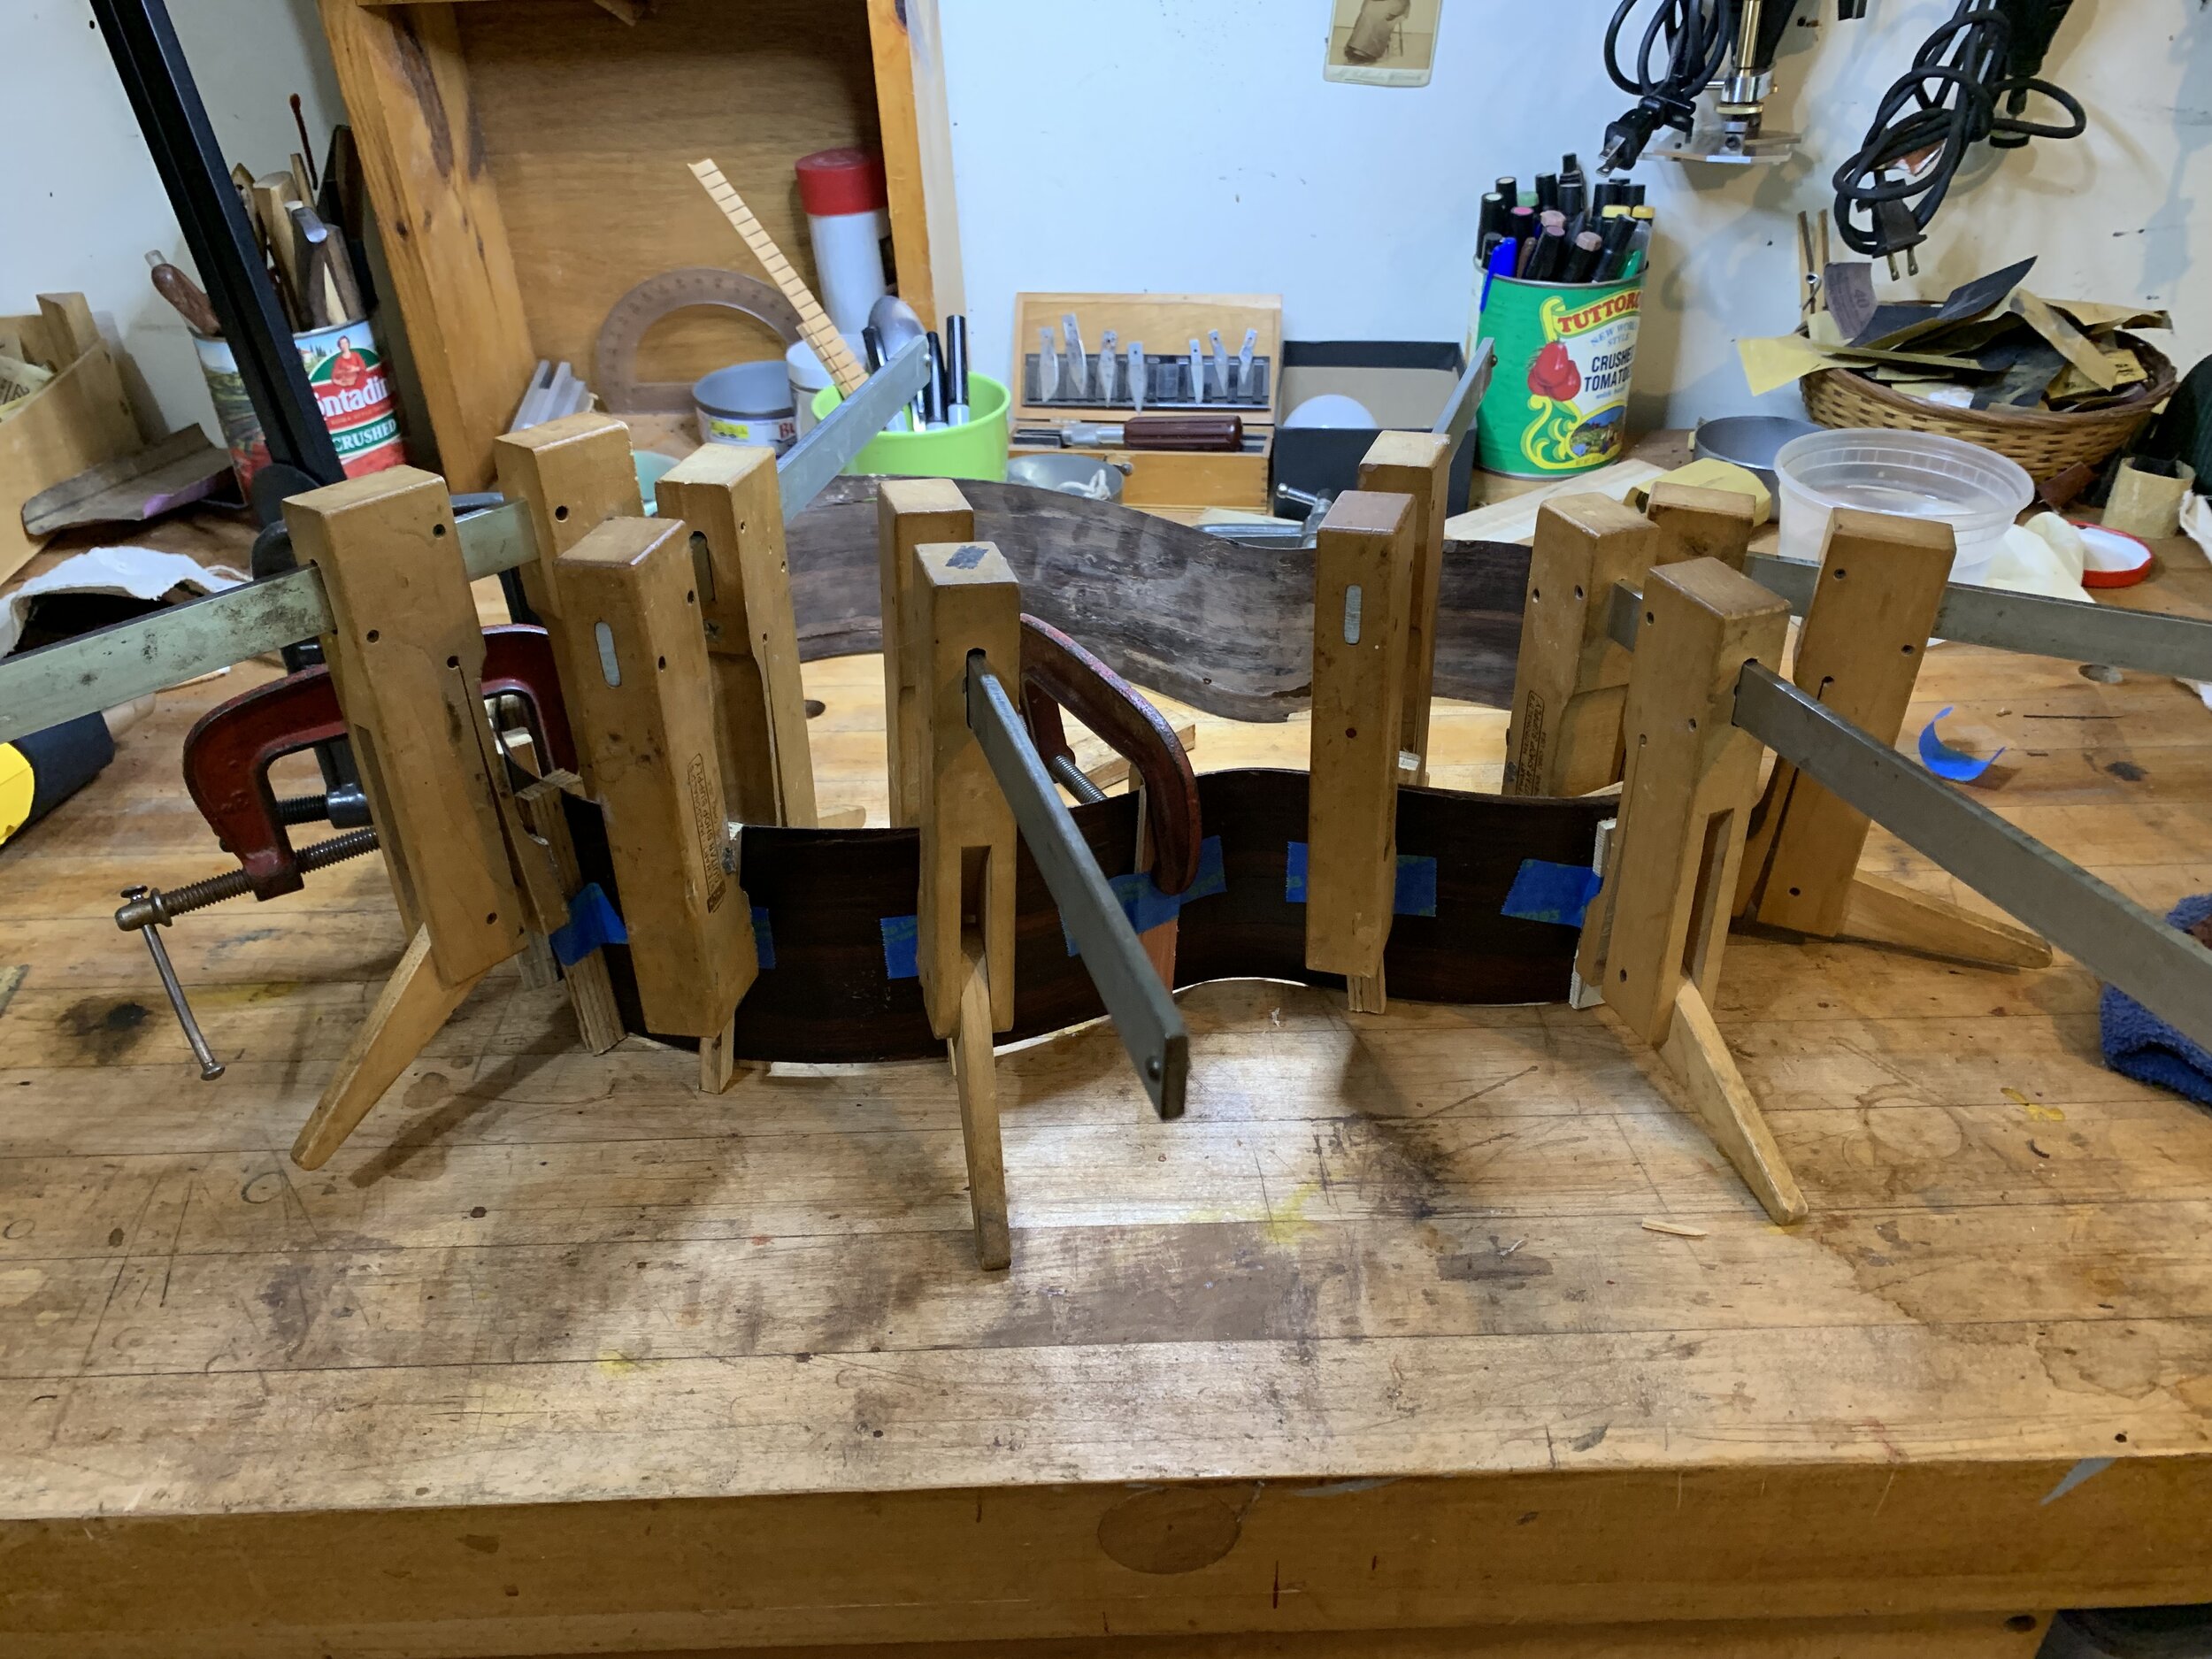
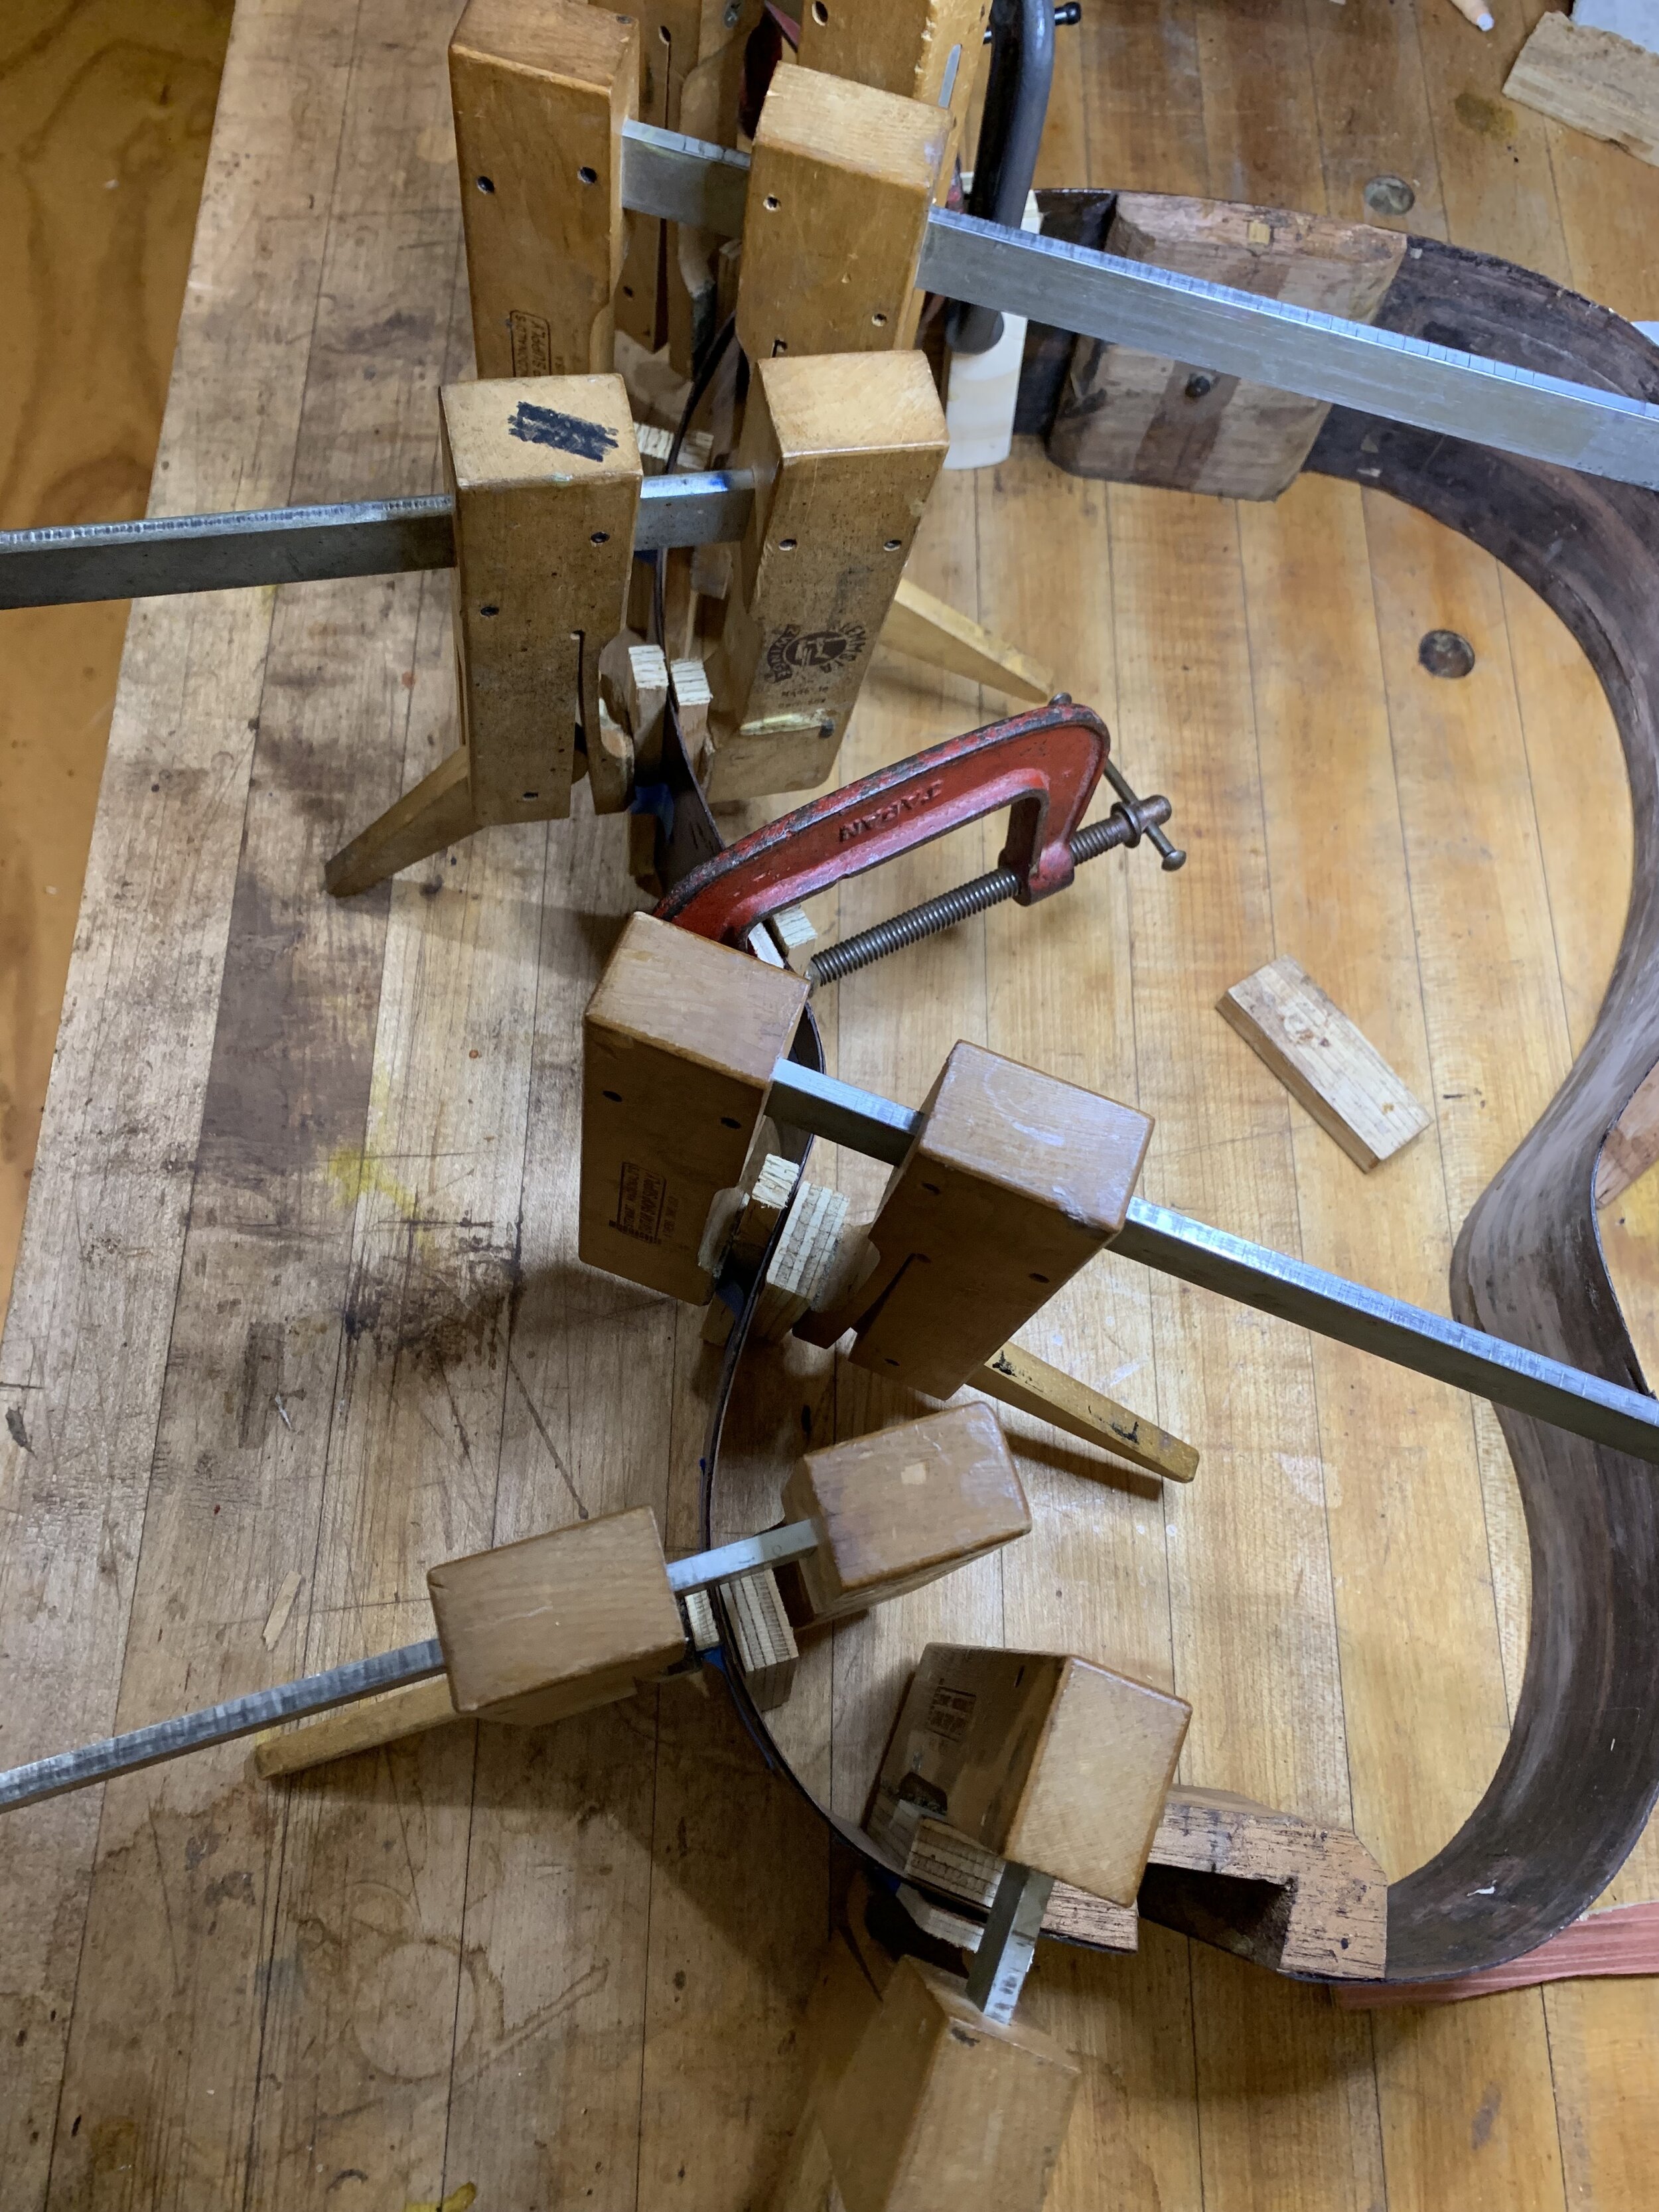
We managed to glue the veneer to the inside of the sides using hide glue and a hairdryer to keep the wood hot enough so we could clamp it before it cooled.
My apprentice, Chris Victor, made 150 pieces of individual kerfs and glued them to the sides!

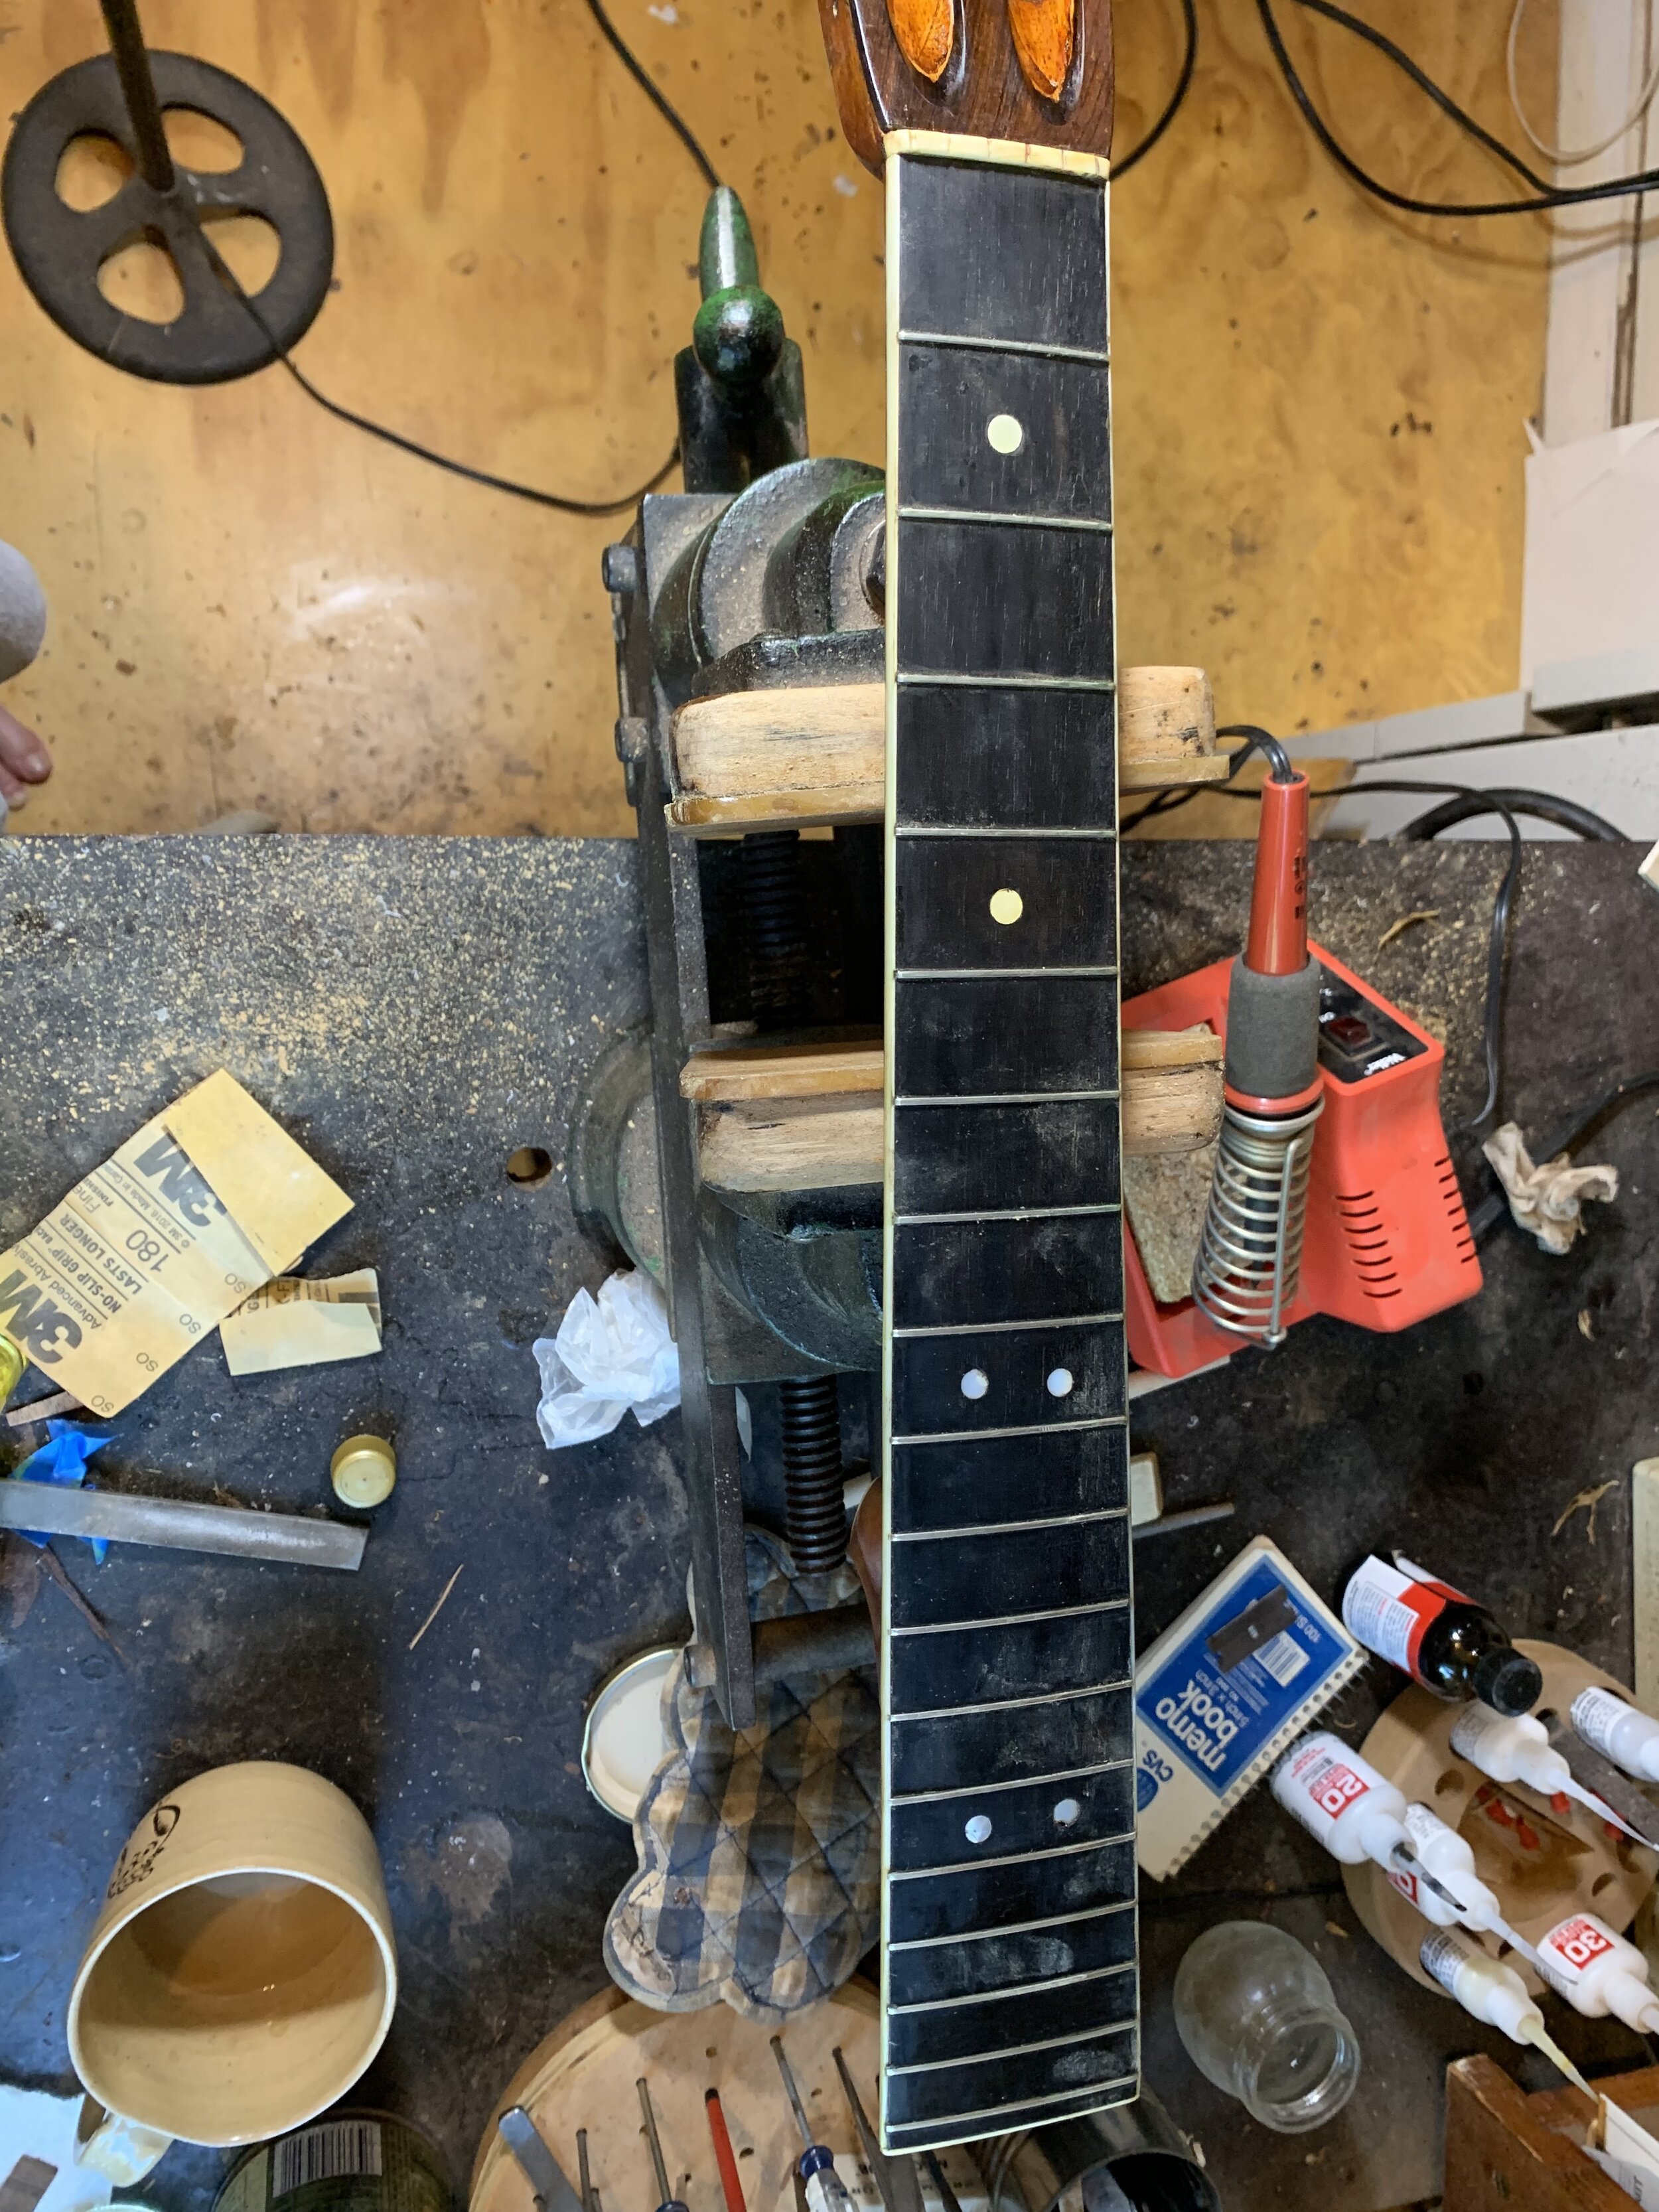
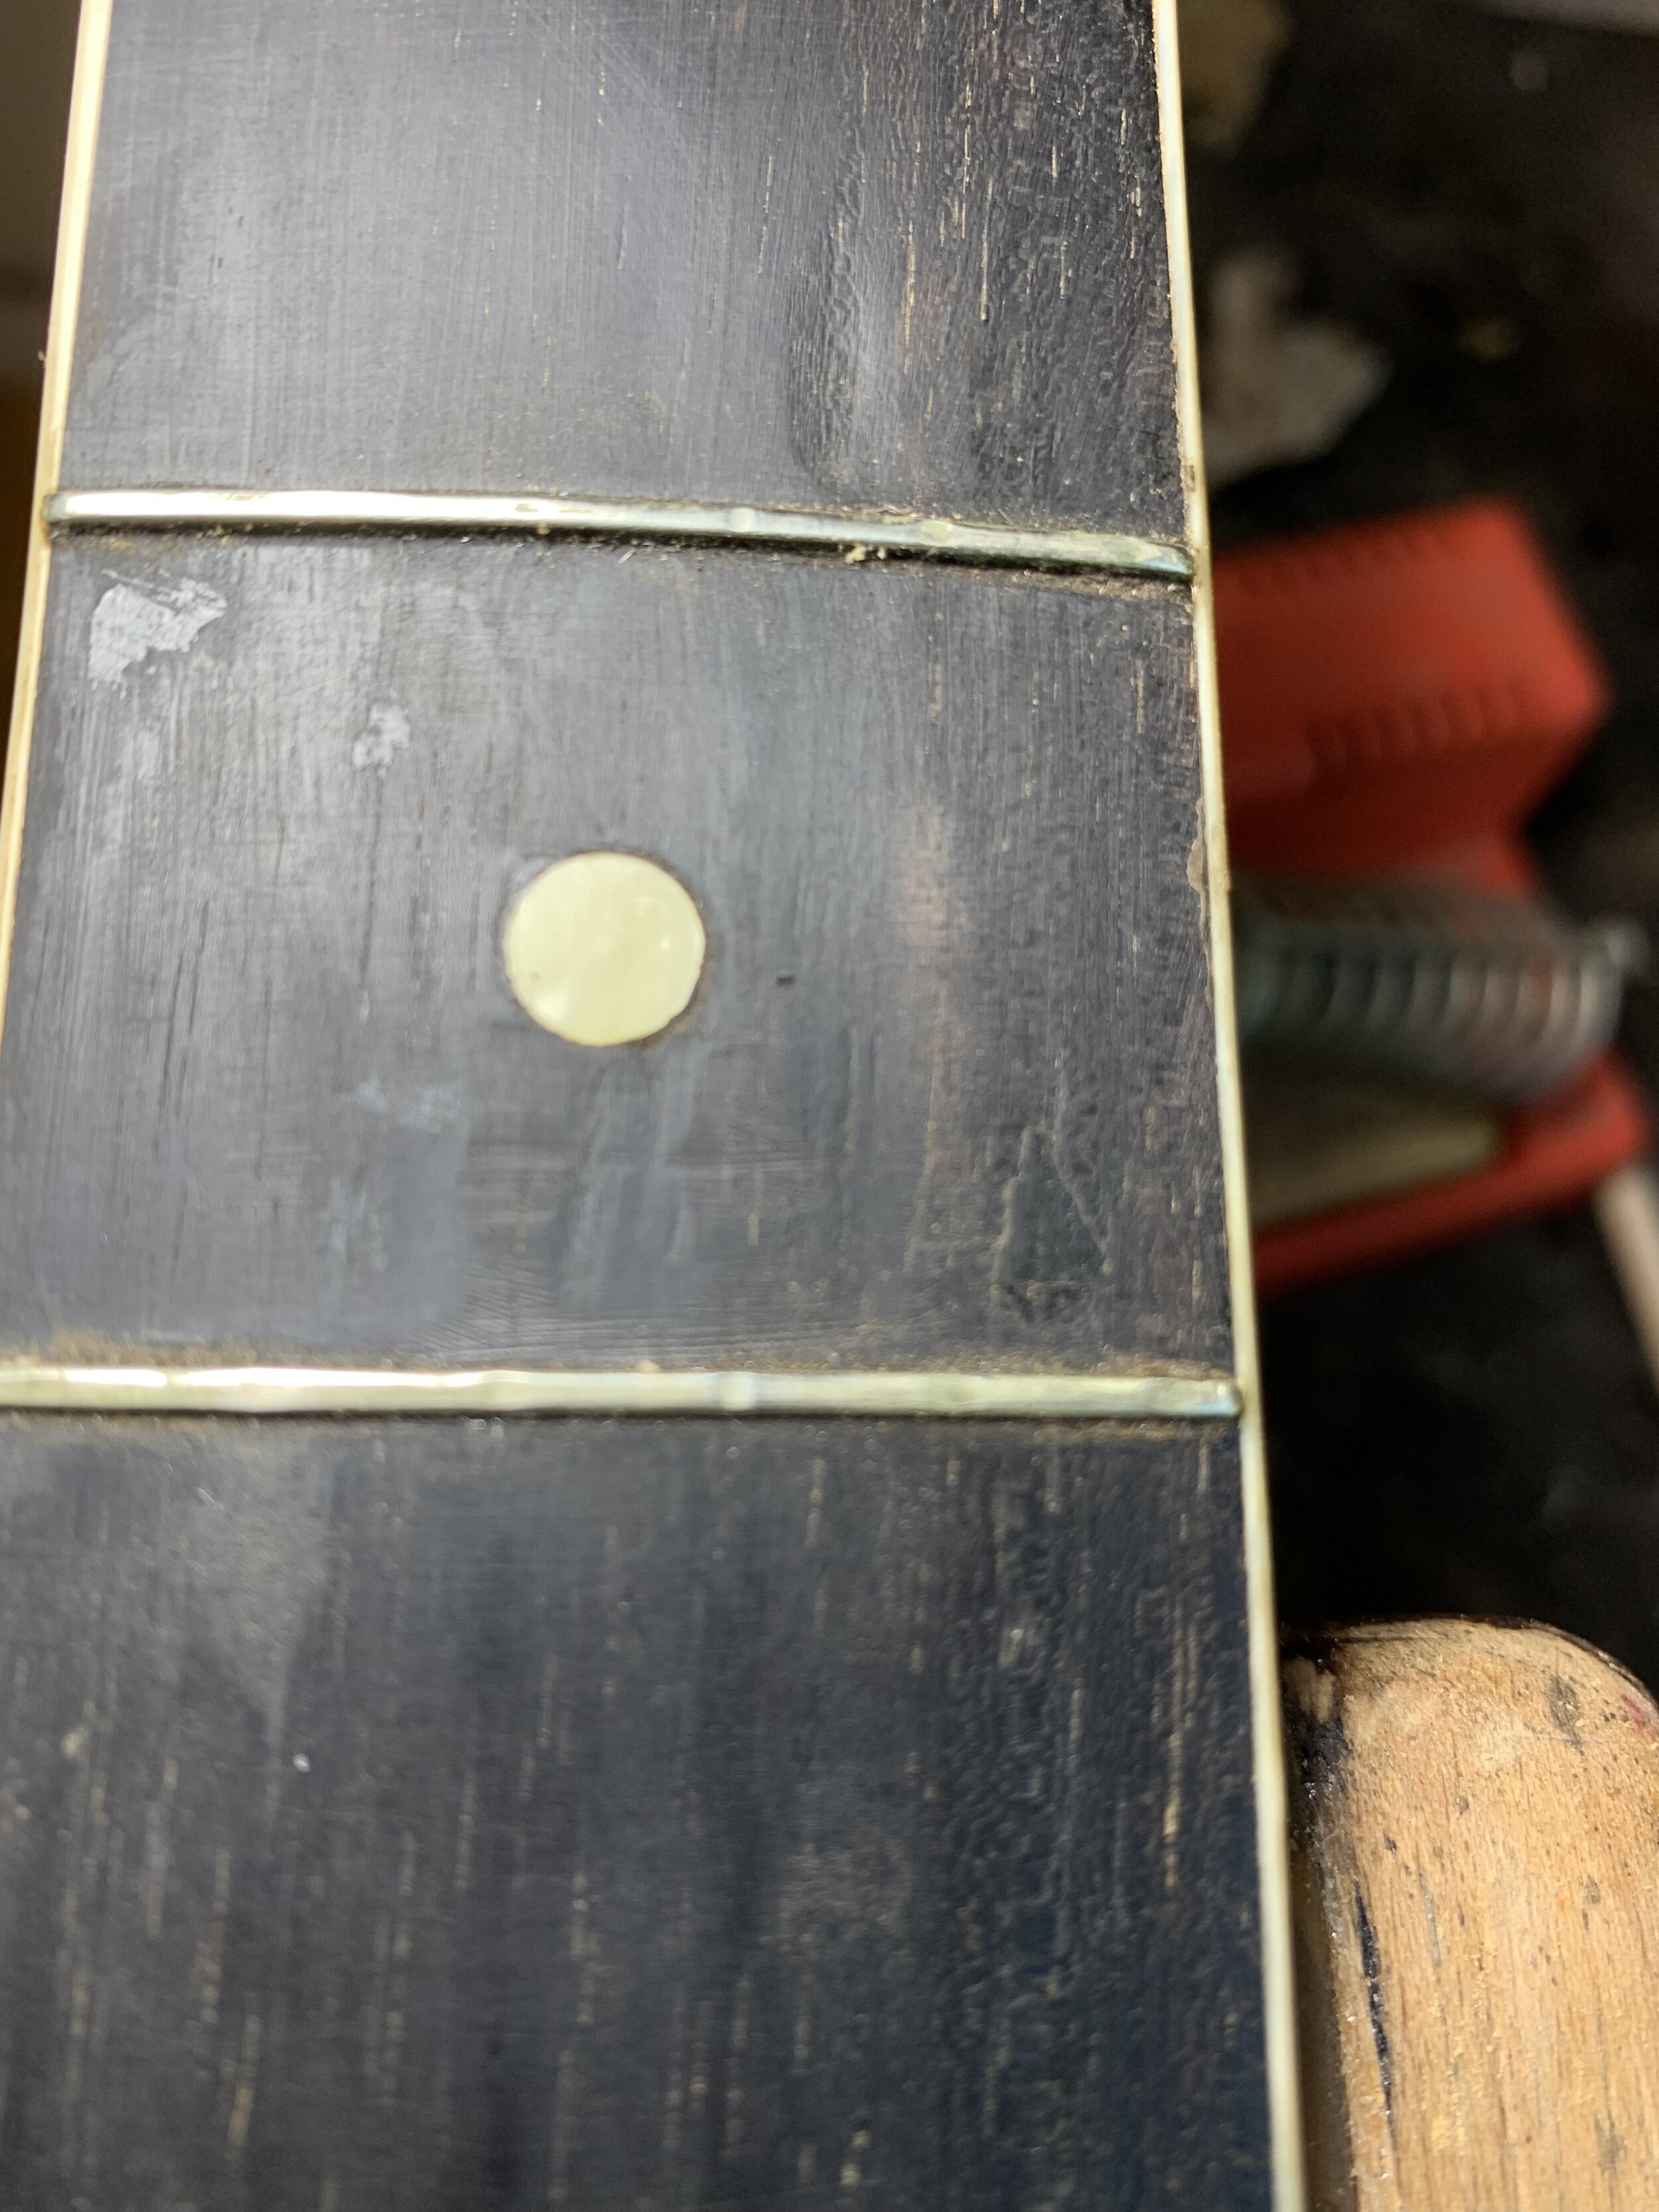
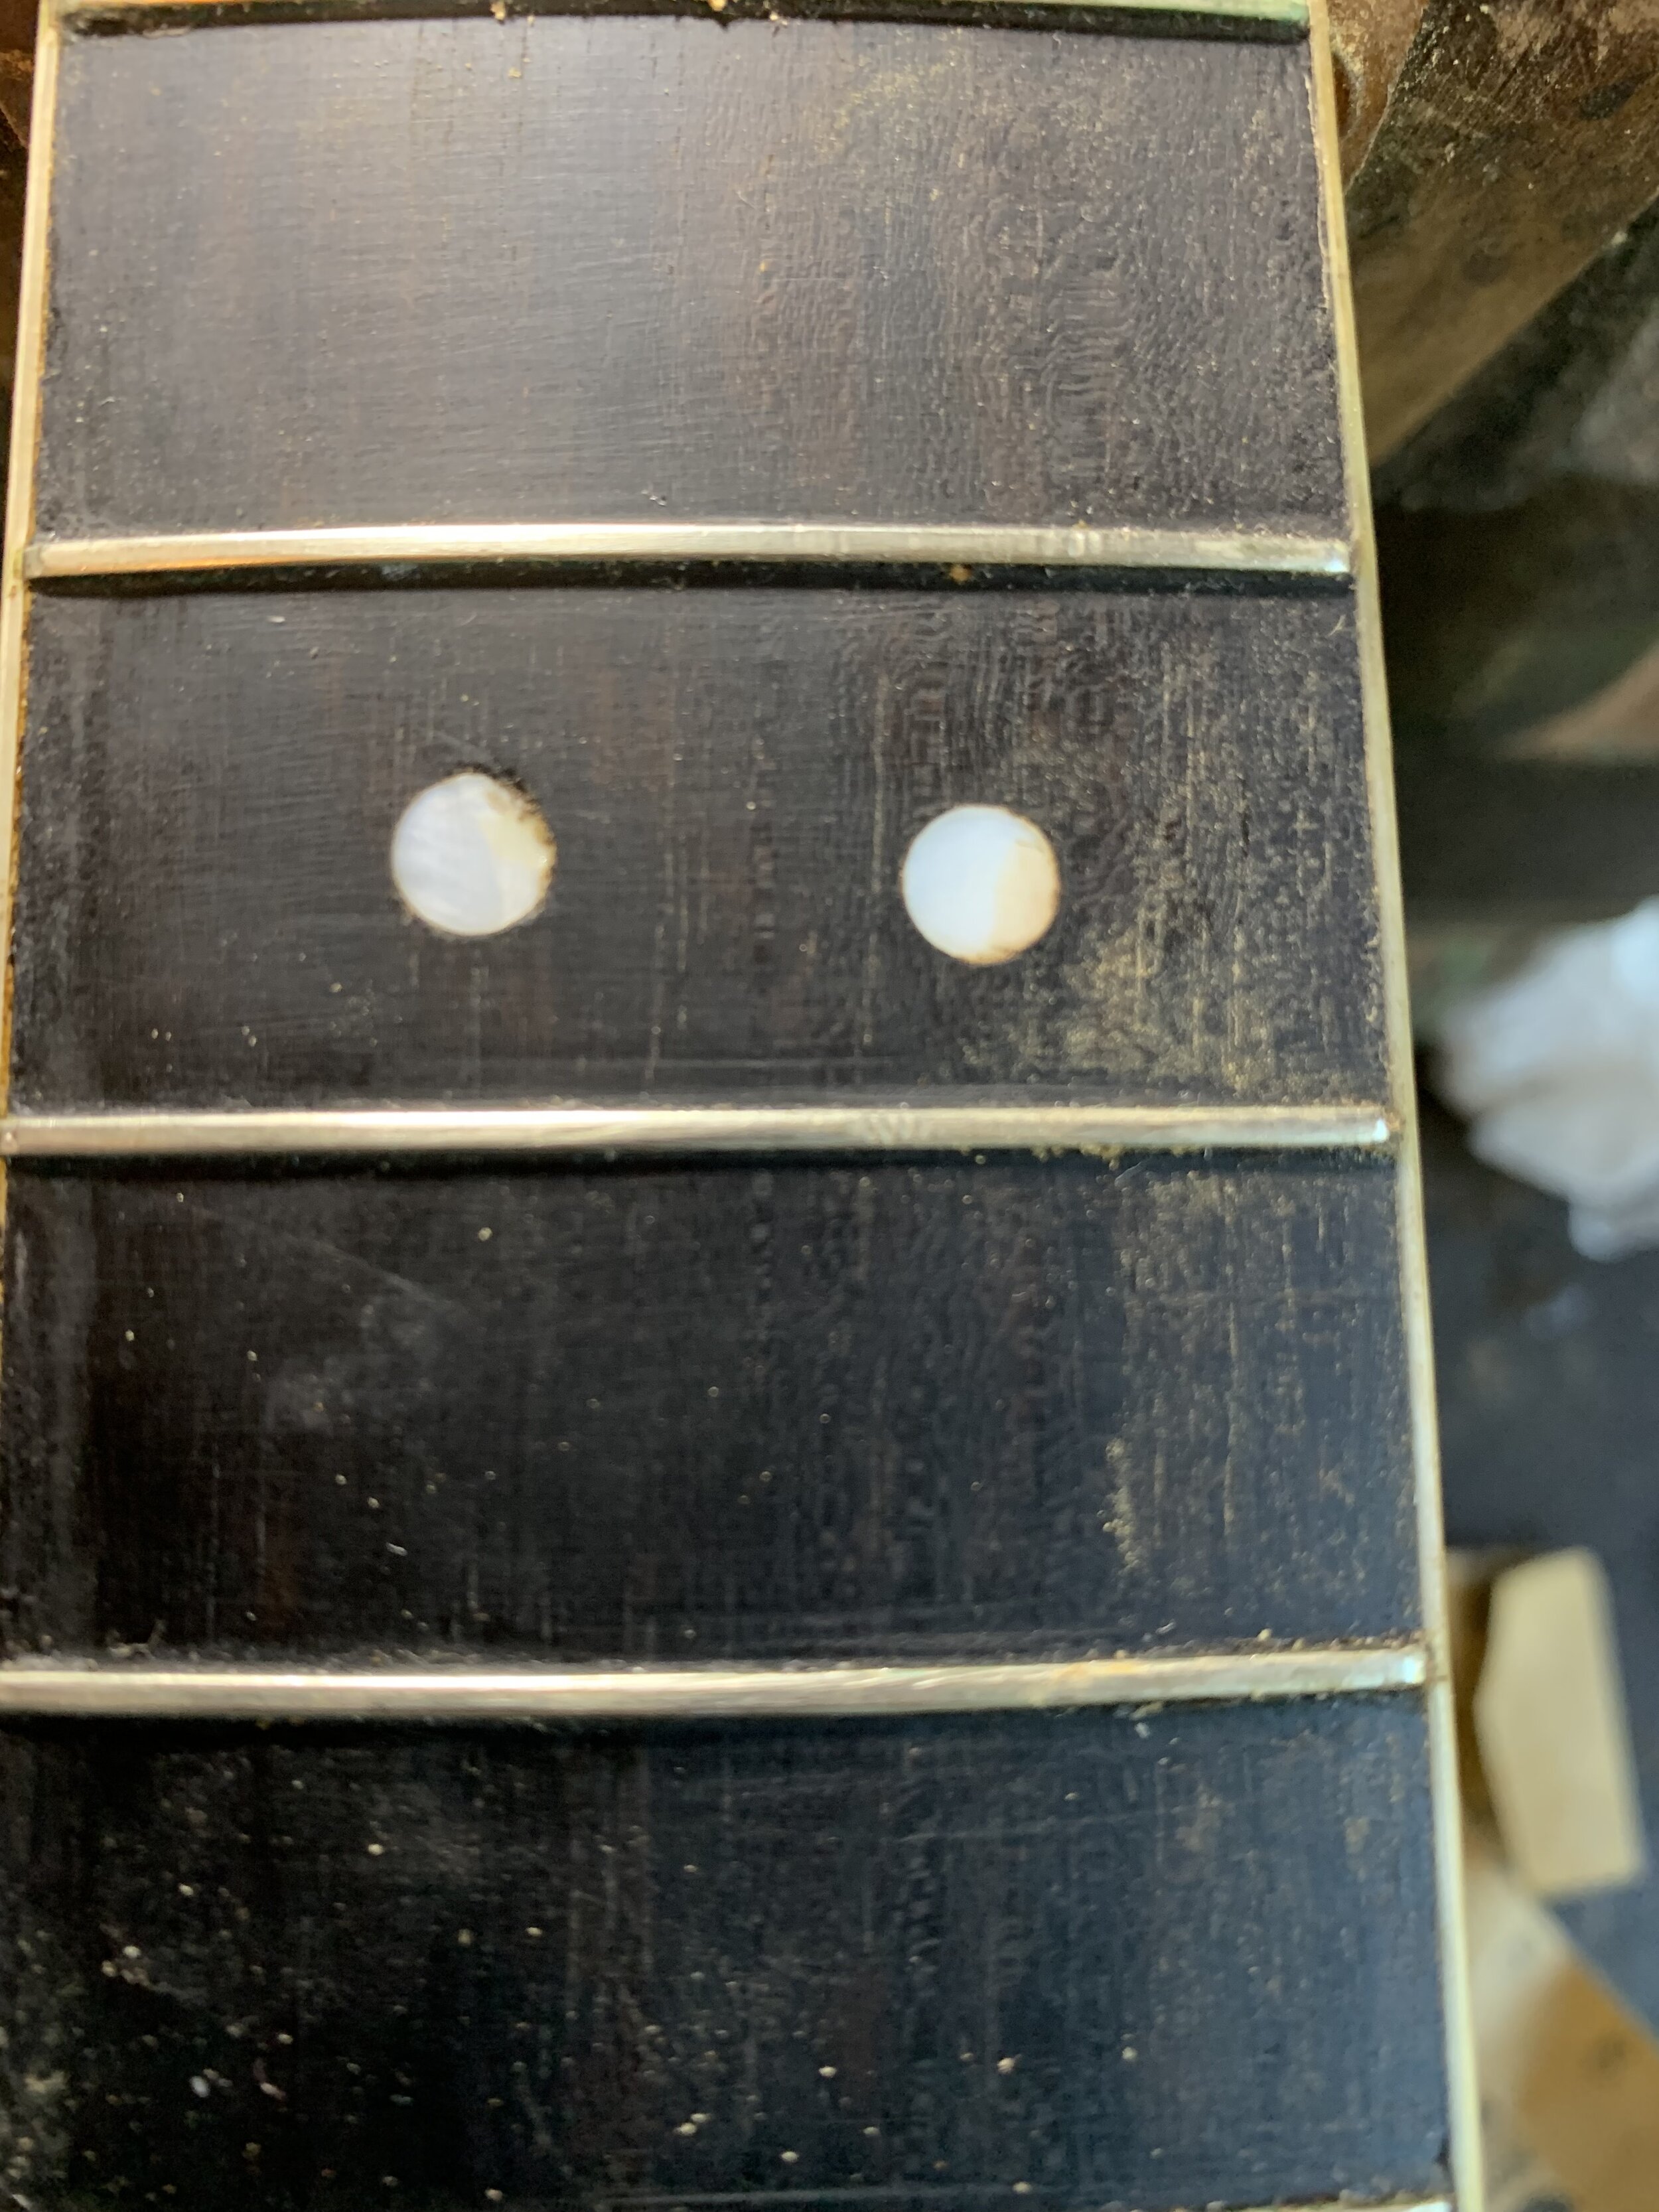
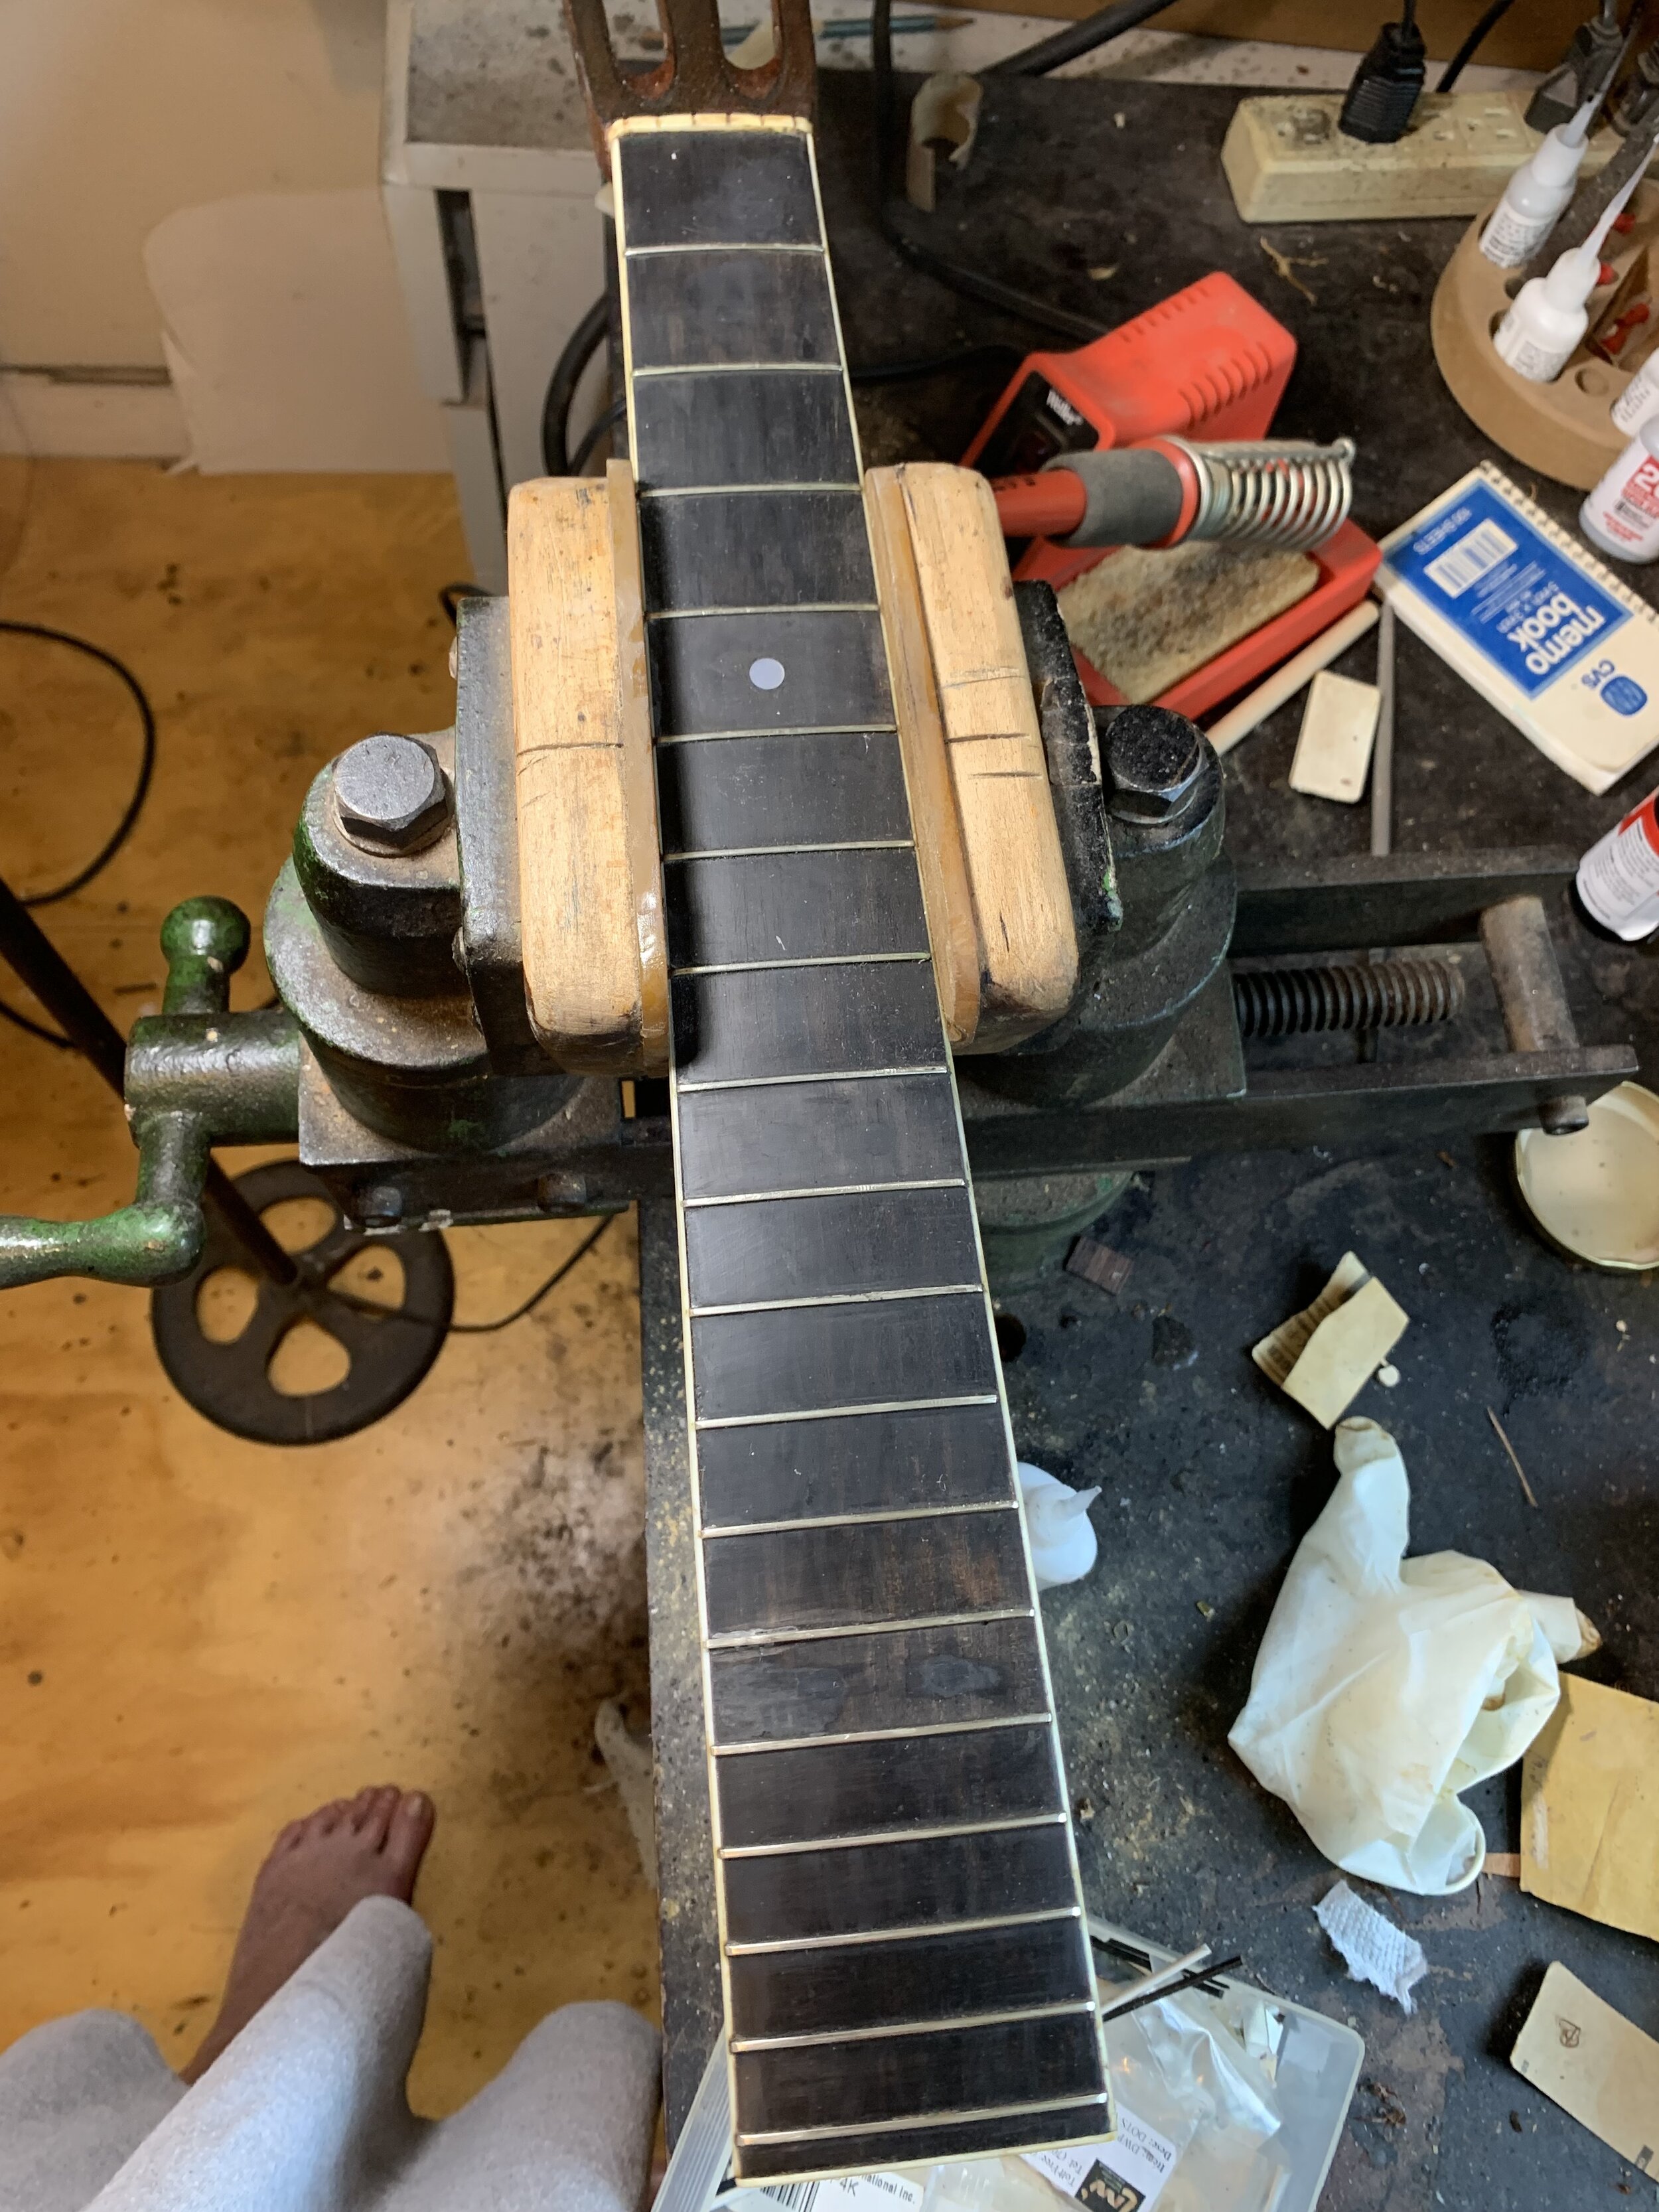
So, while the glue was drying, I tackled the fingerboard. Someone had put extra dots on it (badly) in the wrong places. I removed them and filled the holes with superglue and ebony dust.
My customer wanted side dots in the binding, which is ivory and very thin, but I managed to drill them successfully.
I’m going to have to refret the fingerboard and have an order in to TJ Thompson for bar frets.
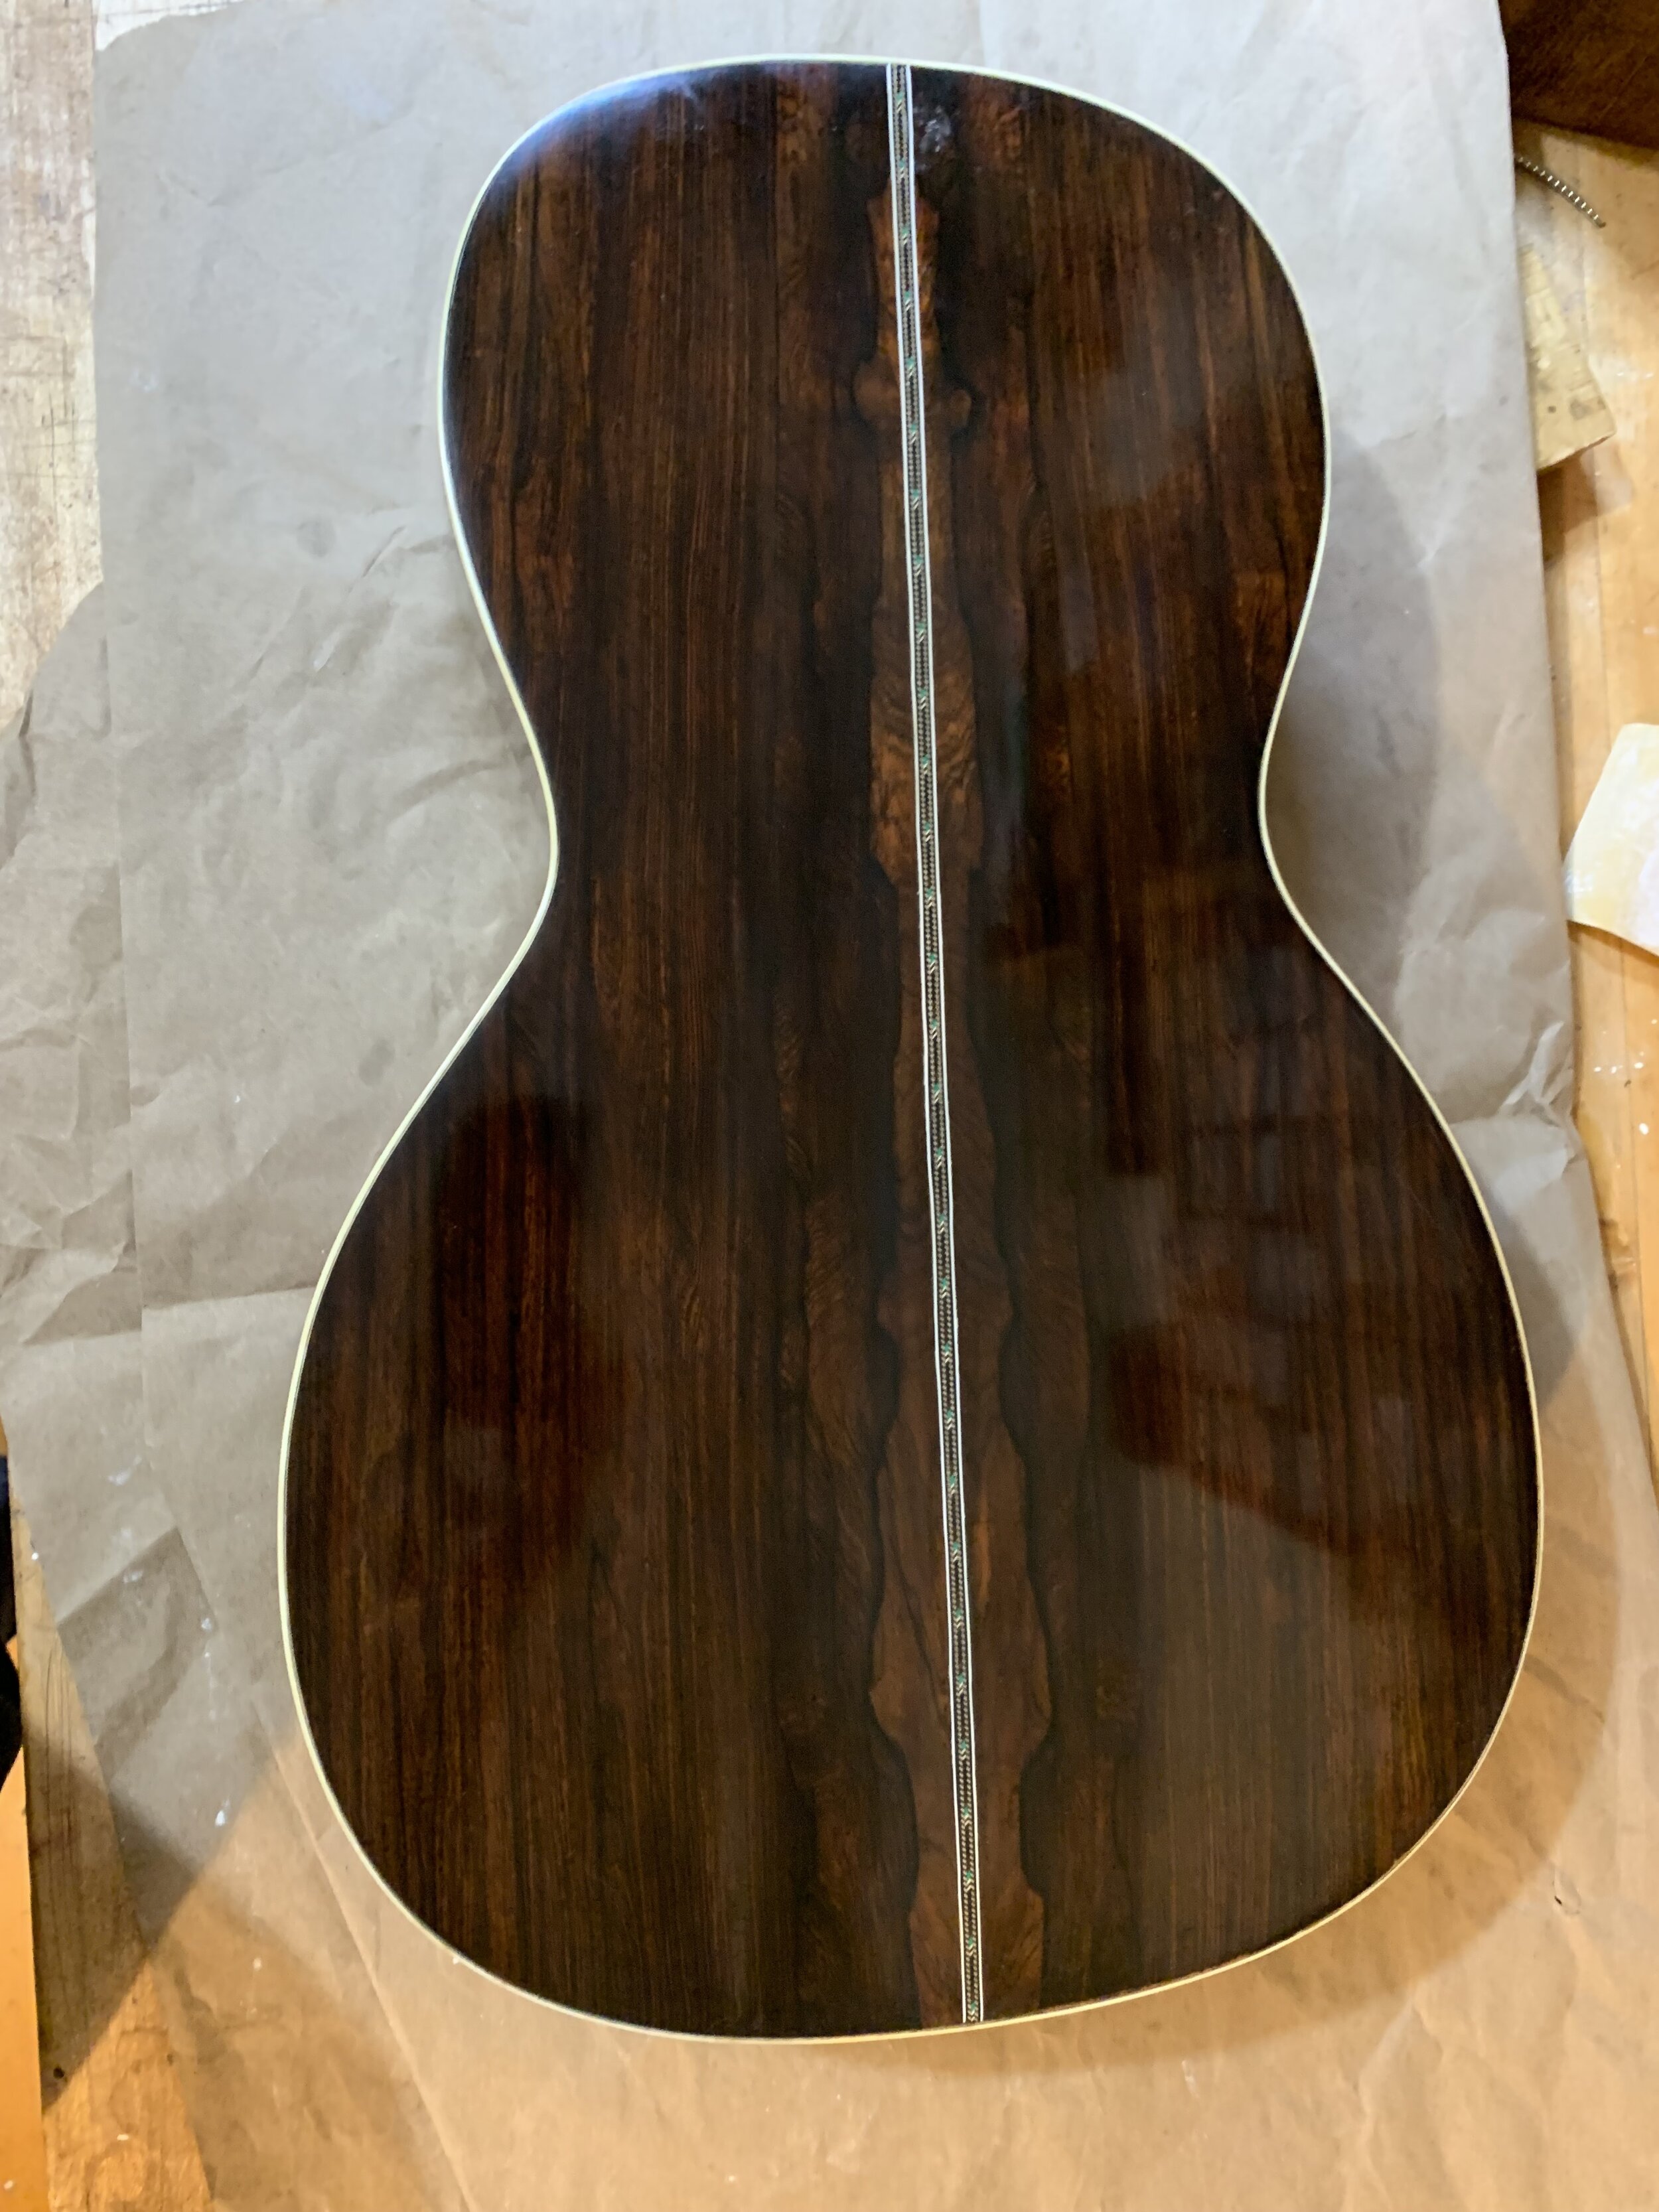
I glued on the back, removing all the spar varnish from the back and sides.
Now I could fill in the side cracks with superglue and rosewood dust to make the cracks disappear.
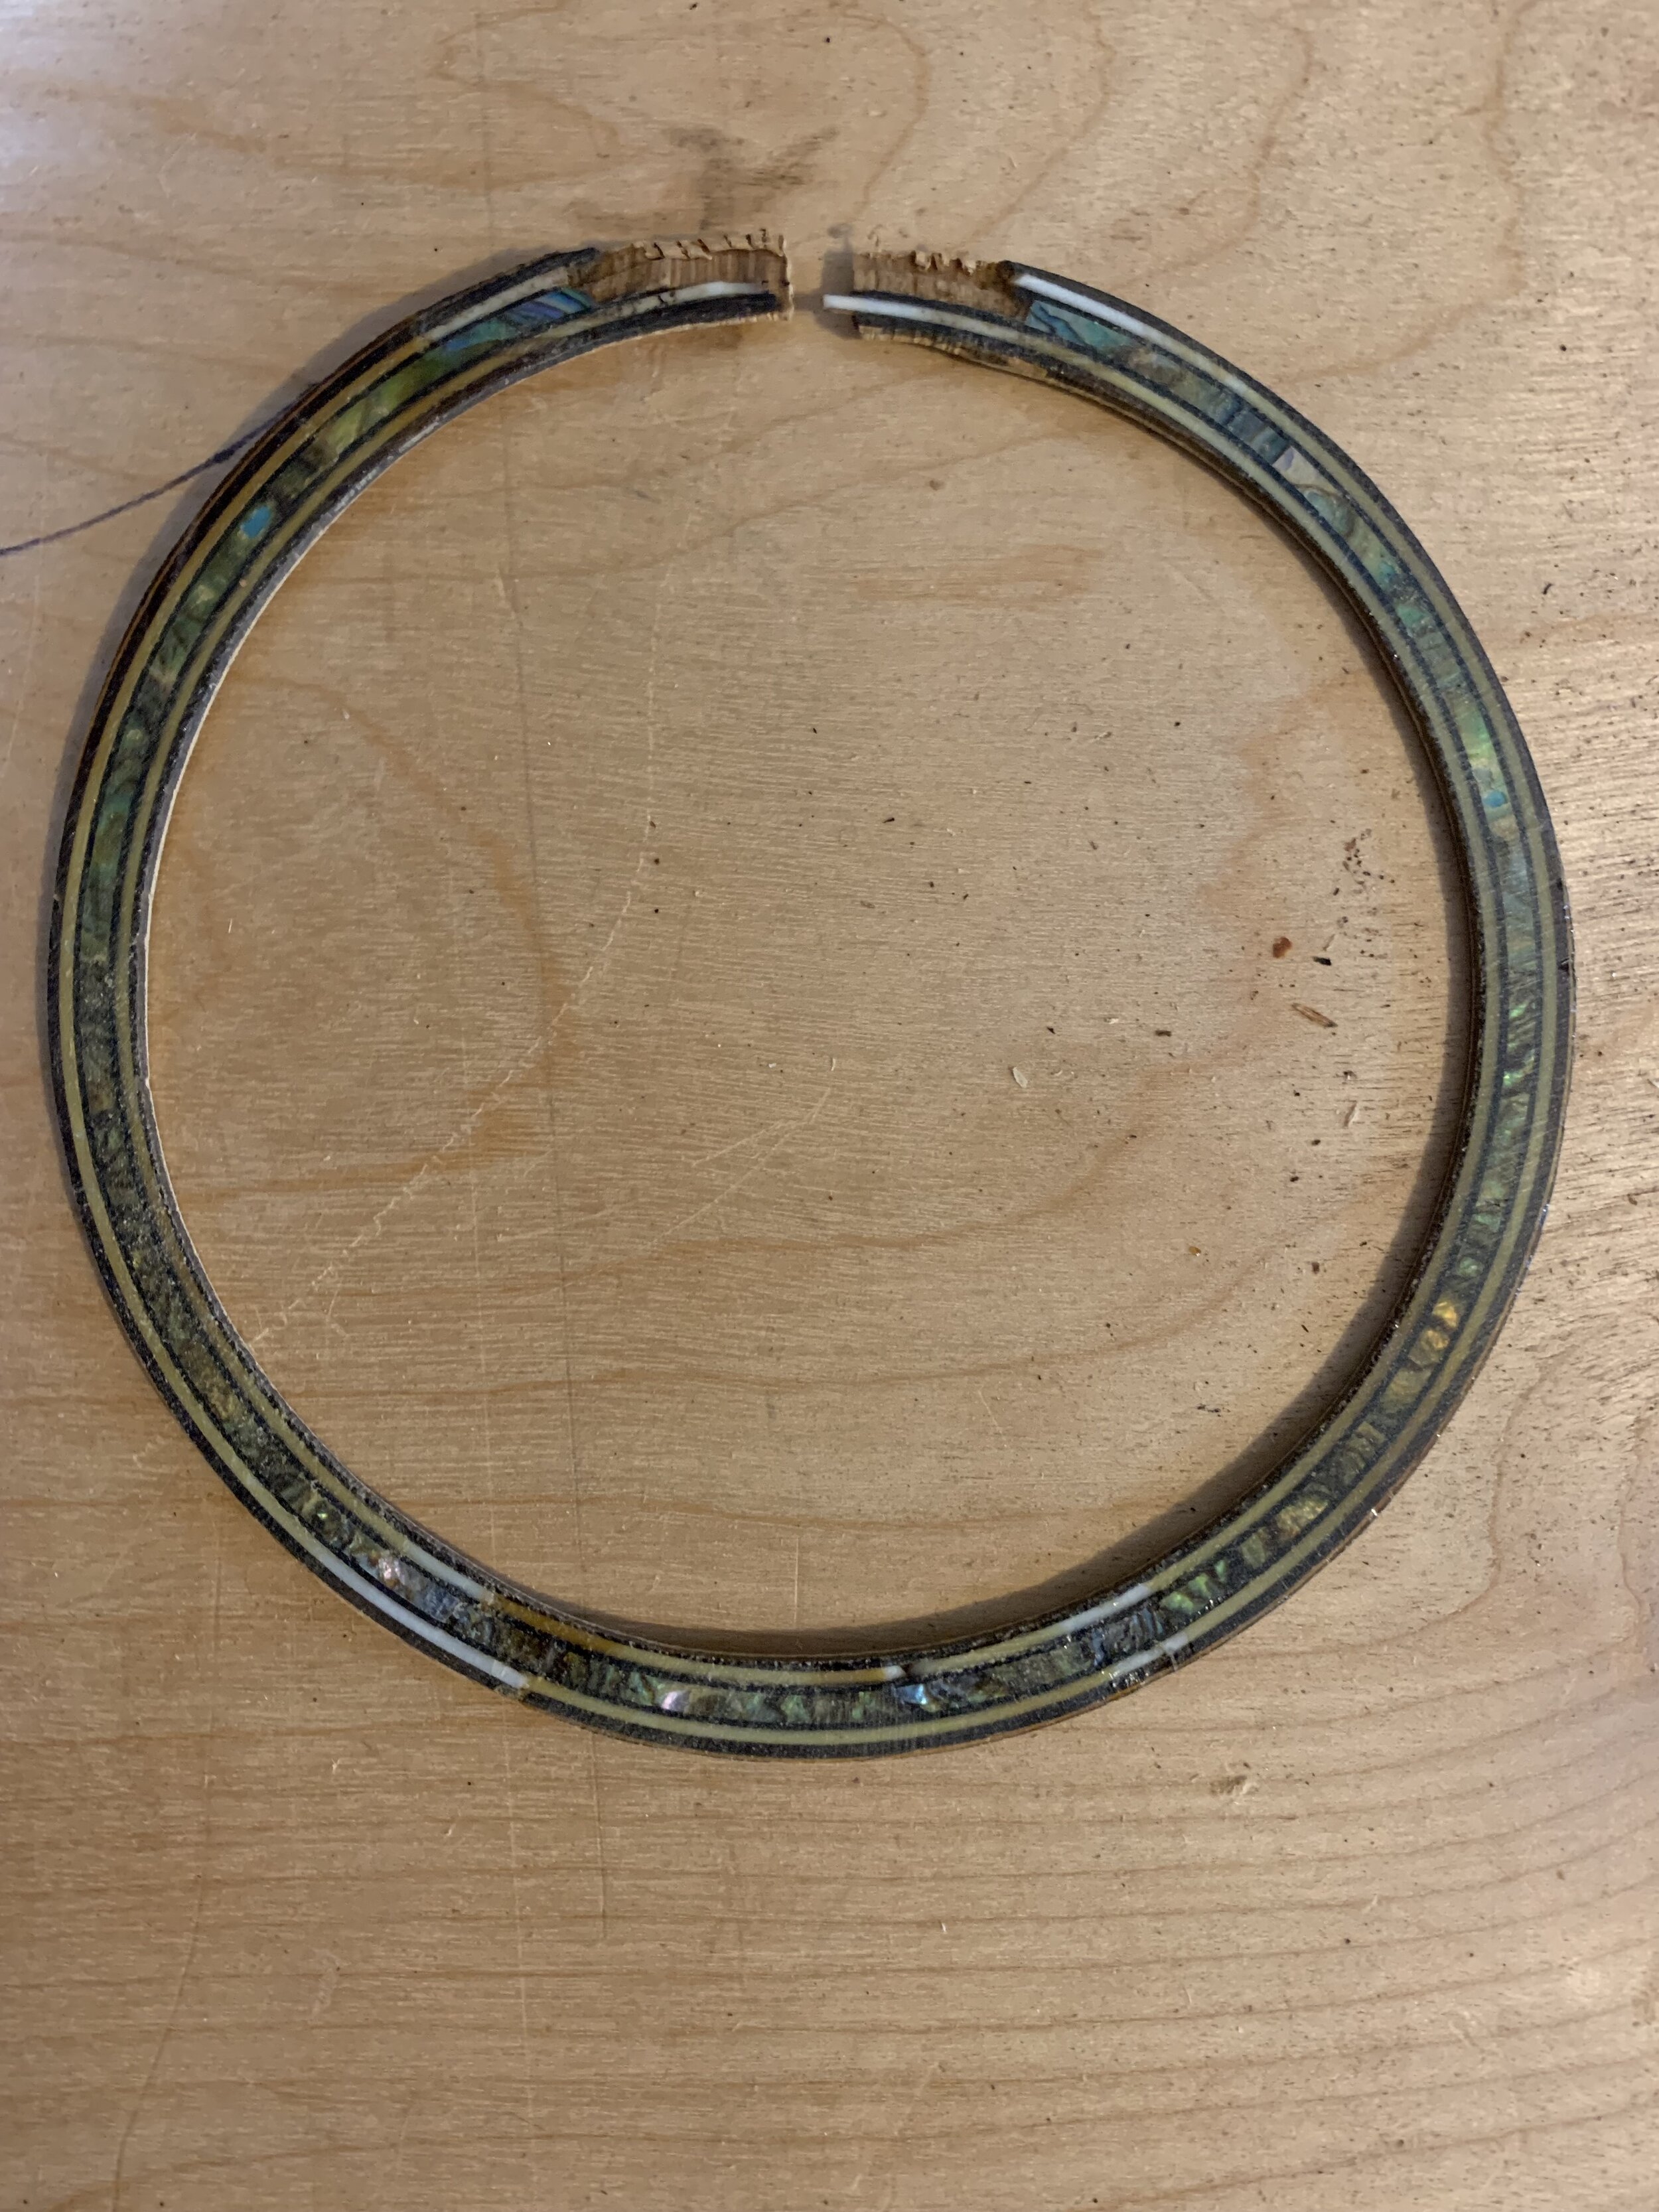
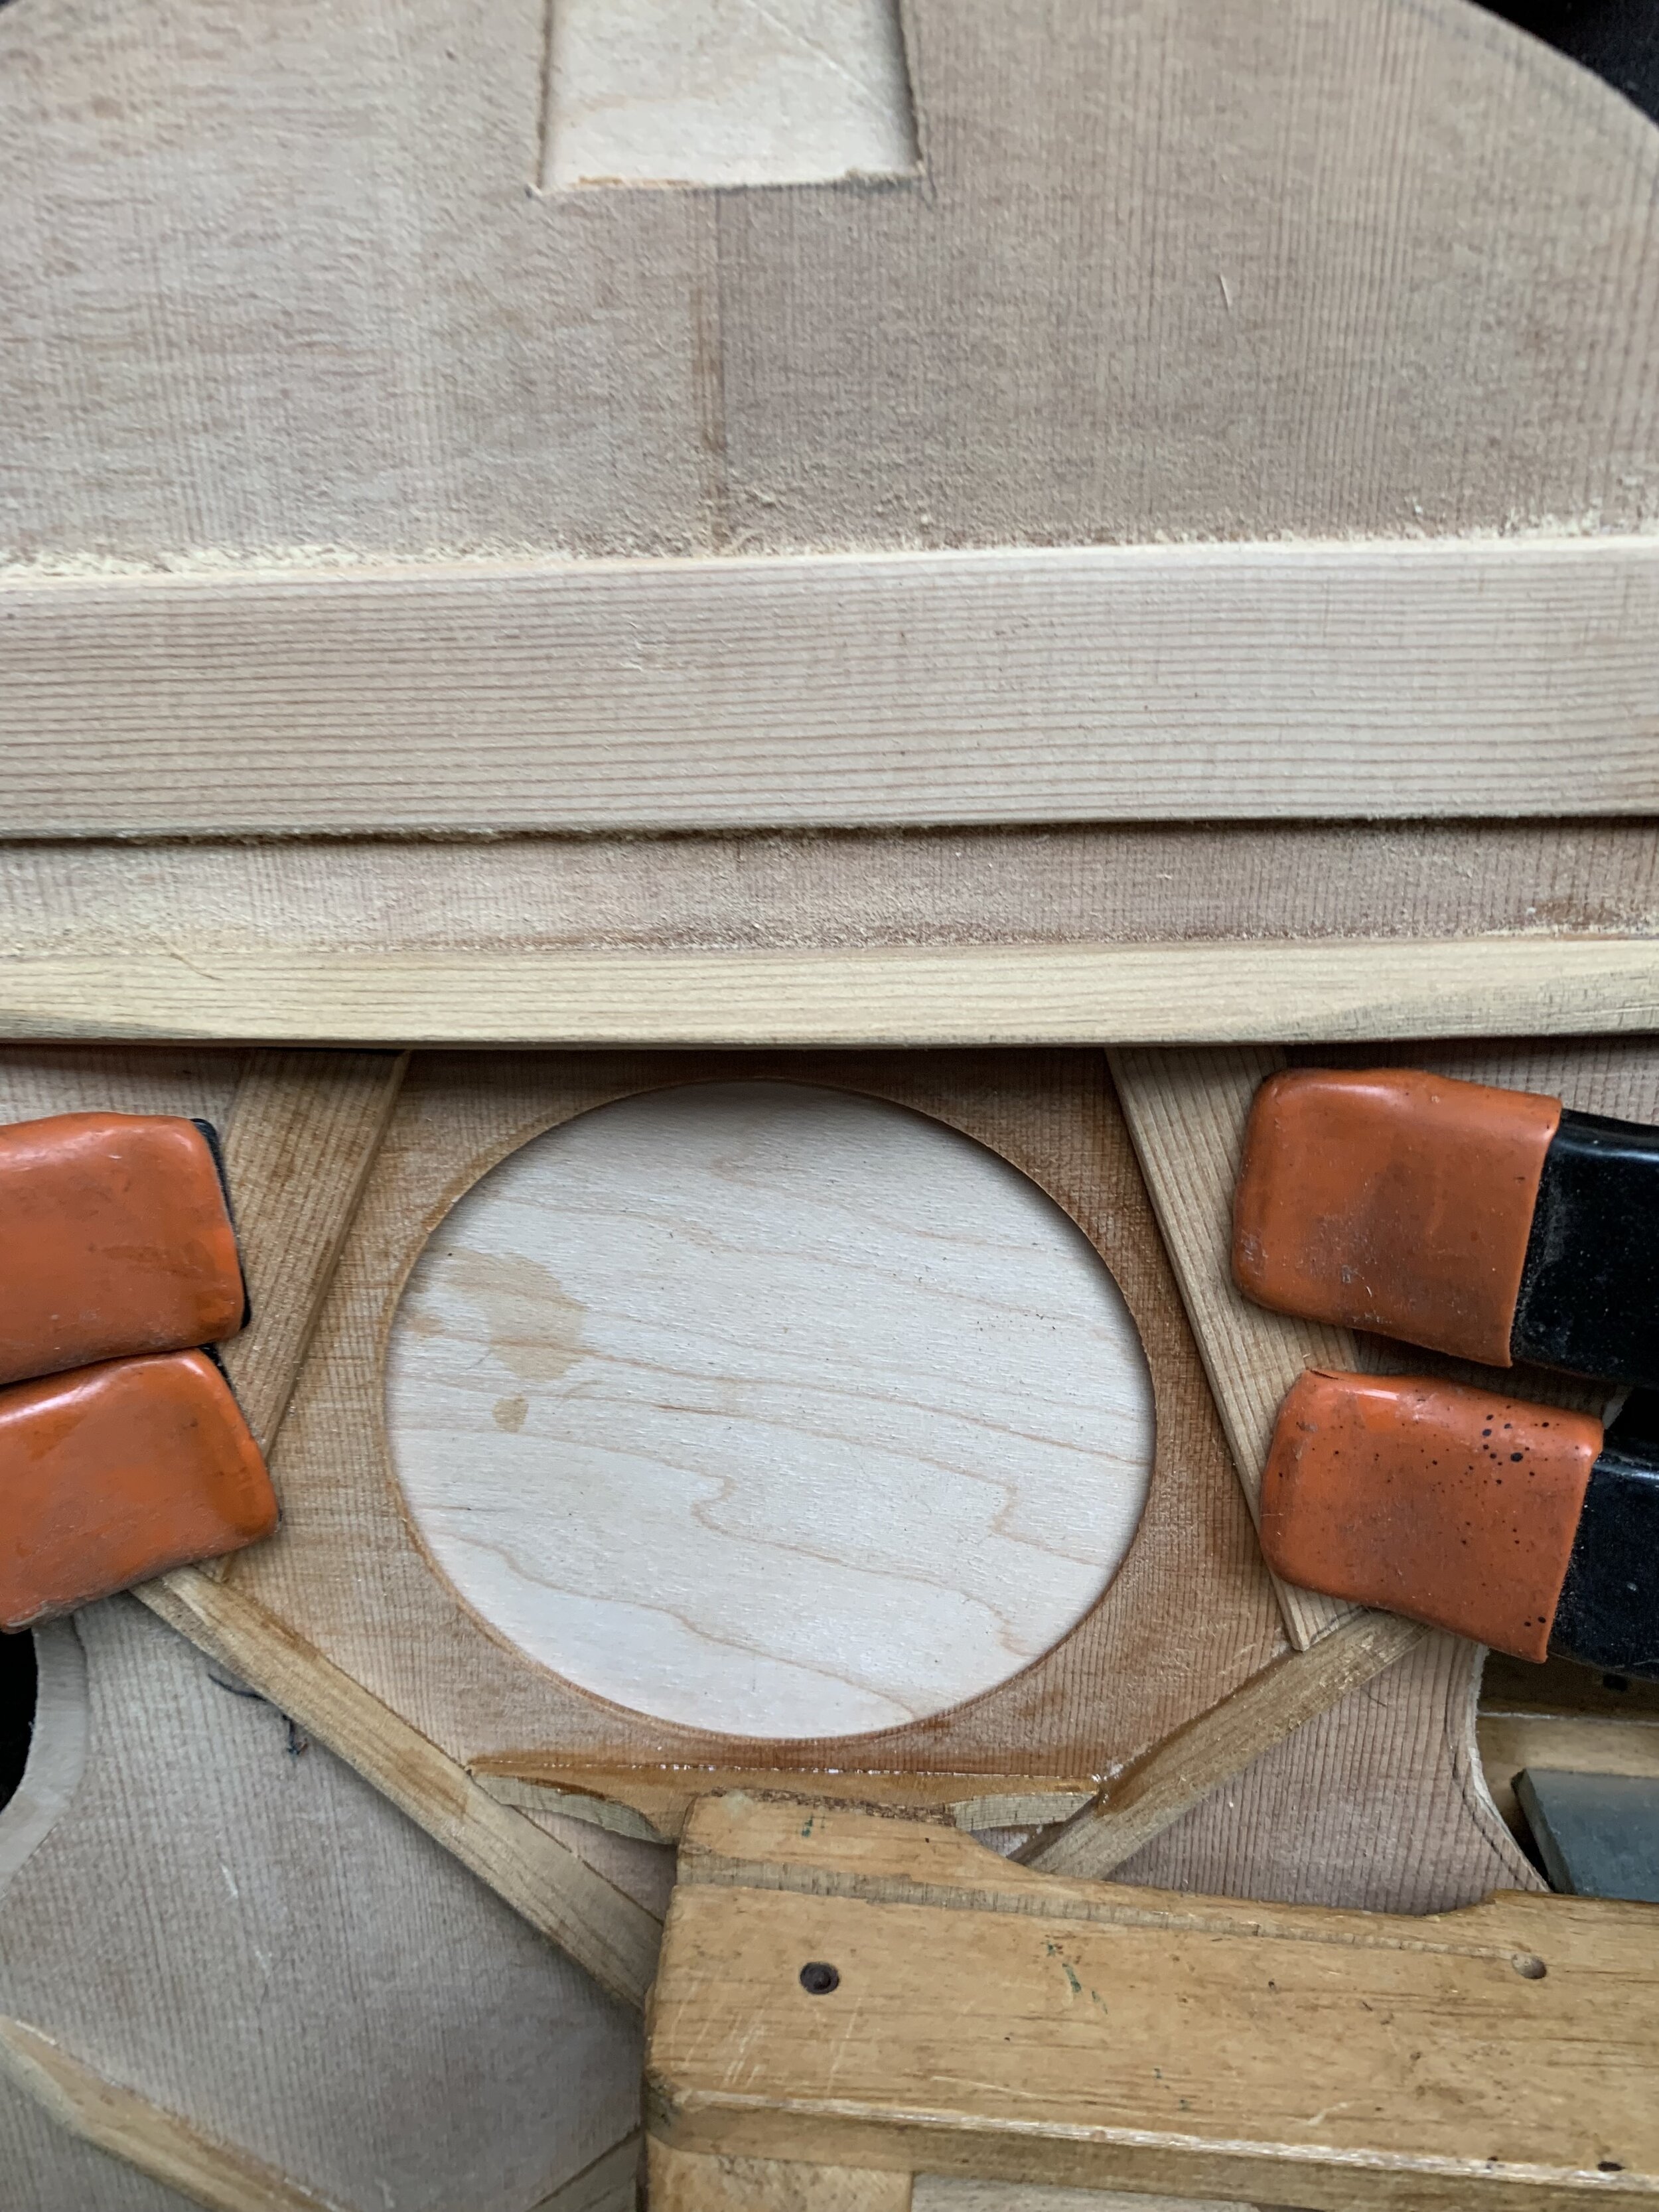
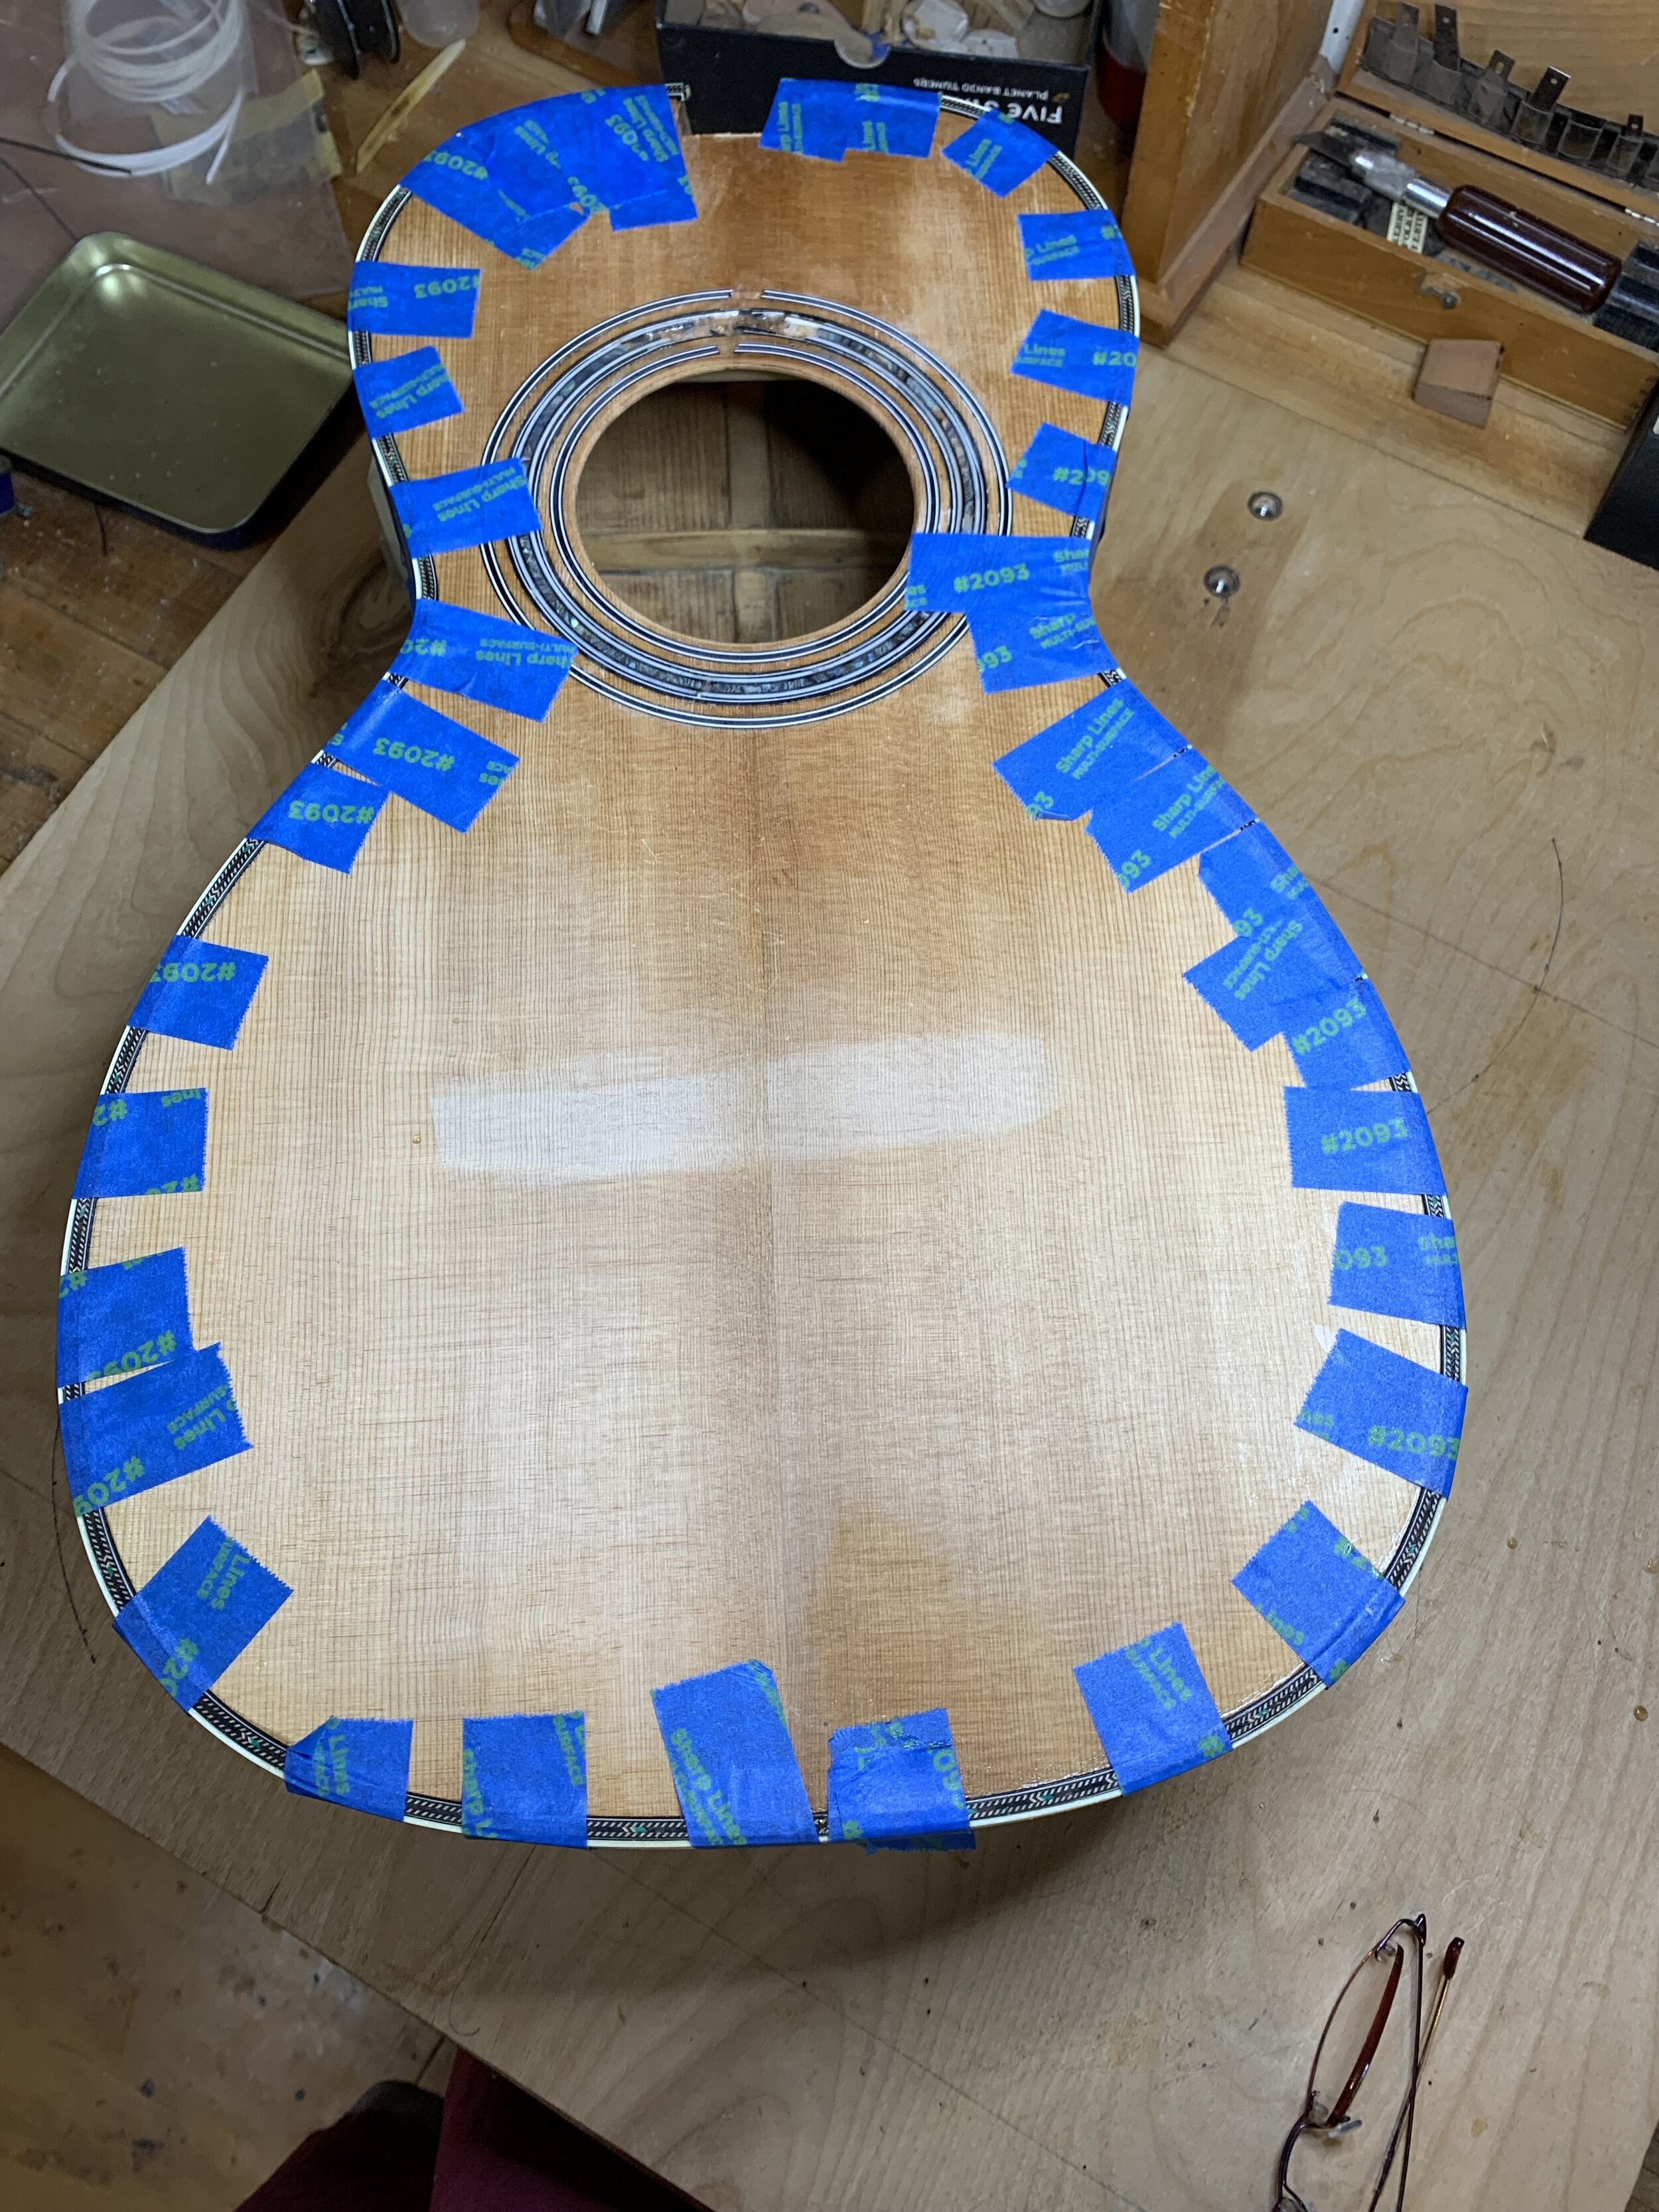
I saved the Rosette and inlaid it into the new top. Then made the braces and glued them in, all using hide glue of course.

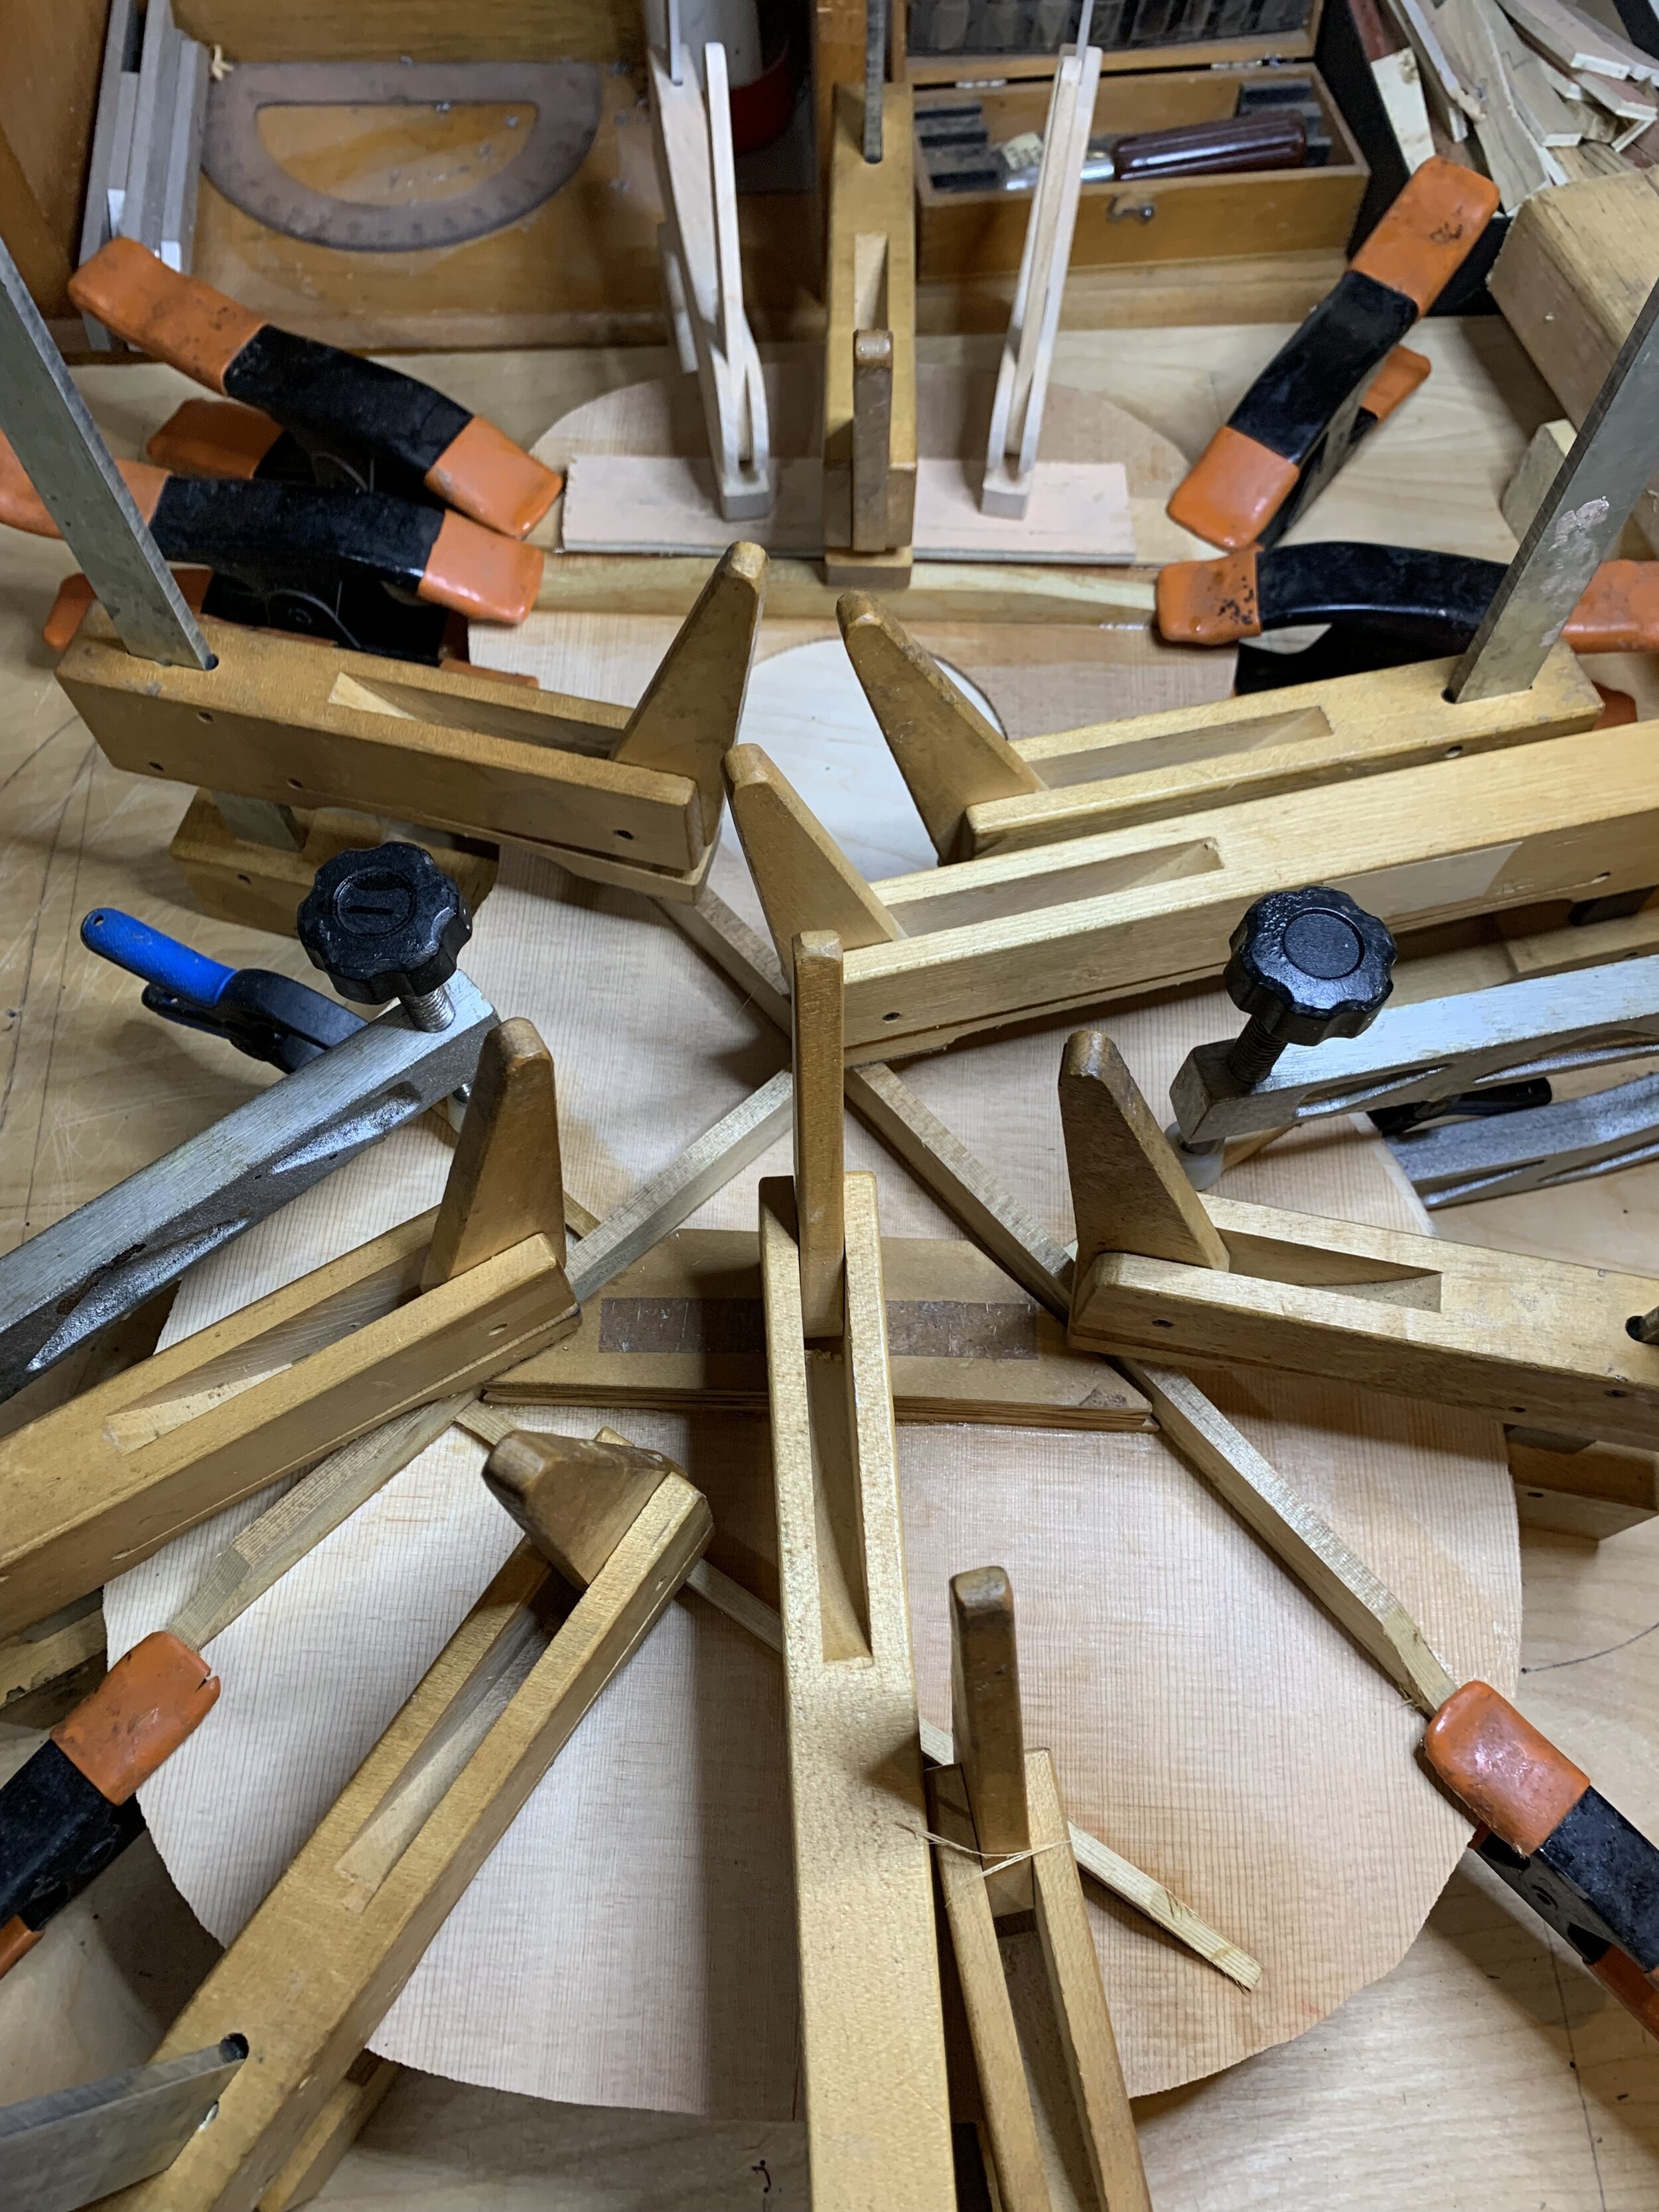
I shaved the braces and glued on the back and the top, routed for binding and glued it in.
The old ivory binding was all in pieces, so I used iveroid binding.

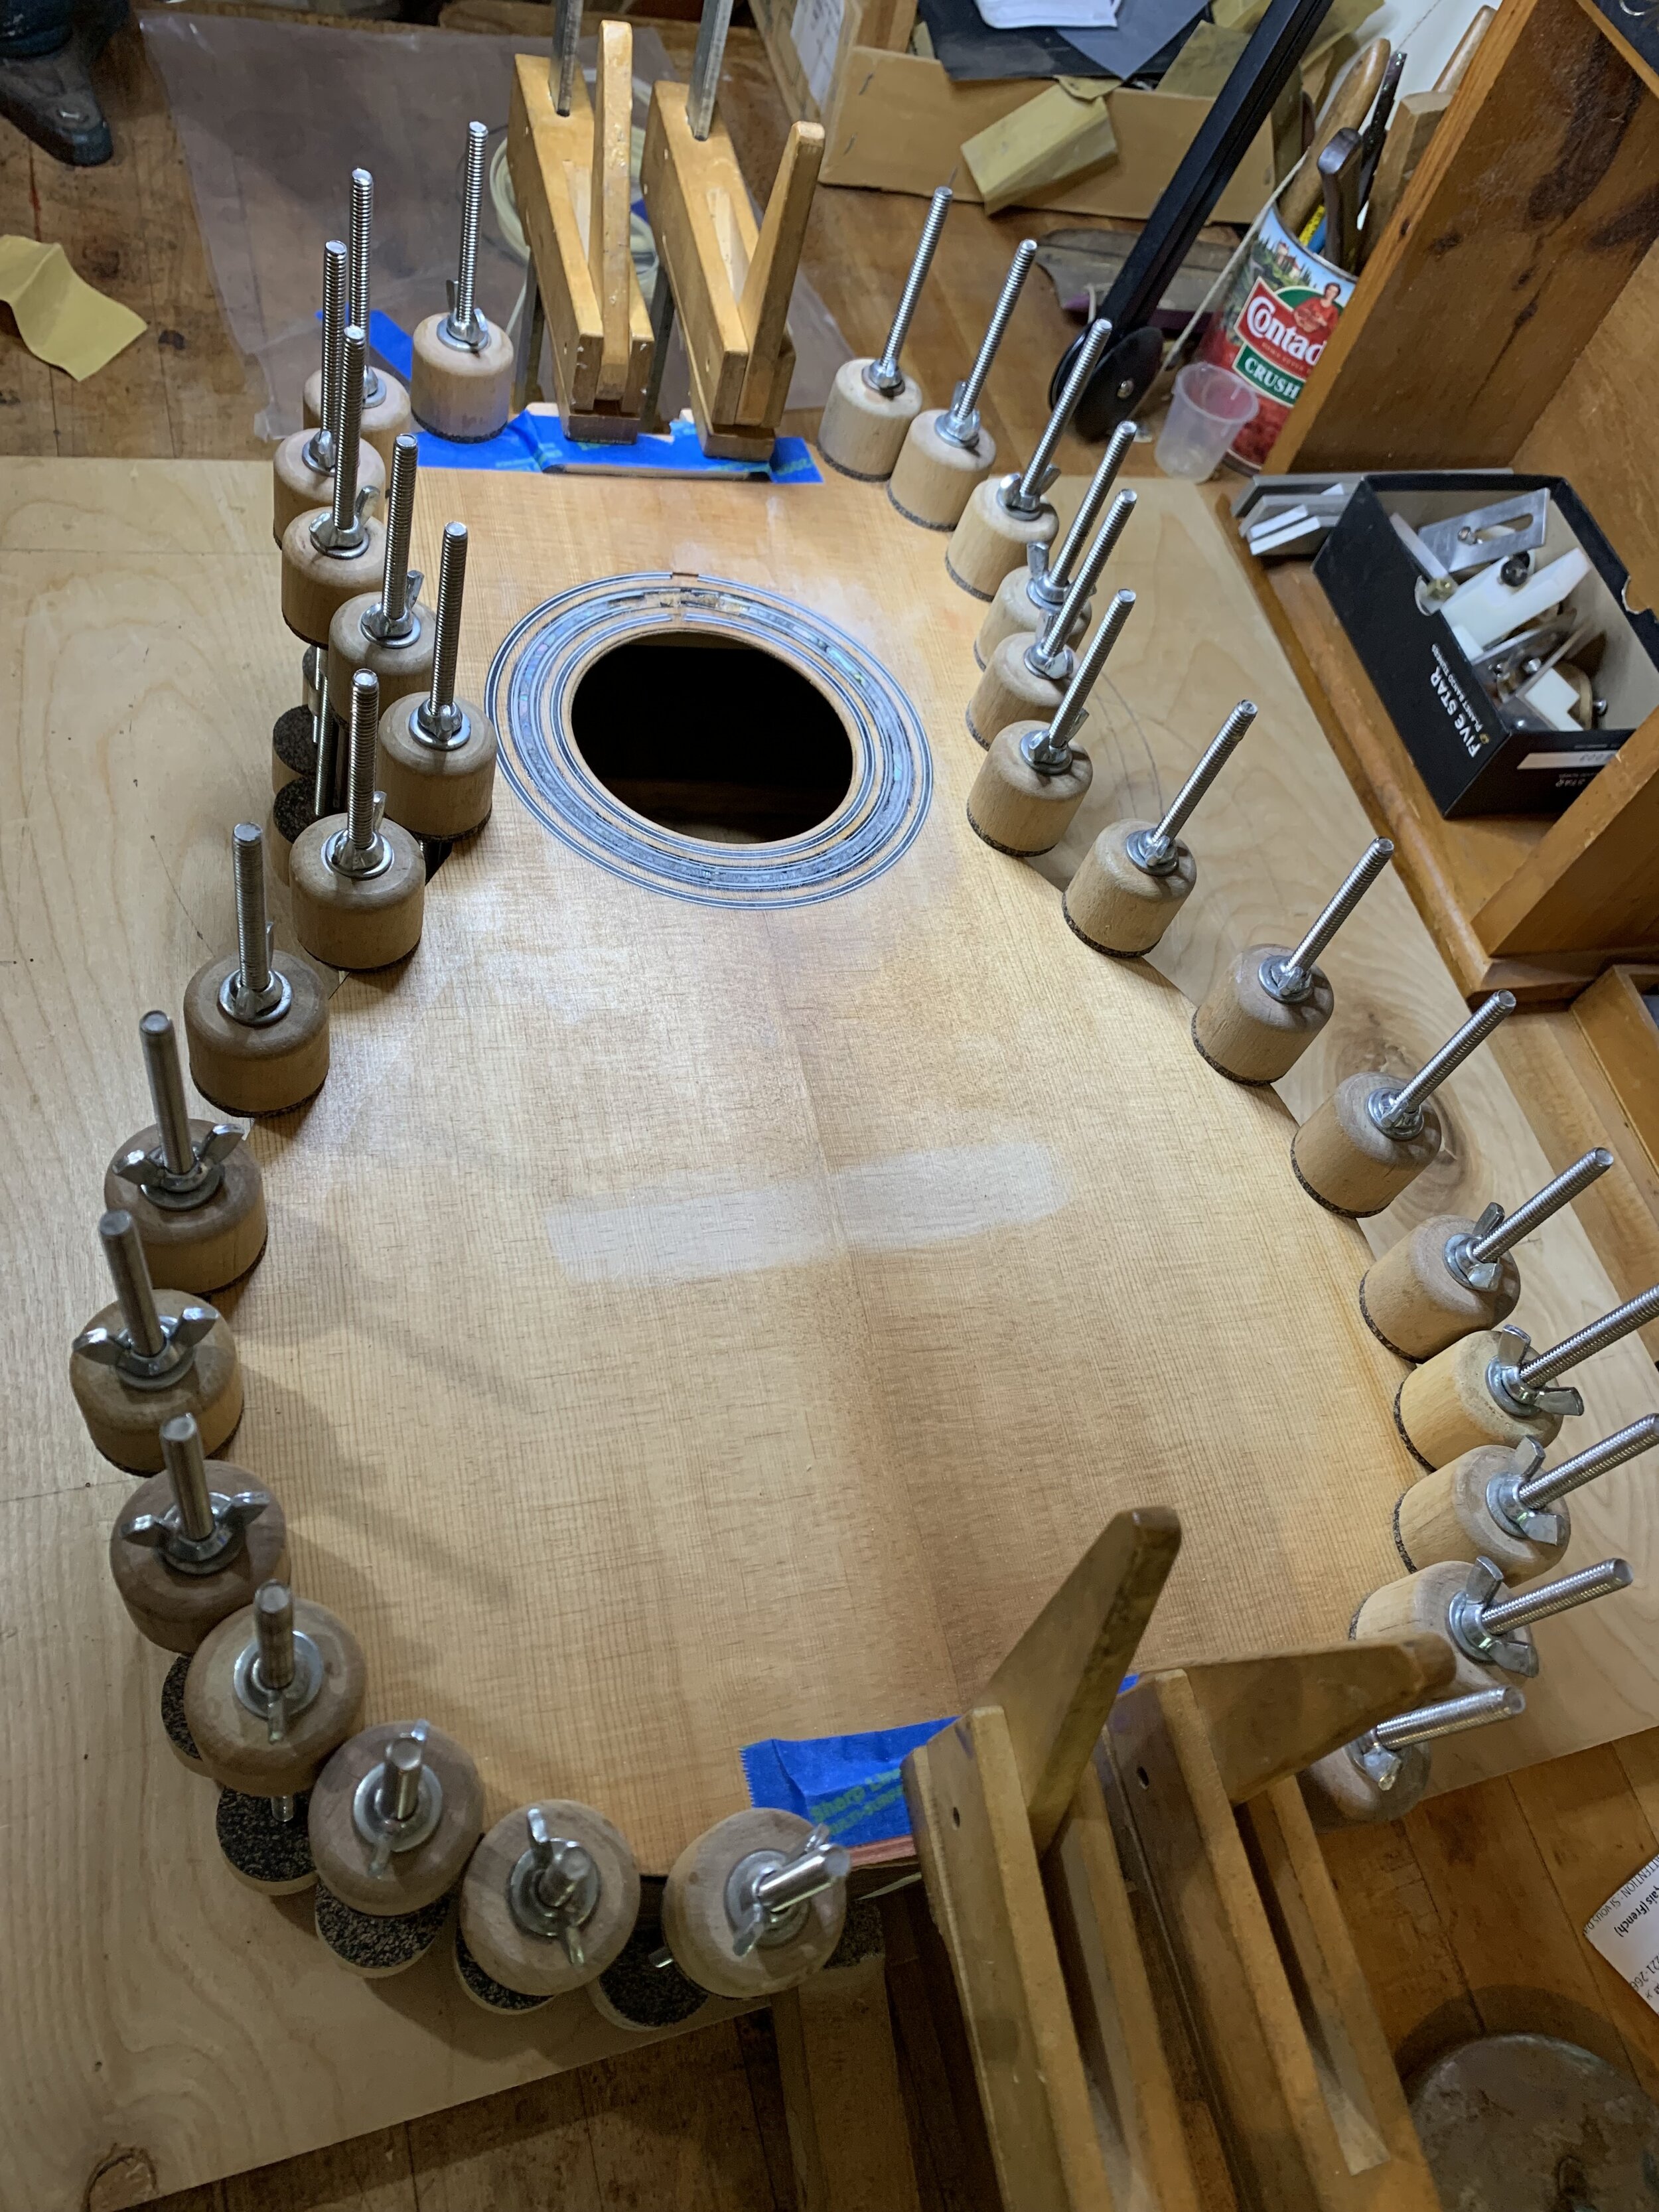
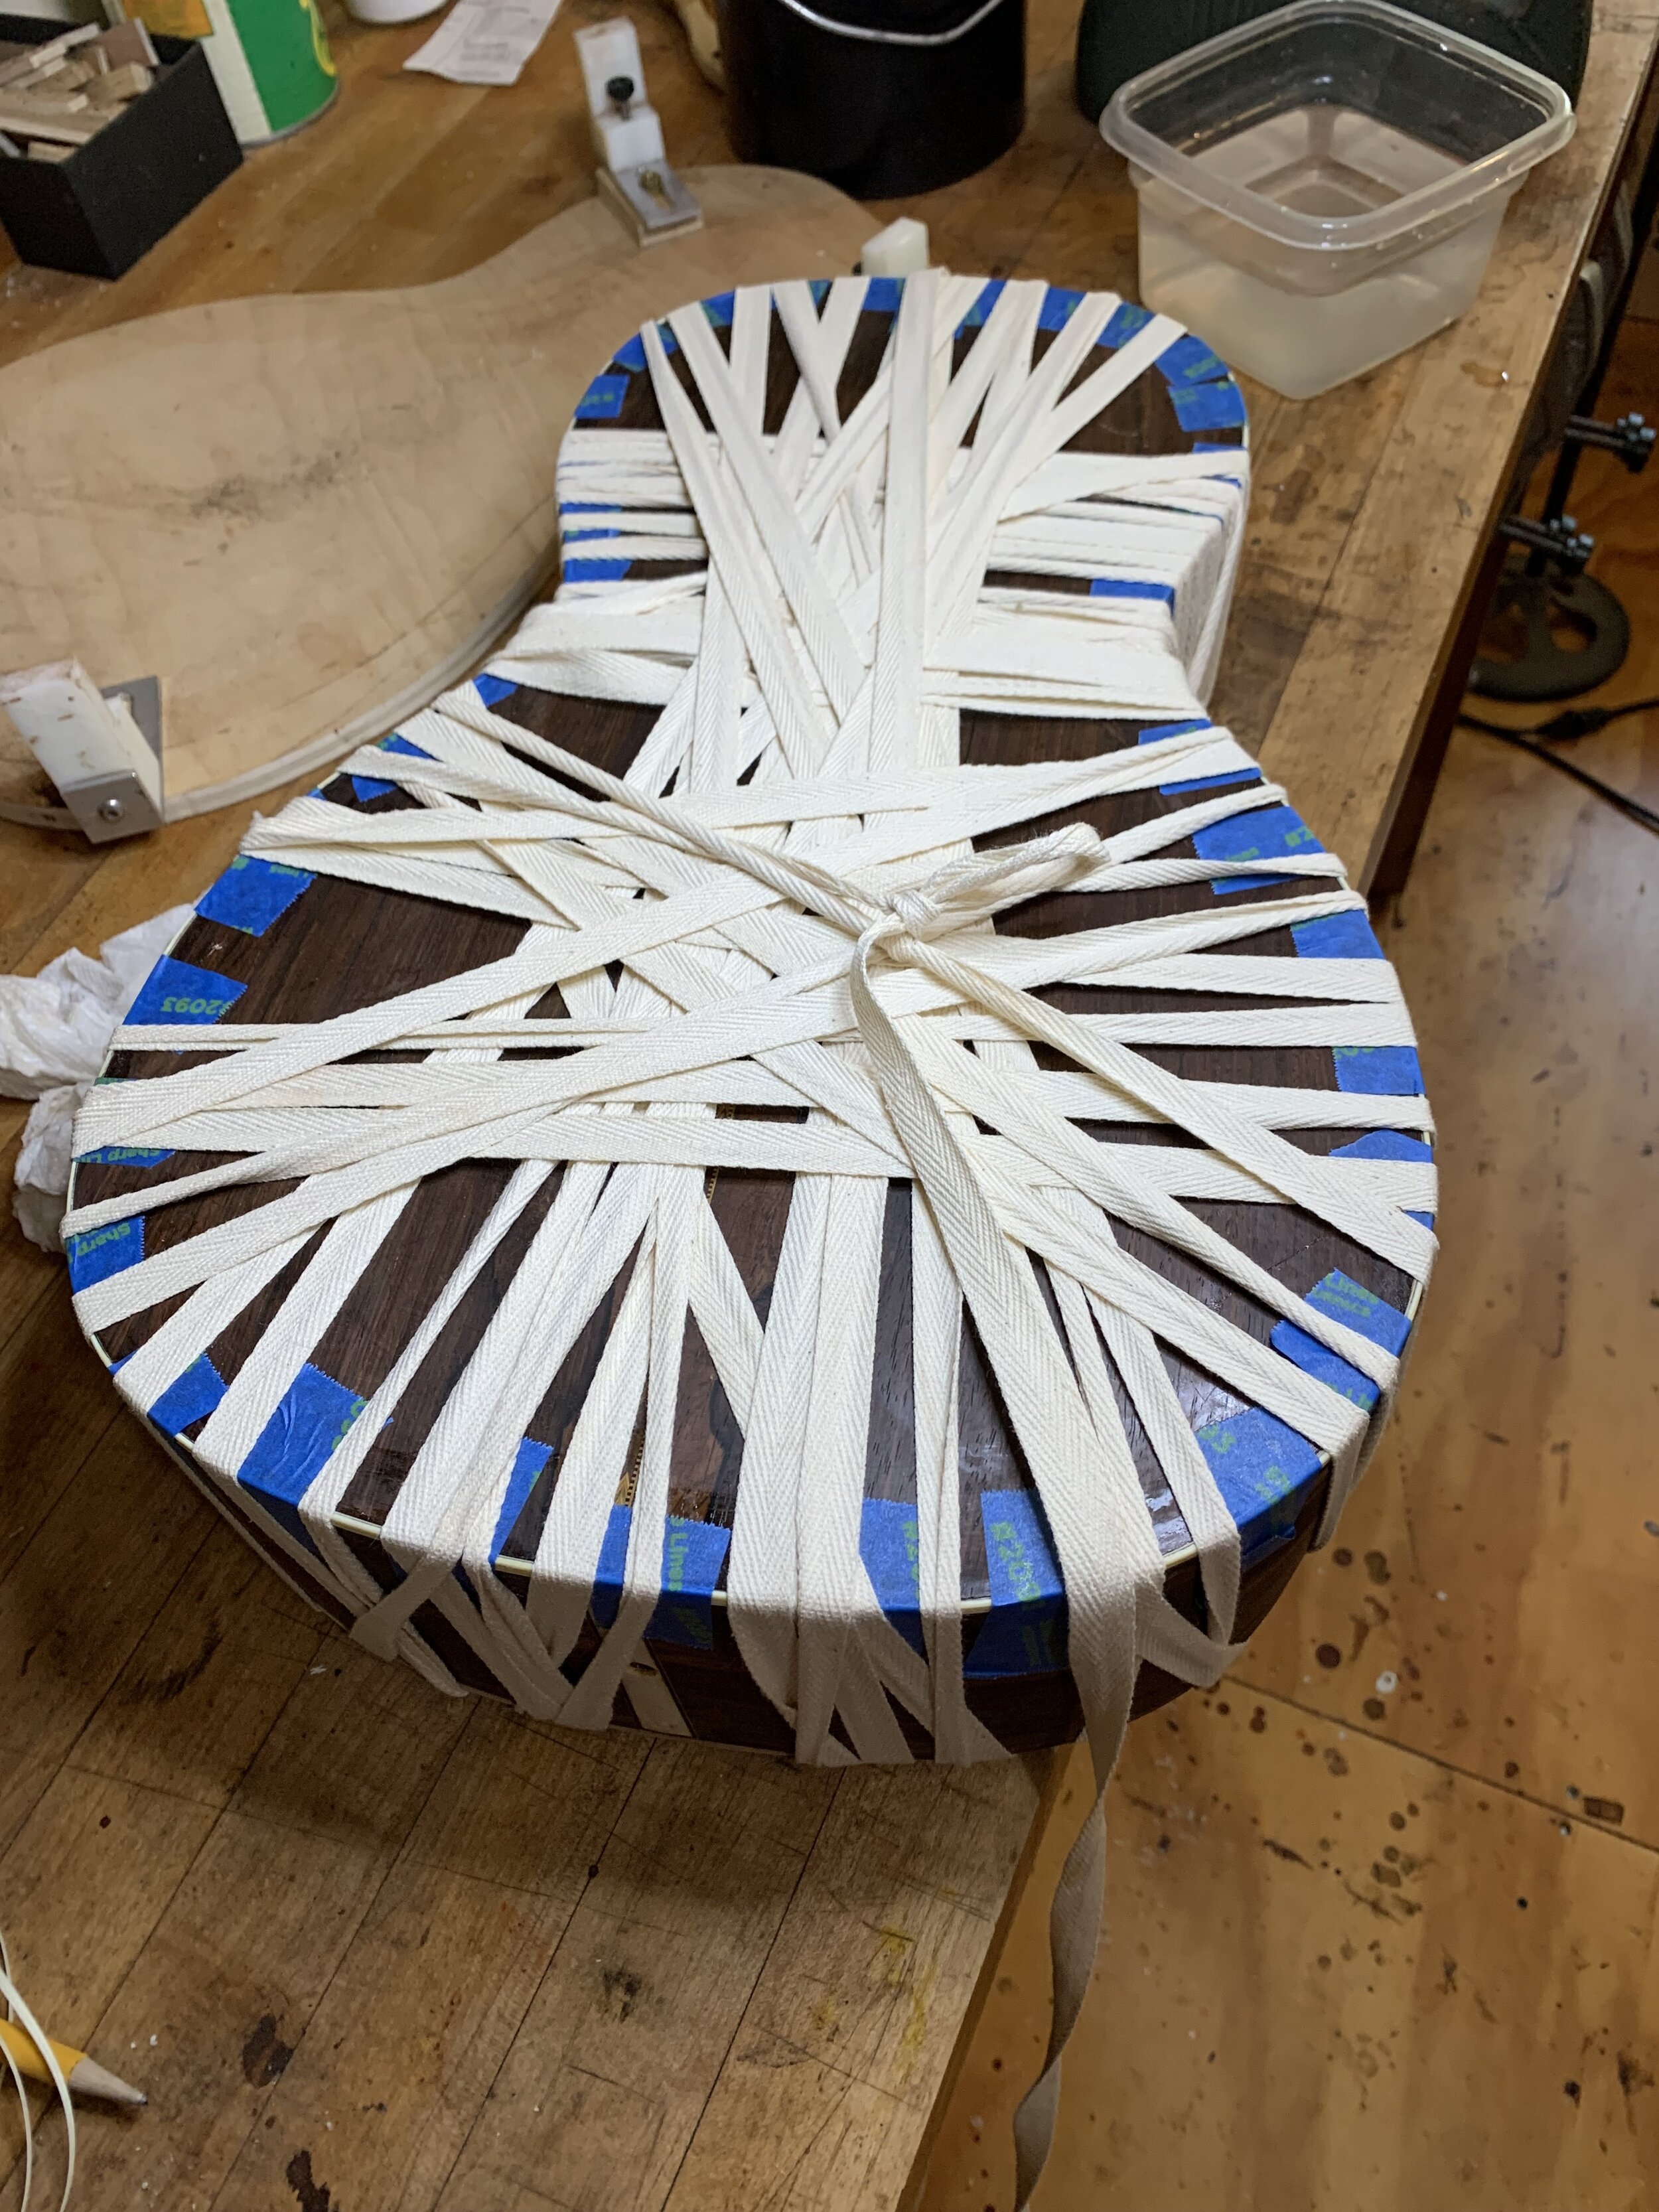
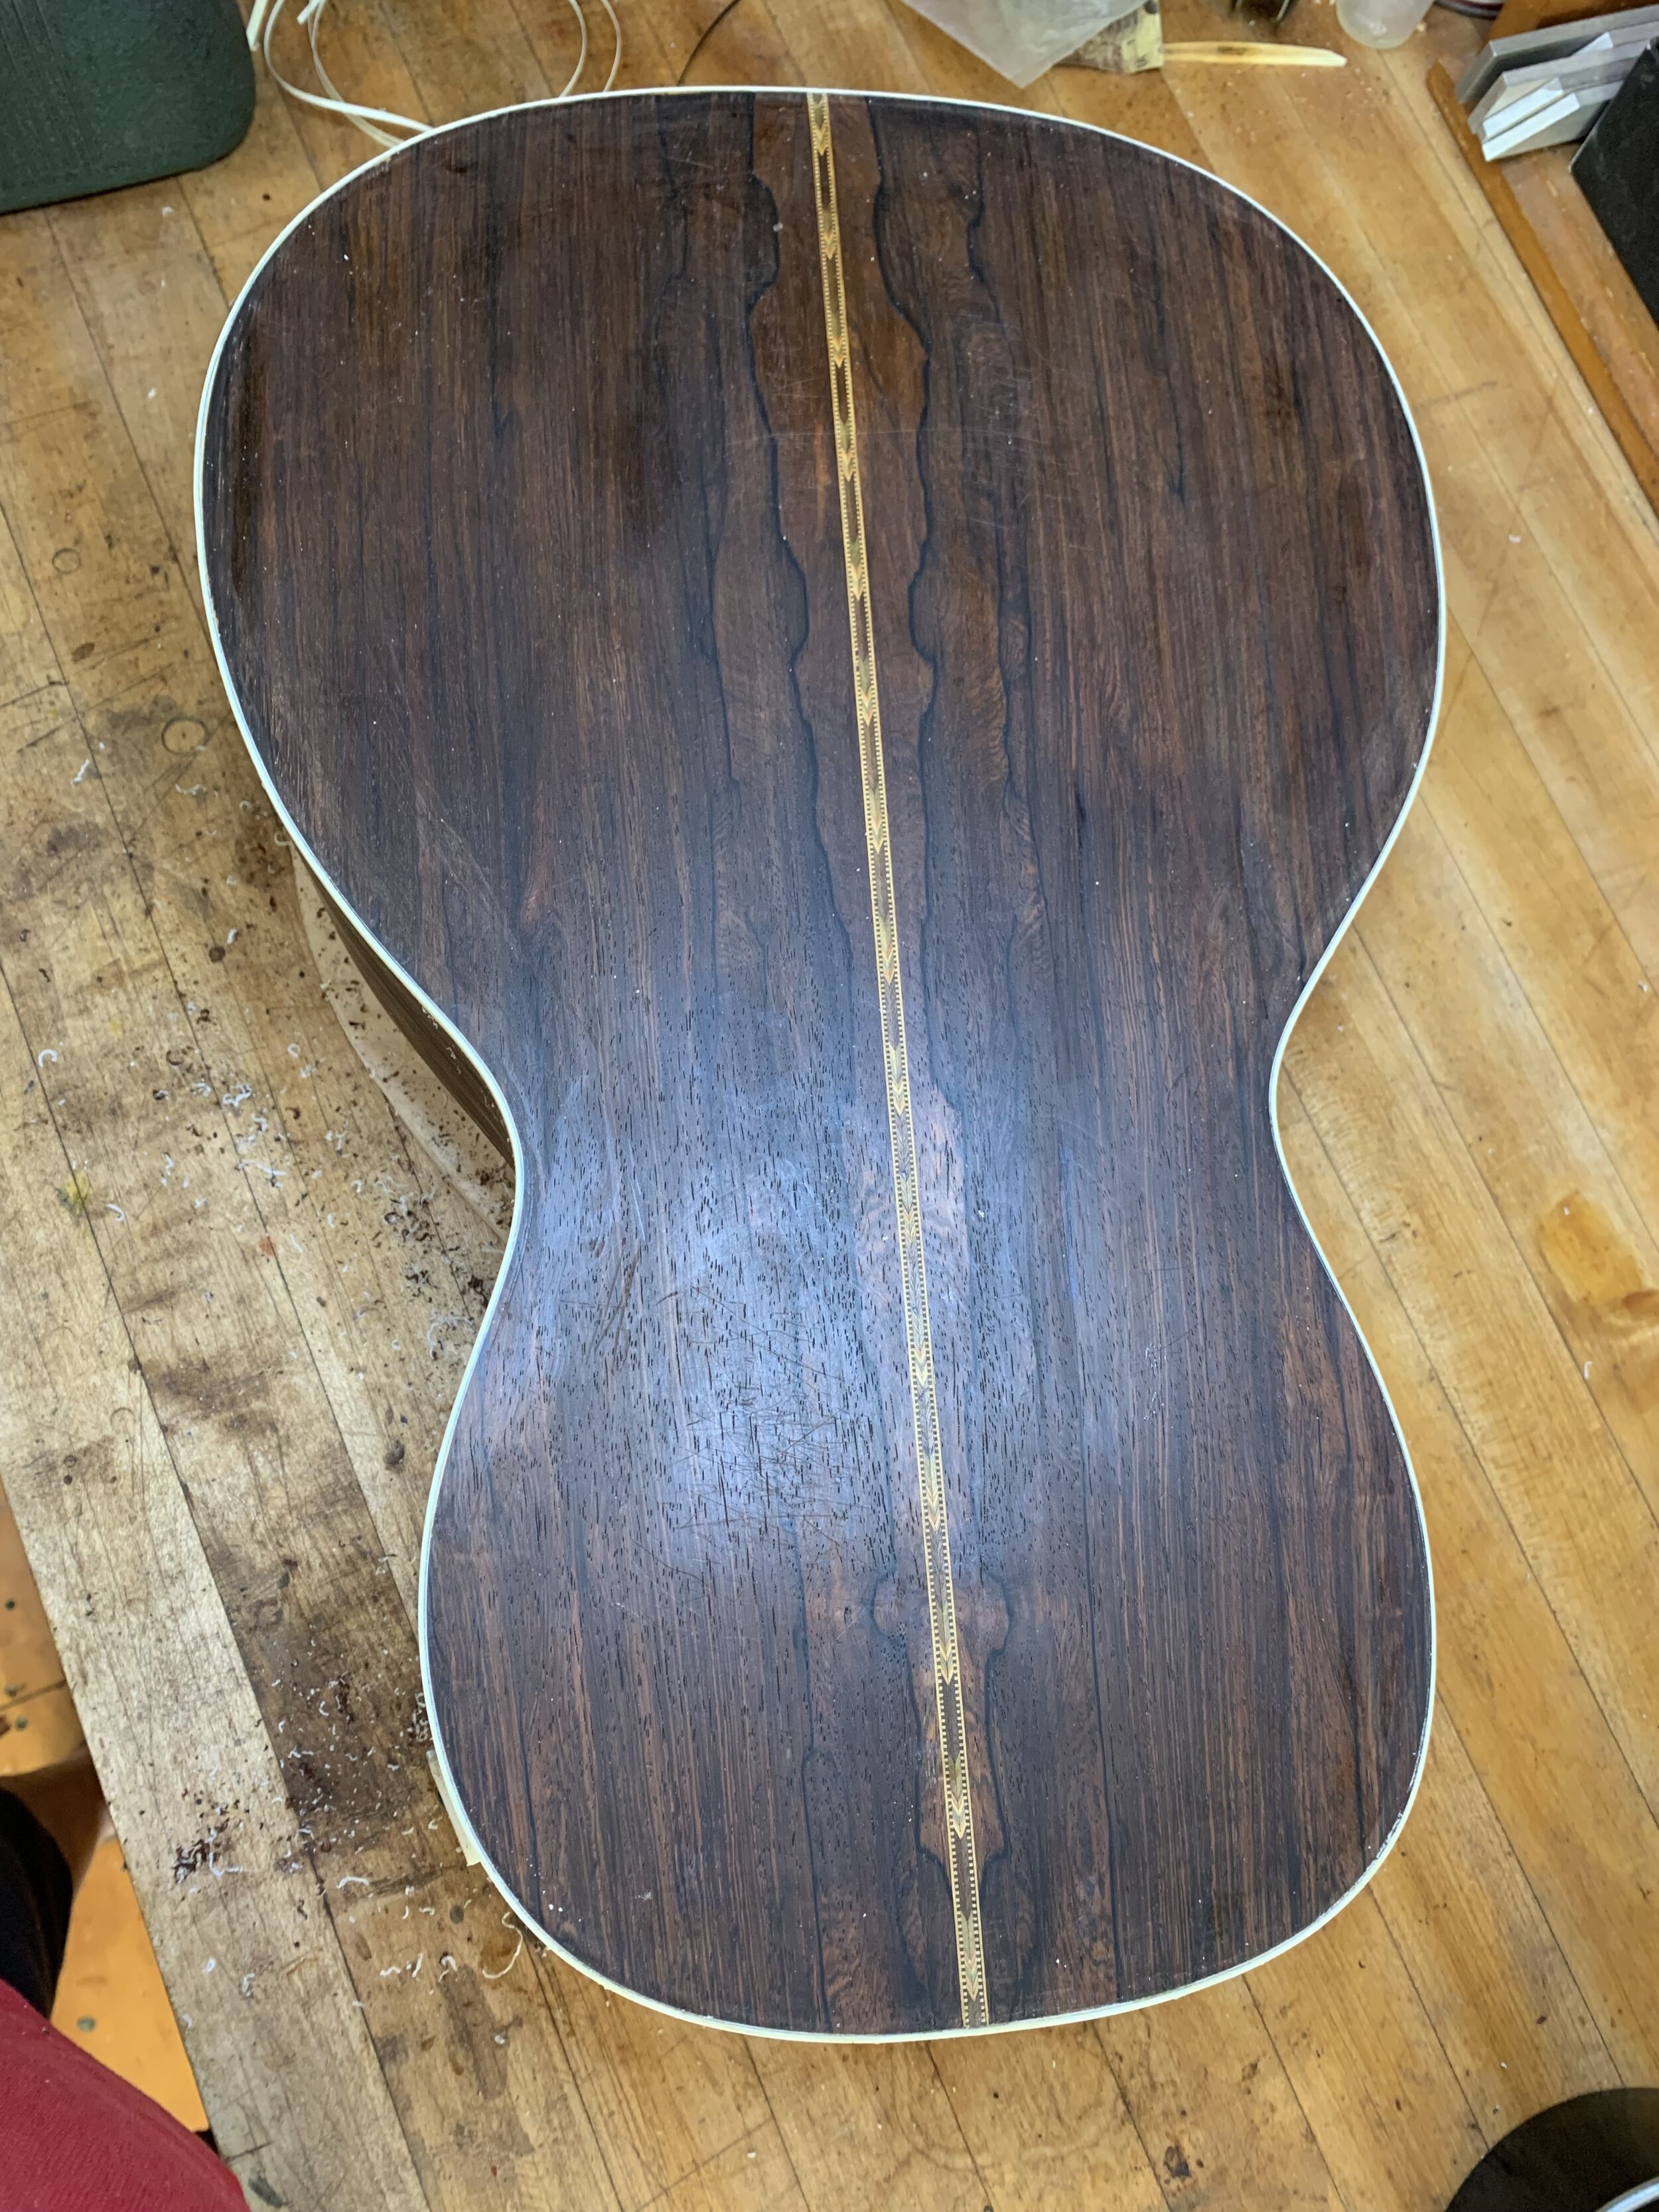
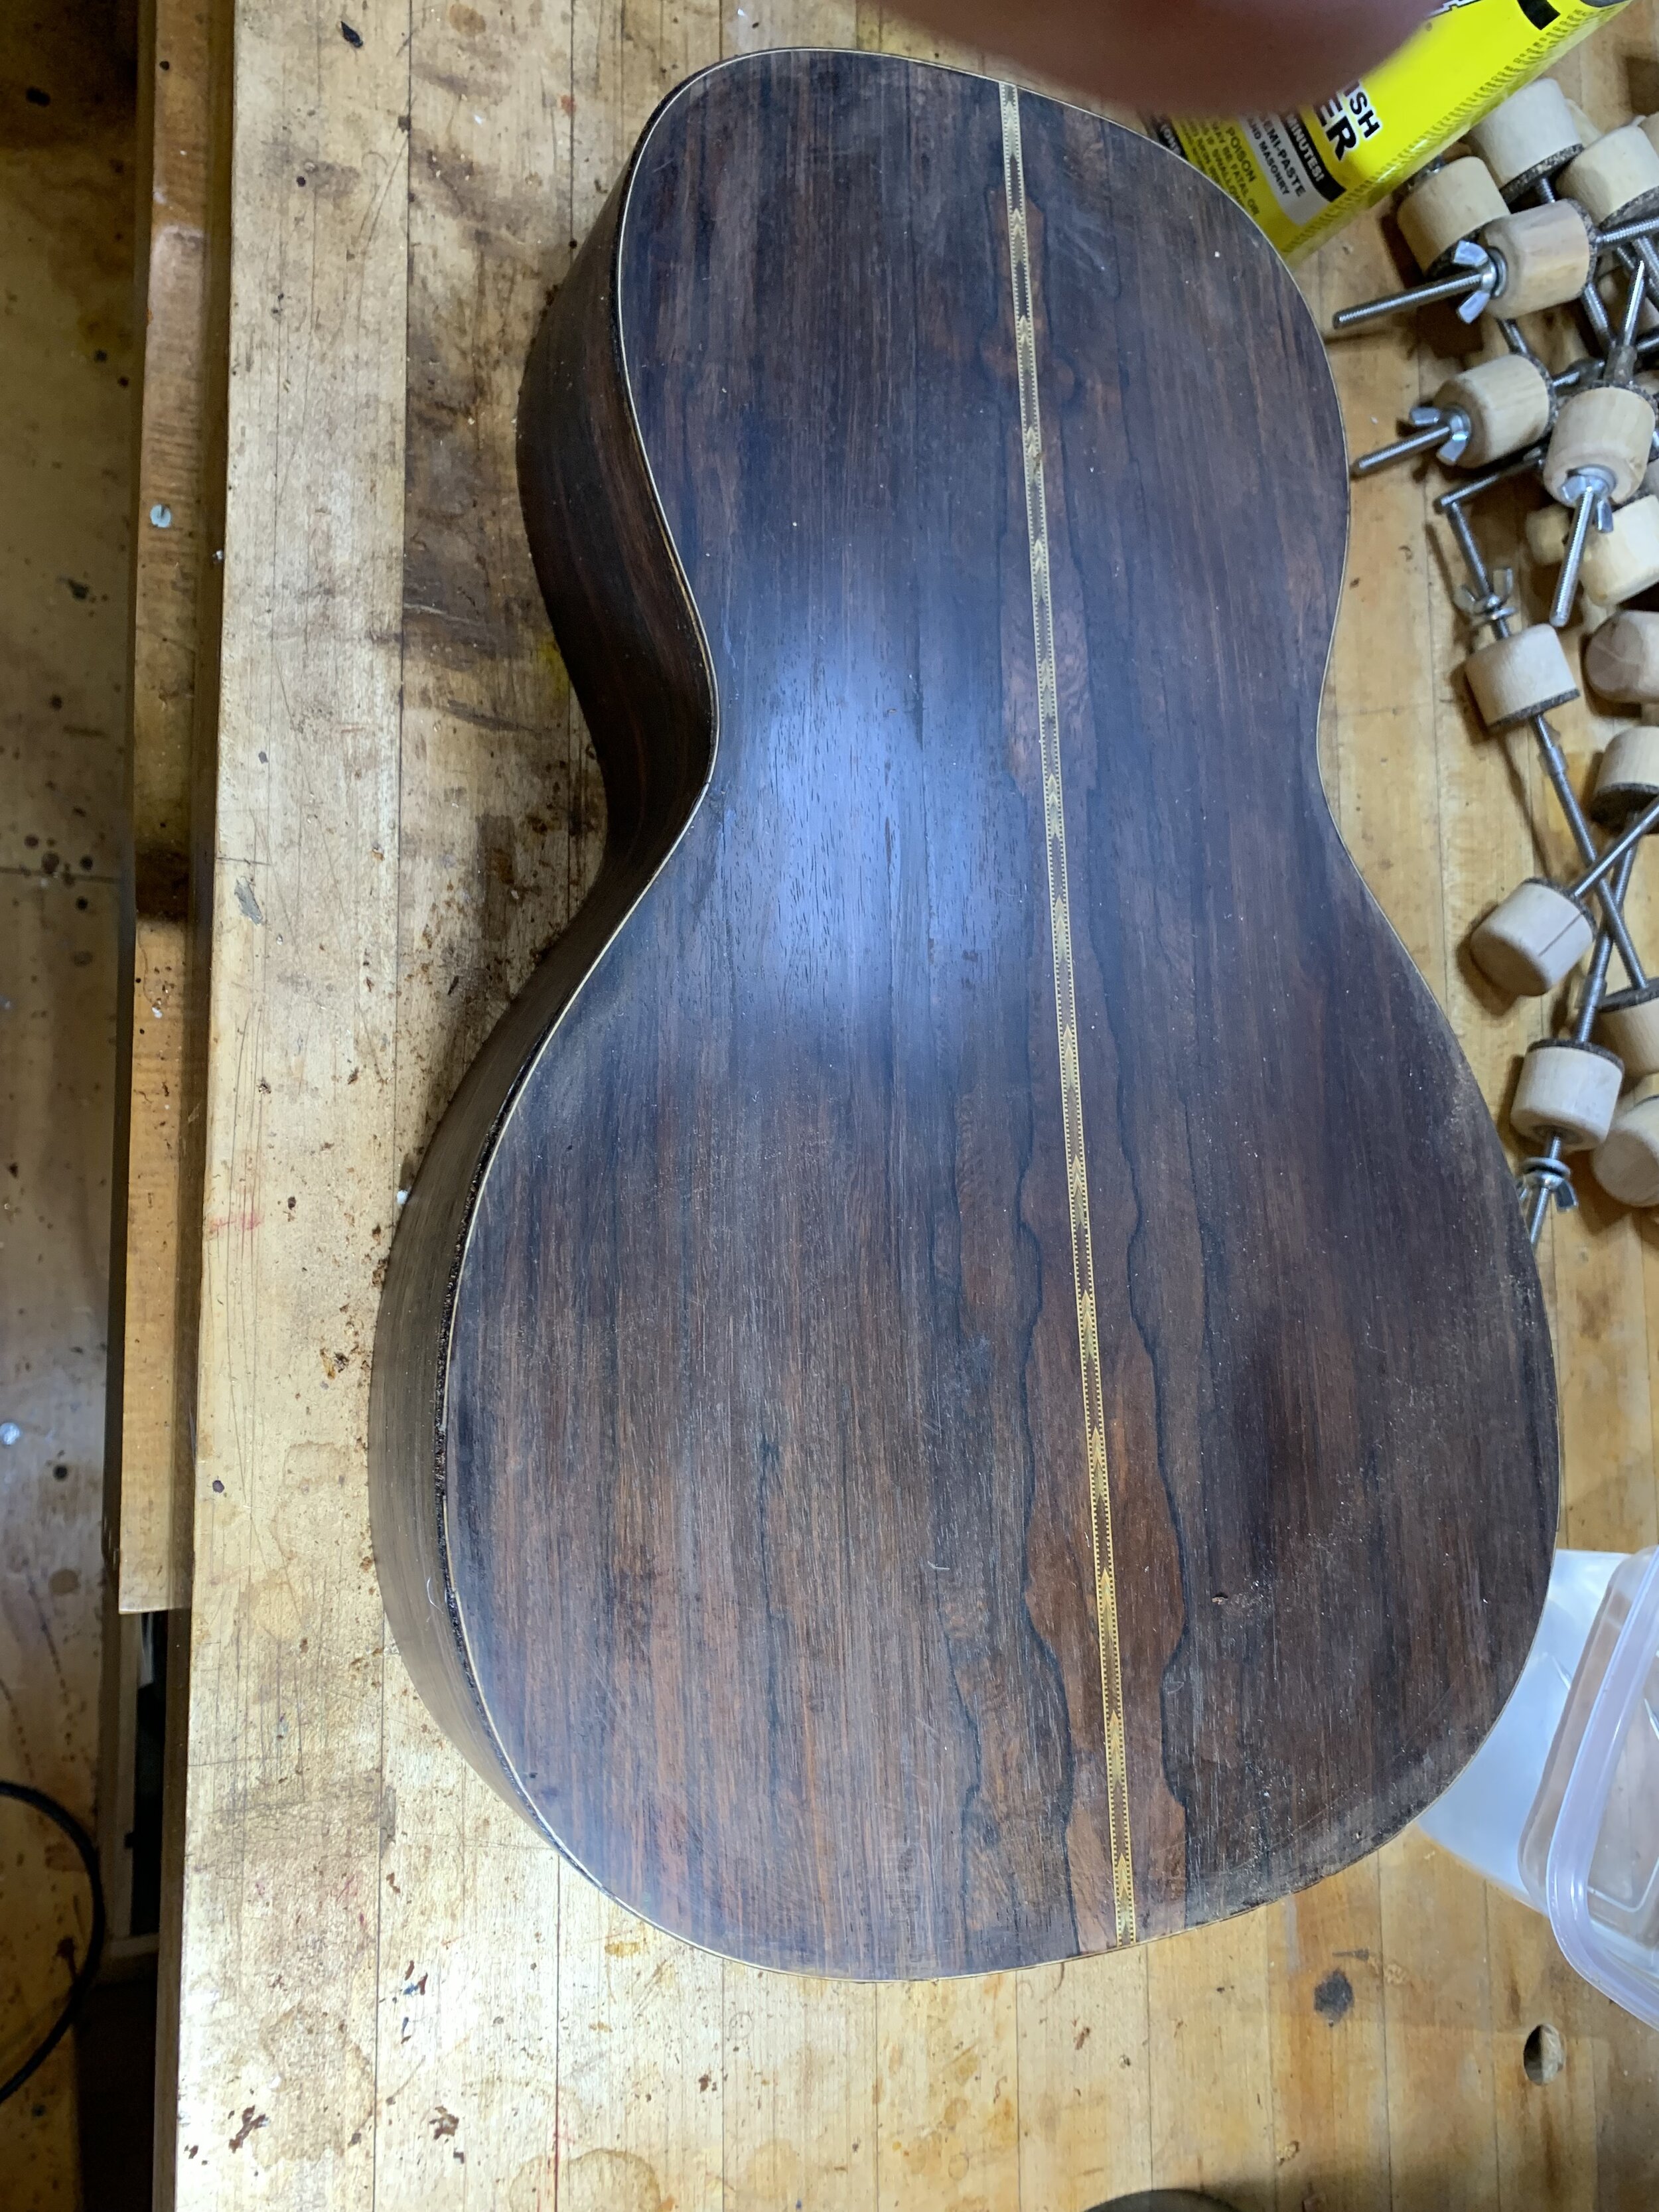
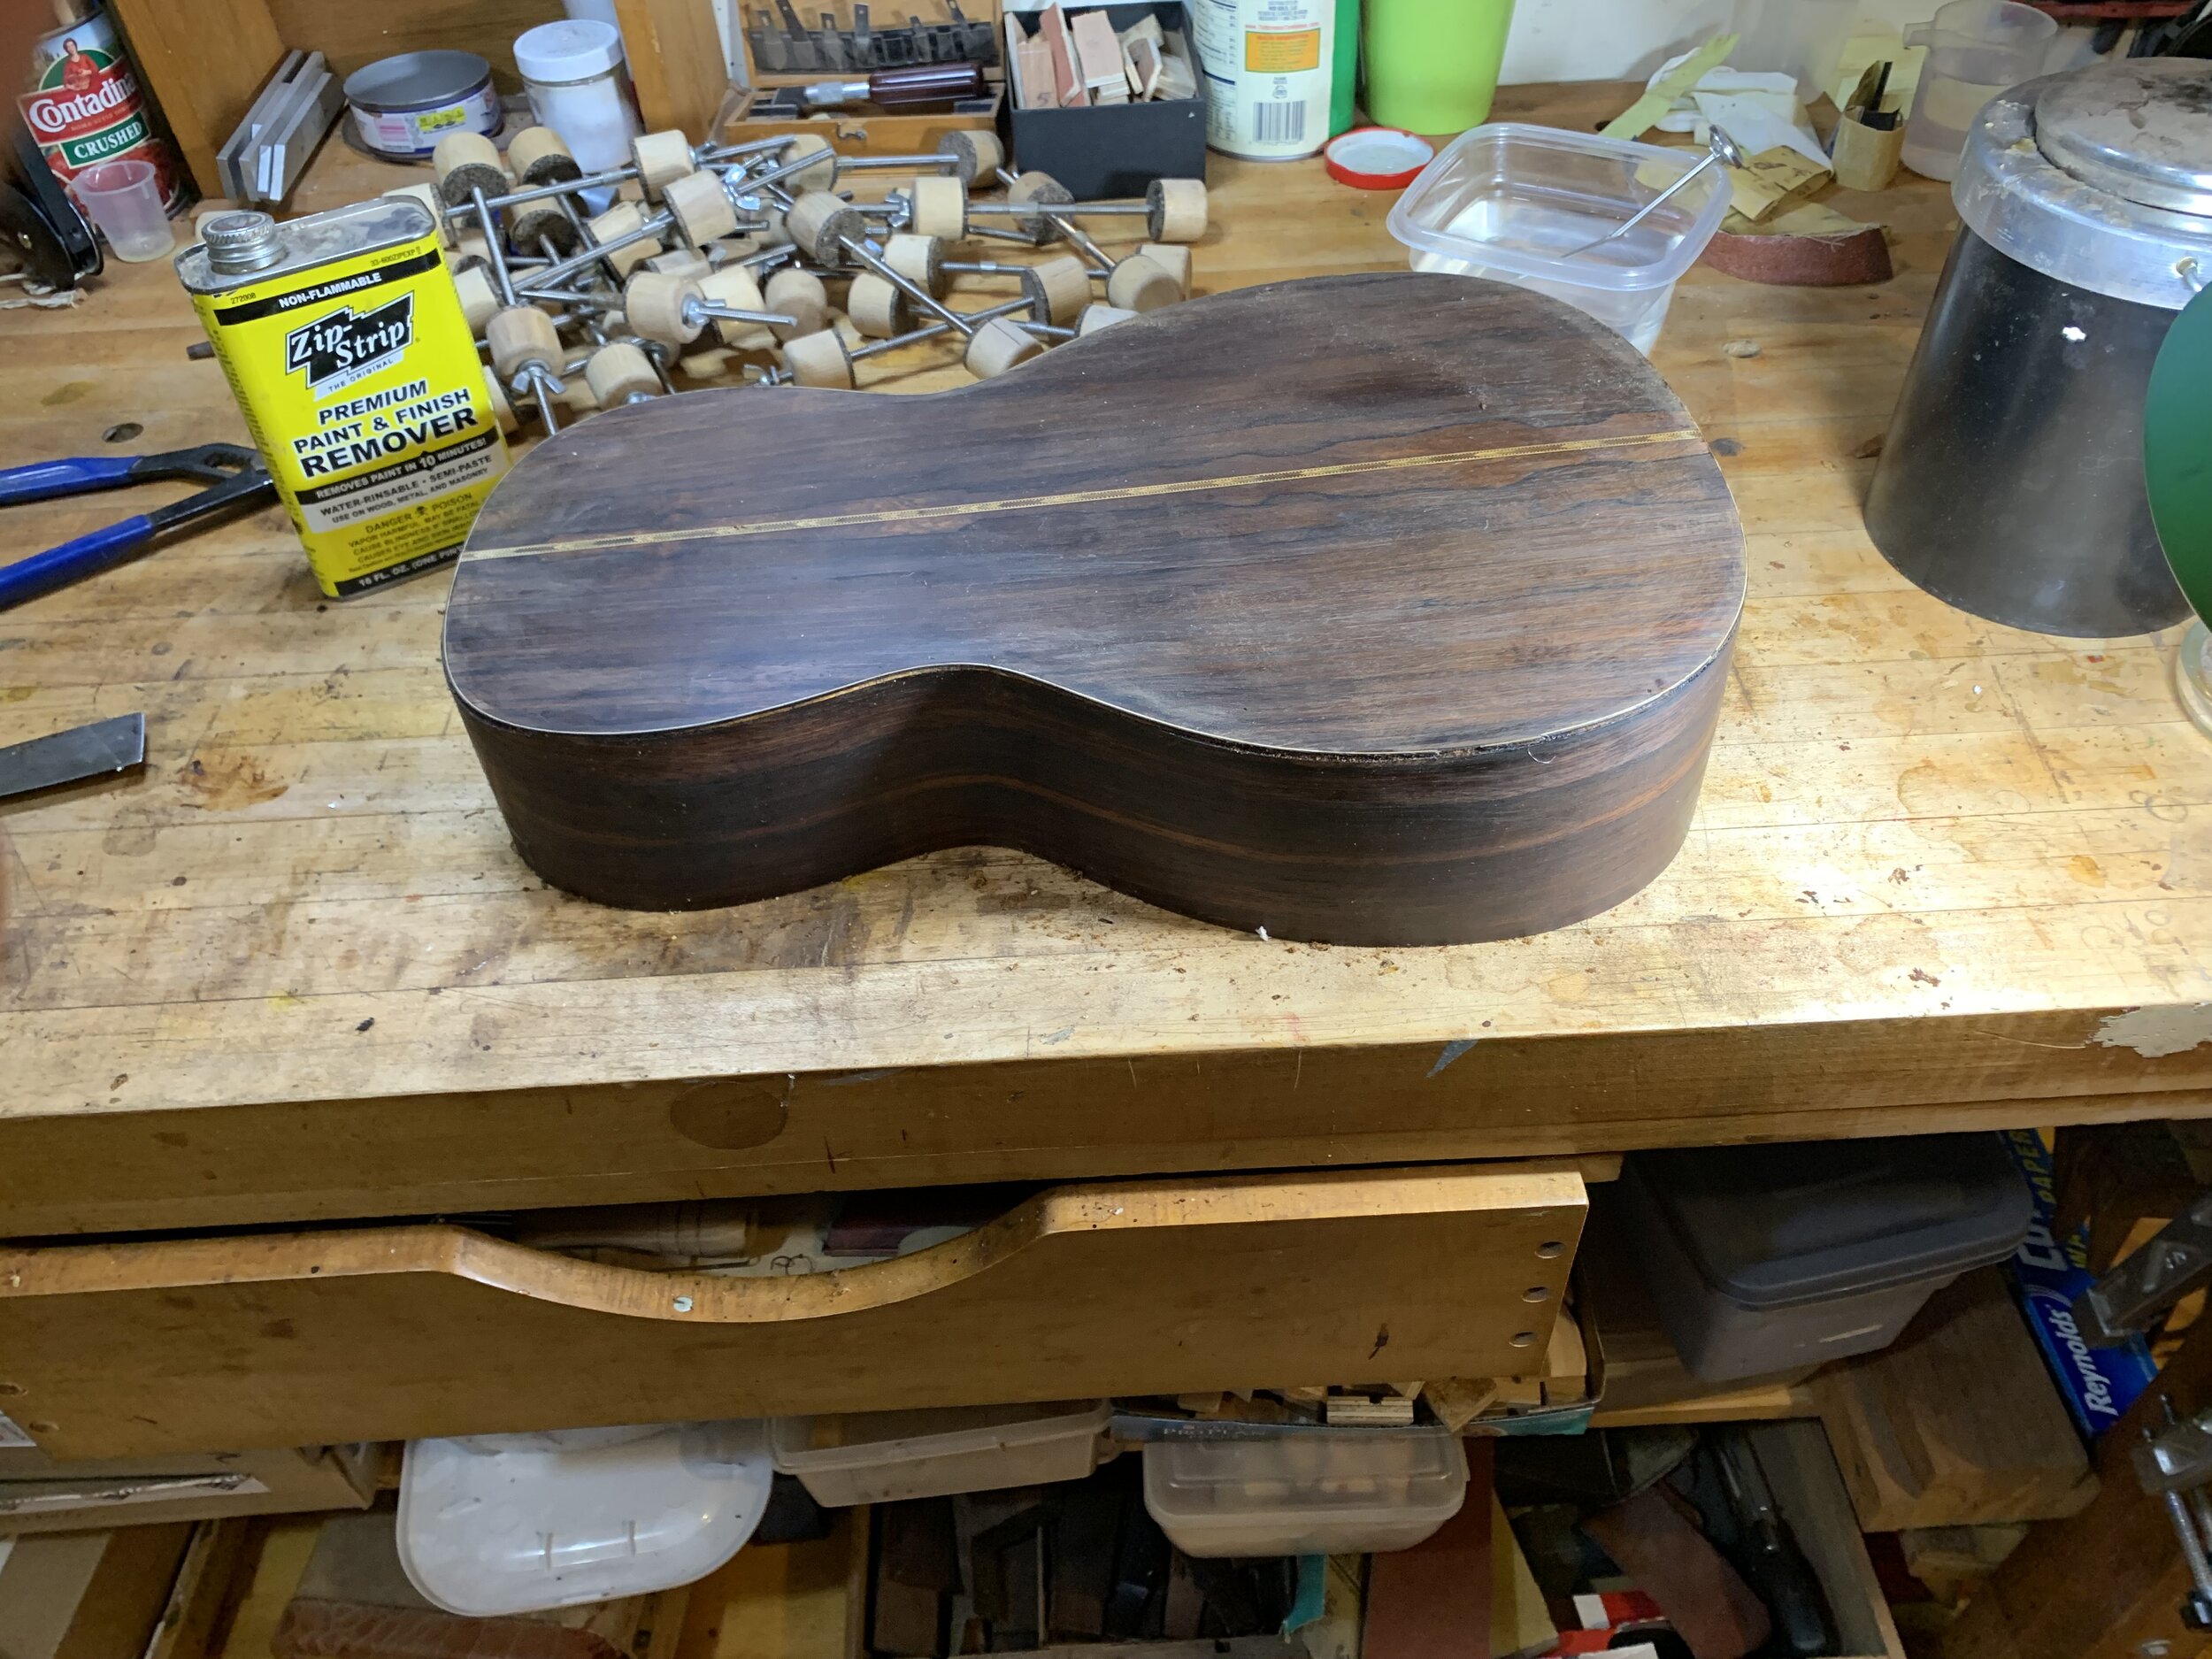
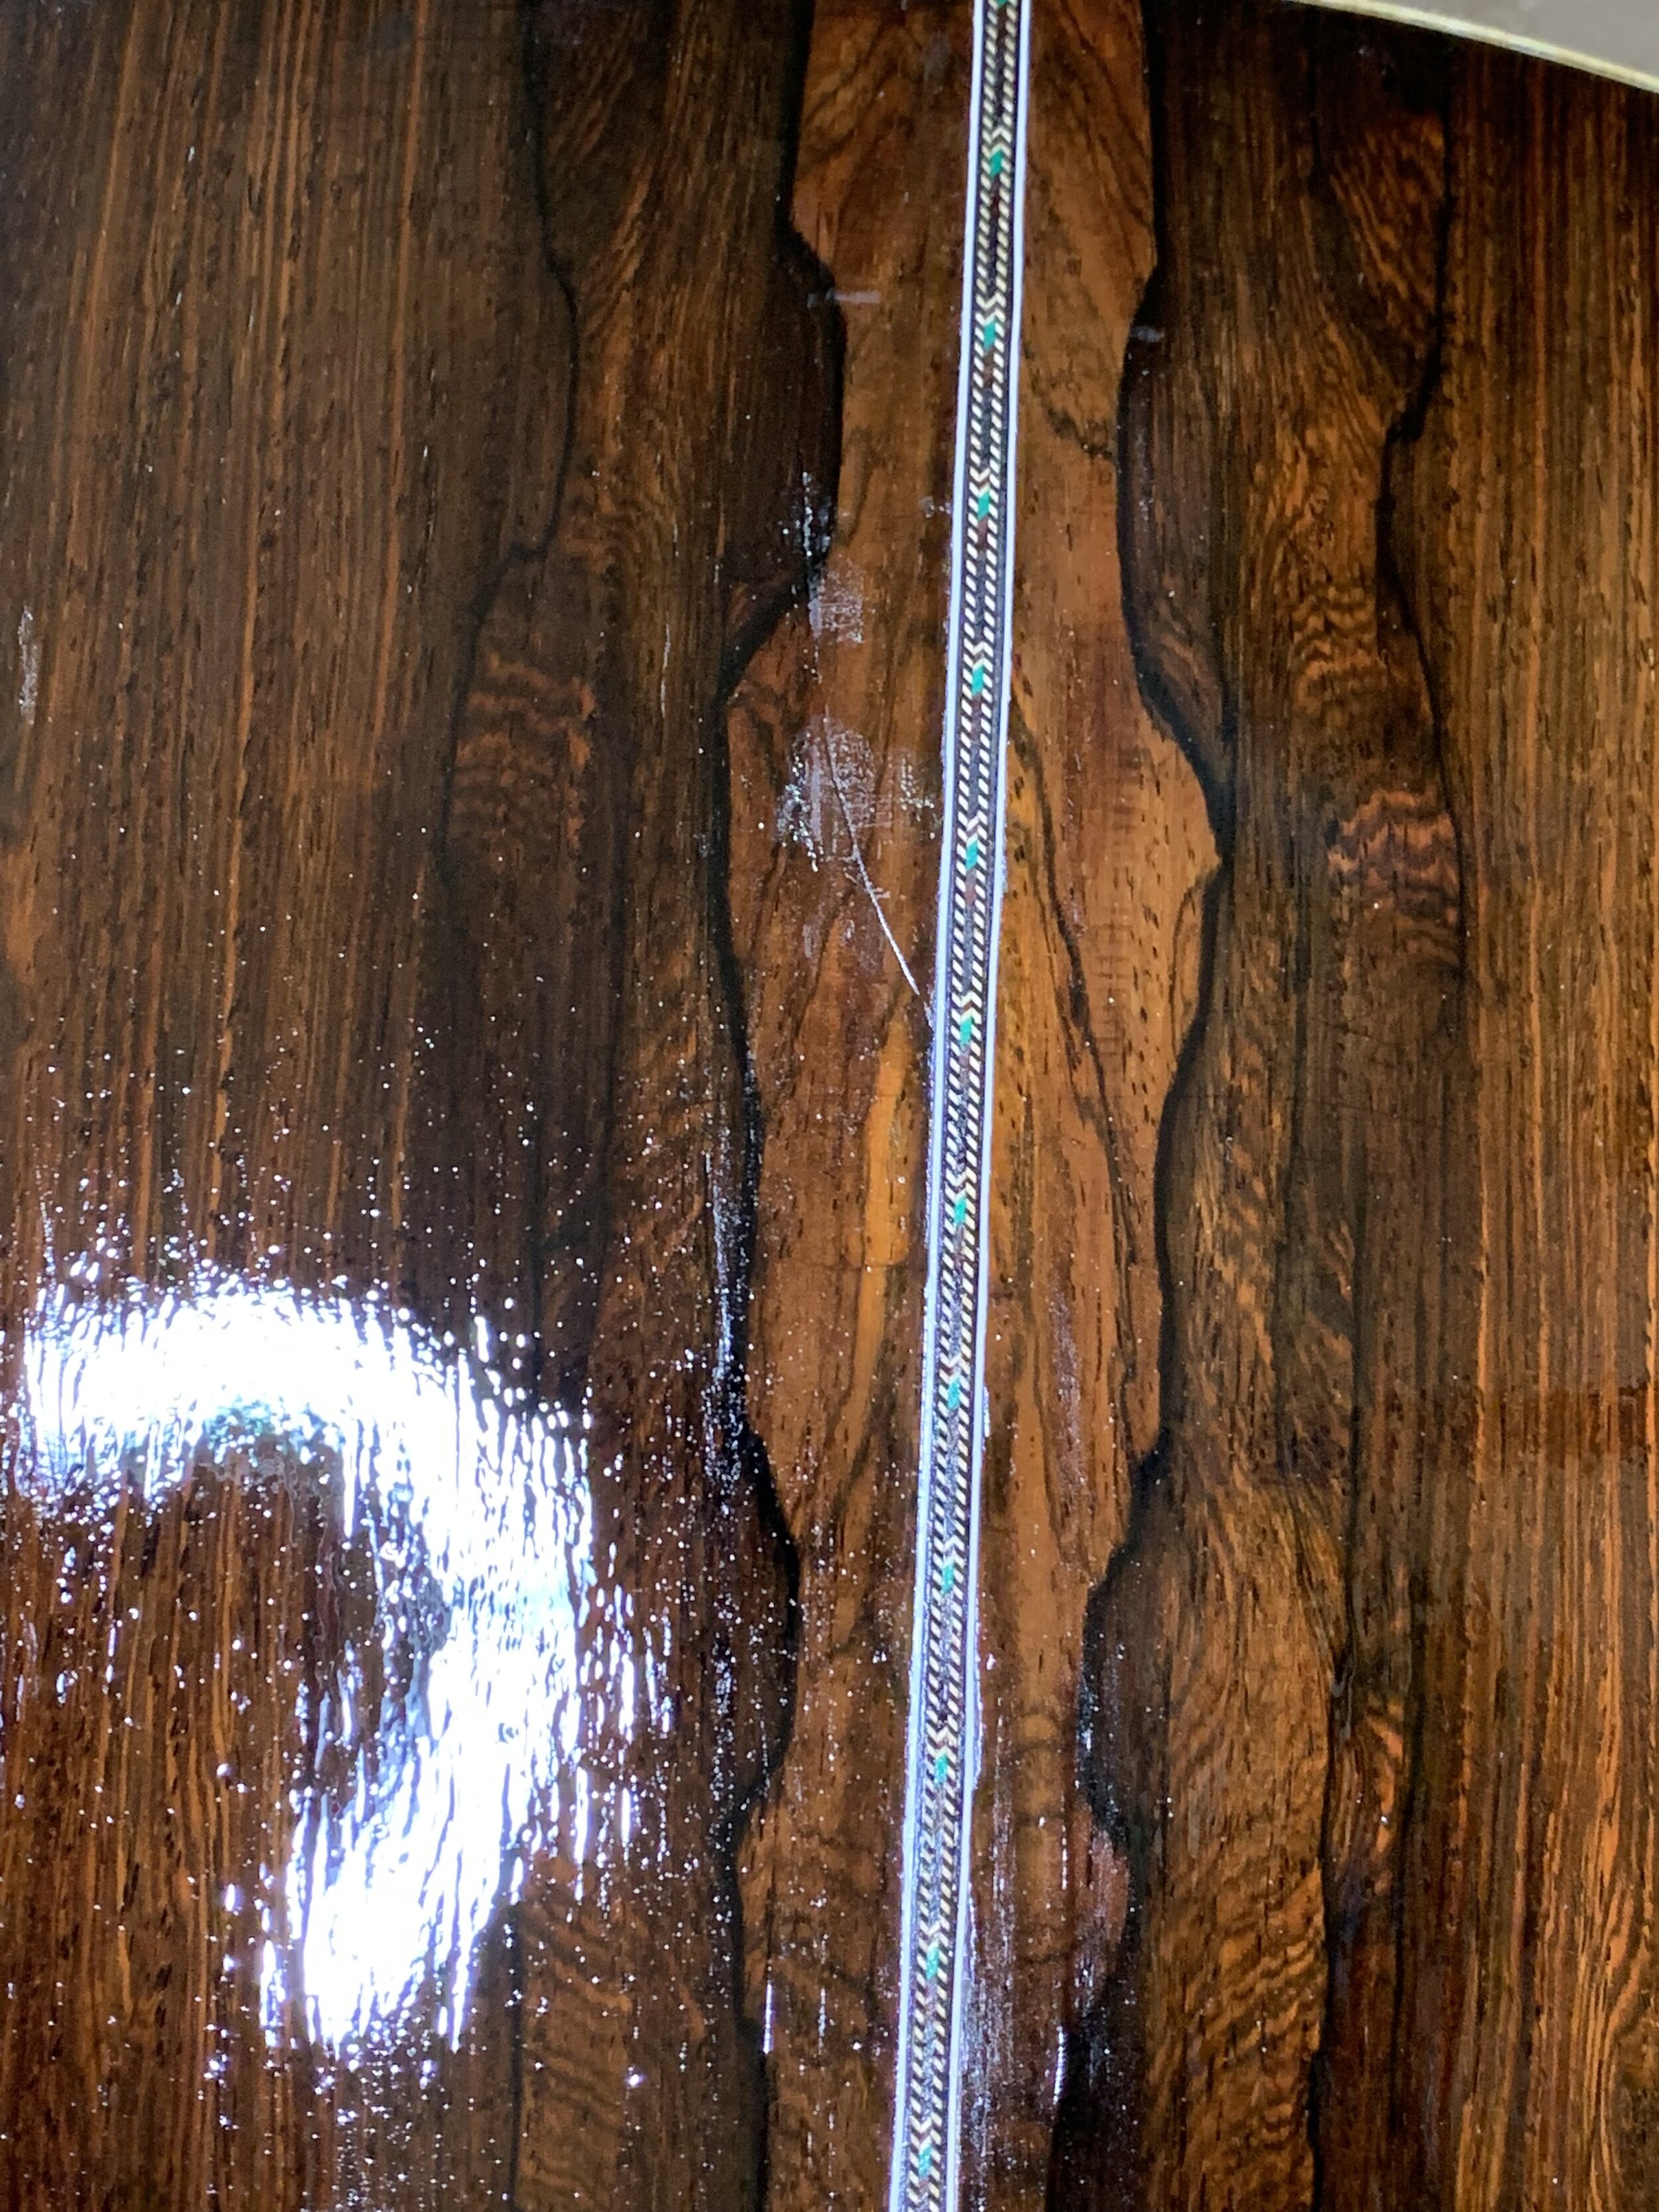
There is a close up of the purfling I used (thanks, Alex!) I couldn’t find an exact match, so I replaced the back strip to match the purfling on the top.
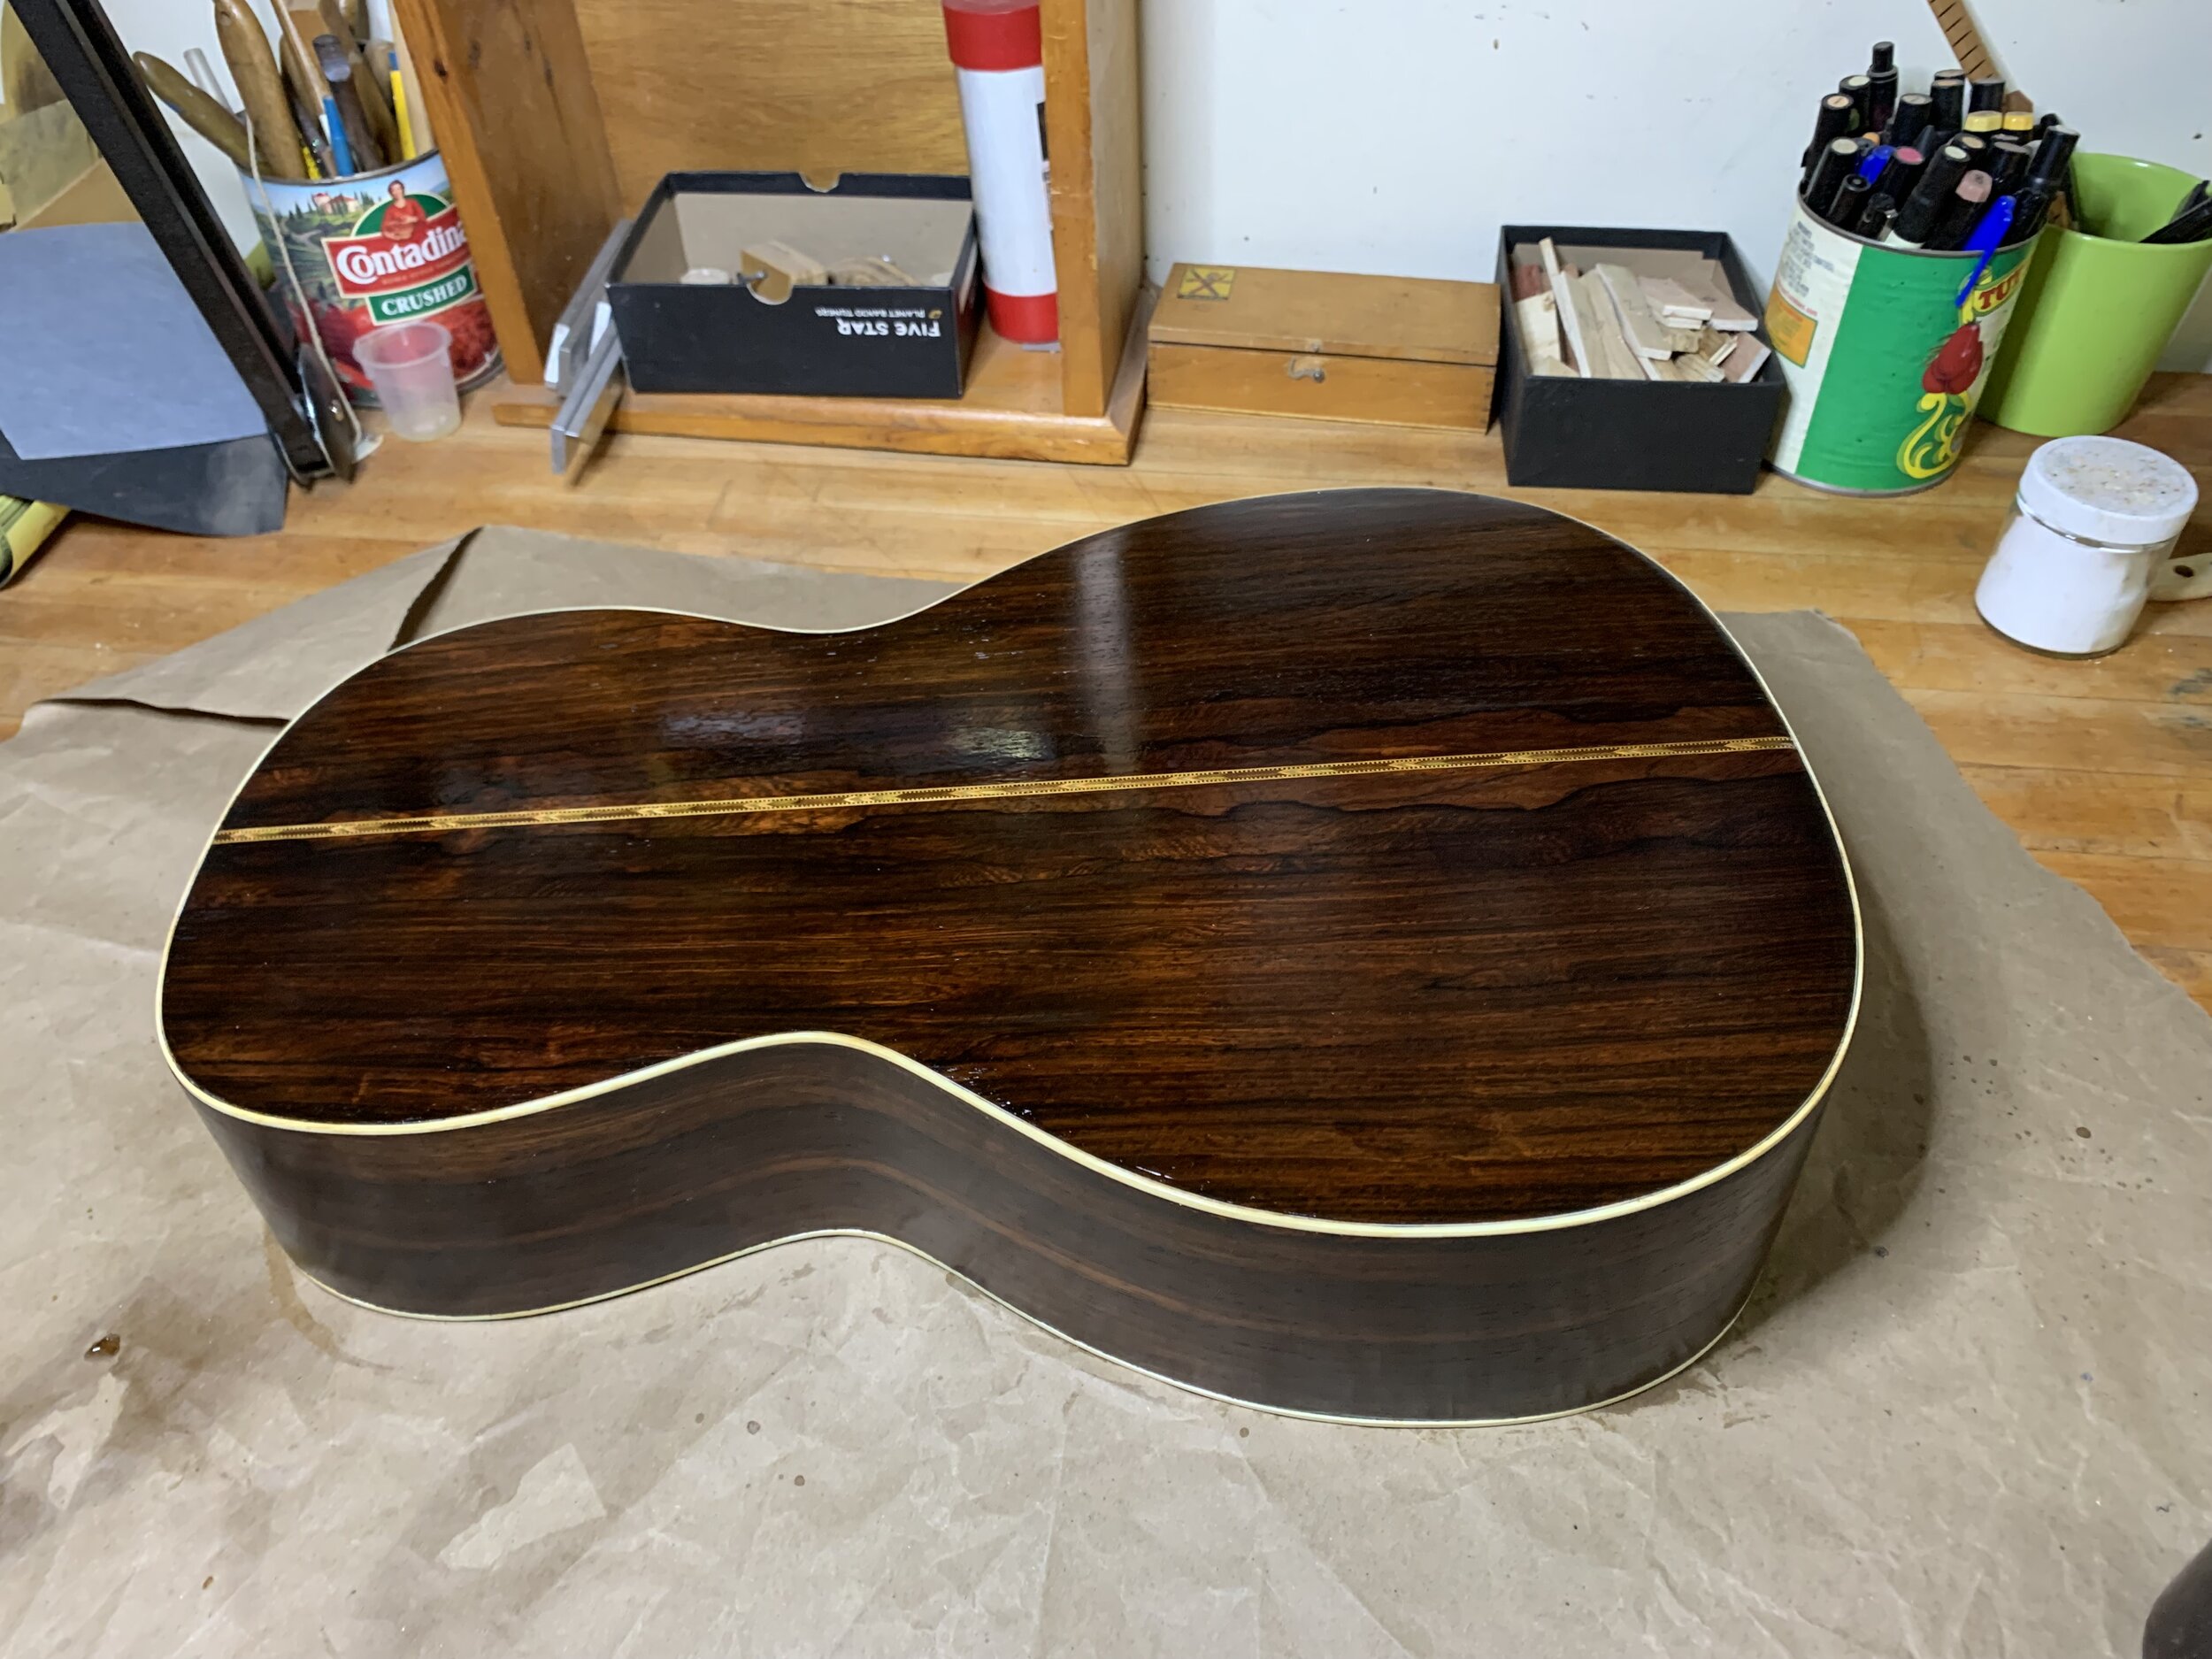
Now comes the fun part…..French Polishing the body!
There is a close up of the purfling I used (thanks, Alex!) I couldn’t find an exact match, so I replaced the back strip to match the purfling on the top.
Now comes the fun part…..French Polishing the body!

Right now, I am waiting for the finish to harden so I can polish it and put the bridge and neck on. I have a pyramid bridge from Stewmac.com, as well as some new bridge pins.
My customer wants to put steel strings on it, so I braced the top for that. It’s not as it was built in the 1800’s, but “the customer is always right.”
I’ll keep you posted on the rest of the restoration as it happens. I can’t wait to hear how it sounds!

Here it is all done!
Contact
For repair work or any questions, you can contact me here:
Lyndon Hardy
luthierlyn@gmail.com
(845)332-8073